I’m a very visual person, and I am all about personalizing my space. My cube at work is packed with plants and quirky décor; my house is overflowing with art; and in my free time I can often be found painting, drawing, or designing something (fabric, clothing, jewelry, etc.). So it’s not hard to understand why one of my goals in life for the past five years has been to fill the Windows Personalization Gallery with beautiful and interesting visuals you can use to make Windows more fun and personal.
And there is truly nothing better or more personal than the themes and wallpapers you create yourself. With this in mind, about three years ago (how time flies!) I wrote a two-part blog post: Tips for creating great Windows 7 themes, part 1 and part 2. Although most of the principles and “best practices” for creating good themes are still the same in Windows 8.1 as they were when I wrote those blog posts about Windows 7, there are a few new desktop theme features that are worth talking about. Plus, Windows 8.1 provides totally new ways for you to use images to personalize your PC.
Panoramic backgrounds
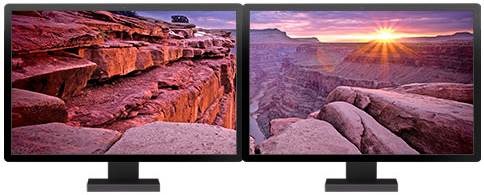
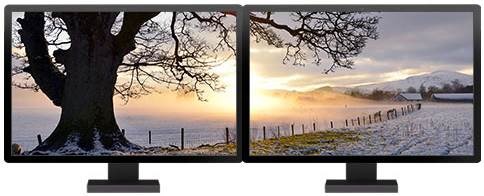
One nice feature of Windows 8.1 is the ability to extend a single panoramic background image across dual monitors.
When I’m choosing images for a panoramic theme, one thing I try to look for is art or photography in which the right and left sides are clearly different, so it’s obvious that a single image is stretching across both displays instead of just being repeated. This tends to look more dramatic.
When I’m preparing images to be built into a panoramic theme, I scale and crop them to 3840 pixels wide by 1200 pixels tall, at 96 dots per inch. It certainly isn’t required that you save your images to this exact size, but we’ve found it to be the “sweet spot” for panoramic images to look as good as possible on the widest array of different monitors and display settings.
You can also create a theme that contains a mixture of panoramic and non-panoramic images.
By the way, for panoramic images to extend across both of your displays, you do need to have each monitor set the same. If the displays are different sizes or have different resolution settings, the panorama will not automatically extend across both monitors. Instead, a different image will appear in each display. On the other hand, you don’t need to have a dual monitor setup to use themes that contain panoramic images. If you have only one monitor, each panoramic image will be cropped to the center. So those of you without multimon can still enjoy the images in the Windows Personalization Gallery’s panoramic themes.
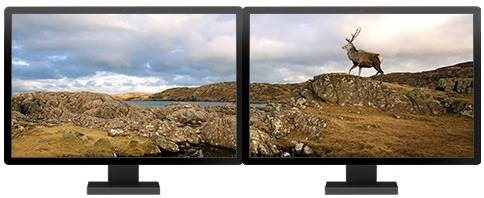
Knowing that people with a single display may use a panoramic theme can make it quite challenging to crop the images so that they look excellent on both single and dual displays. You would not believe how much I agonized over the exact cropping of this image. The crop that looked the most dramatic on dual monitors left only the elk’s nose showing when viewed on a single display.
Desktop glass and taskbar color
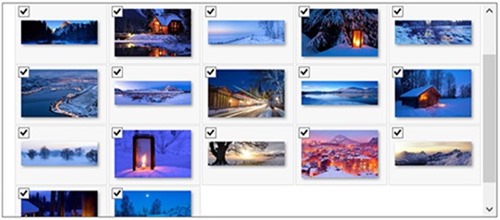
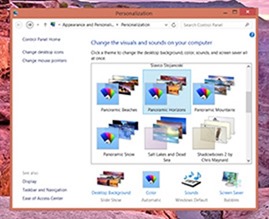
The other new theming feature is automatic color. Themes created with this setting will smoothly and automatically shift the Windows desktop glass and taskbar color to match the dominant color in whichever background image is currently being displayed. This is great because it means you don’t need to struggle to find one single window color that goes with every image in a set!
To use it, just choose the first option in the Color dialog:
Windows 8.1 also includes lots of ways to personalize your Windows experience that don’t have anything to do with themes. So although you can’t save these other settings as part of a theme and apply them with a single tap or click, they are nonetheless great ways to make your Windows device more personal to you.
Show your desktop wallpaper on Start
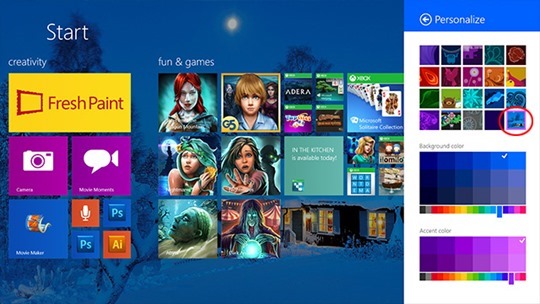
I mentioned this in a previous blog post, but you can show your desktop theme or wallpaper on your Start screen, as well. One easy way to do this is to choose the last item in the array of Start screen backgrounds on the Personalize screen.
Lock screen
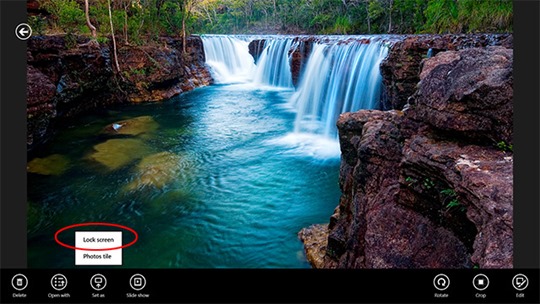
You can also personalize your lock screen, as I explained in another blog post. One of the easiest ways to do this is to use your Photos app. In Photos, find an image you want to use, open it up full screen, then right-click (or swipe in from the top or bottom or top of the screen) and choose Set as. Then choose Lock screen.
When I’m selecting a lock screen image, I like to choose one that has clear space in the lower-left corner, where the date and time will appear, and that has a focal area or something dramatic and interesting in the center or the right hand side. But this is just a matter of personal taste.
Lock screen slide show
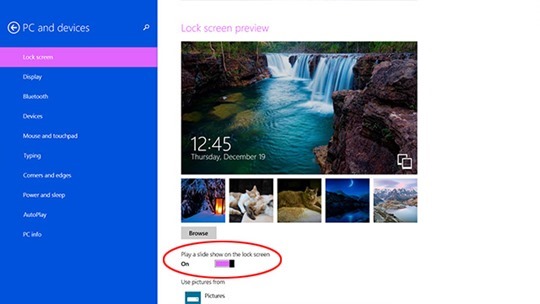
Windows 8.1 introduced a fantastic new Lock screen feature – the ability to play a slide show of images. So when your PC is idle, it can function as a digital picture frame. When I’m not using my Surface Pro I leave it on the kitchen table with the Lock screen slide show running through my personal photos. I often glance up and see a great photo I’d totally forgotten about. For example this morning when I was getting ready for work, a photo appeared of my husband posing with our cat, trying to take a “cat beard” photo. He still hasn’t quite managed to get the pose exactly right, but his attempts are hilarious!
- Open the Settings charm, and choose Change PC settings. (If you’re not sure what the charms are and how to get to them, here’s a good guide.)
- The default option is Personalize, so it will likely be shown by default. If it isn’t, choose PC and devices from the menu on the left. Lock screen will appear as the first choice.
- Below the lock screen preview images, you’ll see the Play a slide show on the lock screen option. Switch it to On.
- In the Use pictures from area, choose the folders you want to include in your slide show.
On this screen you can also choose how long to play your slide show, whether it should run when you’re using battery power, and various other settings.
Picture password
Another great way to use images to personalize your Windows experience is to set up a picture password with a photo of your own.
- Open the Settings charm, and choose Change PC settings.
- Tap or click Accounts, and tap or click Sign-in options.
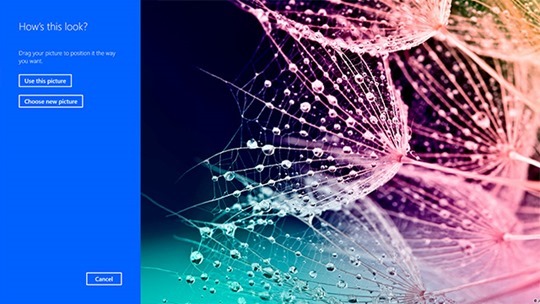
- Under Picture password, tap or click Add. You’ll be asked to verify your Microsoft account info.
- Tap or click Choose picture, and find one in your collection that you would like to use.
The prompts on the screen will walk you through the rest of the process of setting your picture password, but check out the video on this page for a quick tutorial on how to do it.
I hope the tips in this blog post (and this and this) will inspire you to create your own themes to share with friends and family, and give you some ideas for other ways to personalize your Windows devices with your own favorite artwork or photos. I also hope that you’ll keep visiting the Windows Personalization Gallery for new Windows themes and wallpapers – I’m on a mission to keep adding more, so you can depend on finding something new every month.

