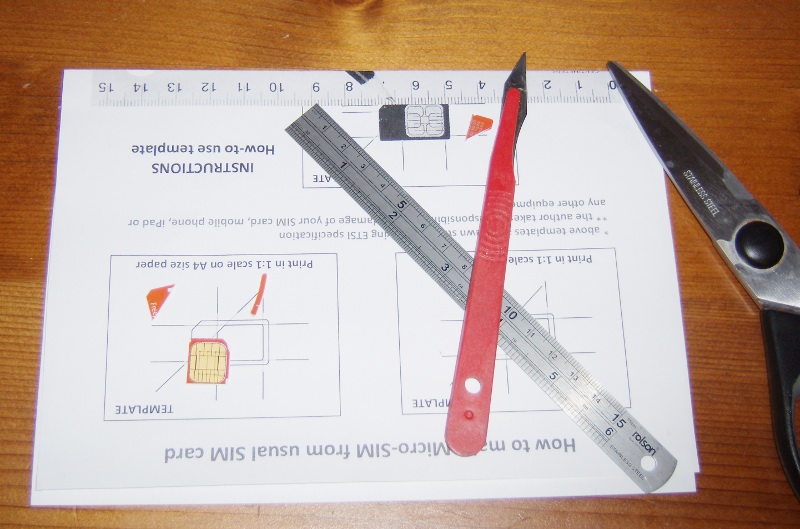
However, if you have let this information slip your mind and are absolutely bursting to get started, Mark from Stochastic Geometry brings a crafty DIY solution to the table. Get your pencils, rulers and protractors ready!

“Well, turns out the difference between a full-size SIM card, a miniSIM and a microSIM is purely physical in nature – cut bits off and you can turn a full SIM to a miniSIM or a miniSIM to a microSIM”
Before we go any further… we do not recommend this. It’s best to contact your carrier and request they ship a micro-SIM to you. It shouldn’t cost you anything and it’s a fairly painless process. But, if you’re handy at DIY and confident you know what you’re doing here’s how to do it…

“First impression? Shiny. Very shiny”
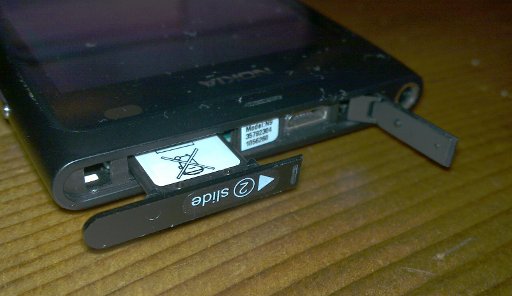
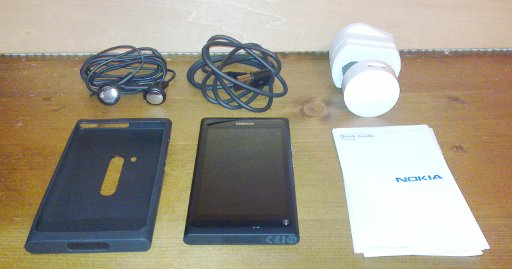
In the words of Tweedledee or perhaps Tweedledum (I can never remember) we’re ‘beginning backwards’. Mark actually unboxed the N9 before chopping up his SIM card, so lets take a look at that too.
Having been used to the N900, Mark insists that his fist feelings of the N9 in hand are ‘odd’. The N900 being such a solid and robust phone while the N9 is delicate and light, even lighter than the E71 he says, is quite a transition from the norm. Its curved back is a welcome feature though because it sits well in his hand and thus described as ‘natural’.
There’s more to this than we can project here, so I’ll invite you to hop over to Mark’s full unboxing for the juicy details. Also, we’d like to know what you think about the N9 and its micro-SIM. You know where to find us. @Nokia_Connects

