The 5-step guide to taking retro photos on your Lumia
If you’re a reader of Conversations the likelihood is you’re a digital photography fan. But that doesn’t mean you can’t have a thing for film photography too.
Having fun with film
Despite loving my Lumia 1020, I’m mad for film photography as well. And, it turns out, I’m not alone. This April 12th, there was even a World Film Photography Day, which celebrated vintage cameras and the types of photos they produce. I might do all my professional work with digital equipment, but I’ve been shooting film for the past 15 years and I still take my rangefinders out every now and then, mainly because it’s loads of fun. Having also worked in a professional photo lab I still prefer big prints over digital files, and I love to experiment with all sorts of different processing methods and funky old cameras. Light leaks, unwanted colours, soft focus and weird vignettes bring me great joy, and as the popularity of Instagram, Hipstamatic and the others shows I’m by no means the only one!
One of my good friends is constantly cursing the sharpness of today’s cameras. He says it’s almost impossible to get the pictures looking bad enough to get that perfect film look and I agree! You might want to google Lomography for inspiration and experiment with the ready-made filters first, but these days there are plenty of great photo editing apps which give you a bit more freedom for your post processing. Let’s try to give a basic dull photo a nice retro treatment with 5 basic steps.
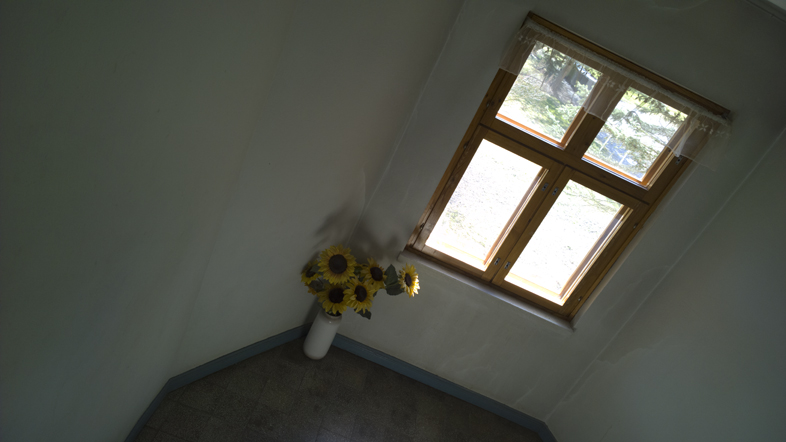
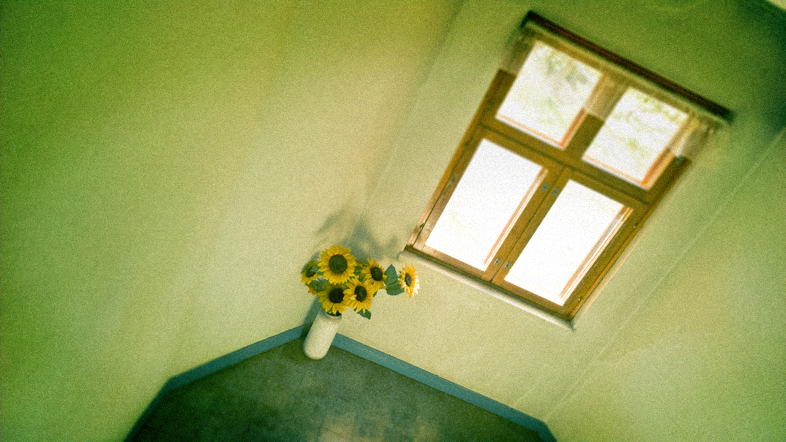
1. Colors
Different films give slightly different tones and expired films freaky colors and contrast so now it’s good time to go crazy and play around with your photo editor. A hint of yellow or orange as a last touch adds that nice warm overall feeling.
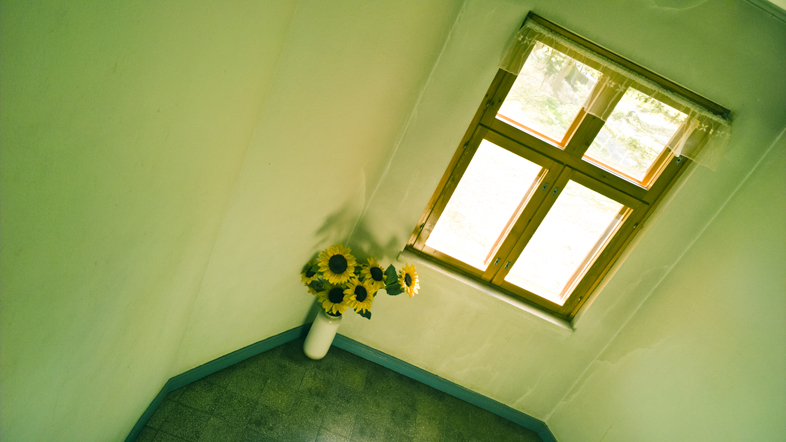
2. Contrast
Do you want hard contrast and saturated colors or a more washed out and faded look? Pay attention to the colours while setting this and remember – no fake-HDR here!
3. Blur
Funny thing. We get sharp, clean and low-noise photos from our Lumias, and next thing we say it’s too good for us! Adding some blur and grain might help to get rid of the digital feeling. For those willing to experiment more, try shooting through something transparent like nylon stockings or colourful plastic sheets! It’s really easy to overdo this step, but hard to master.
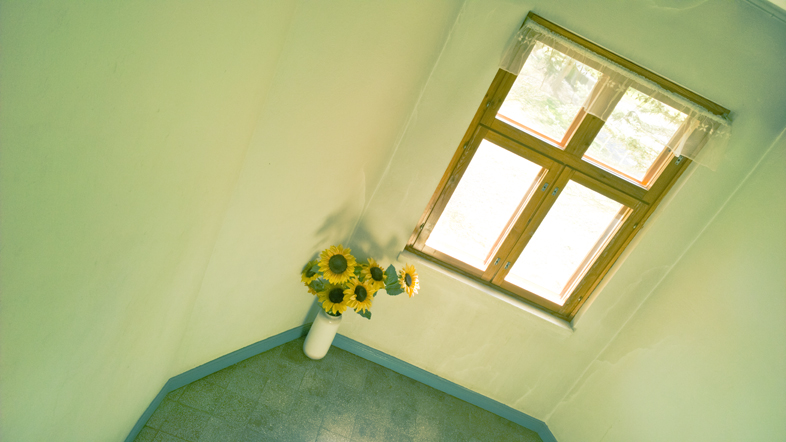
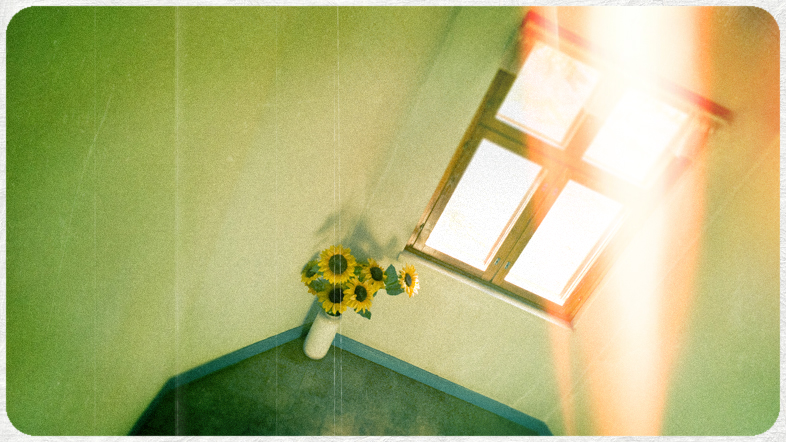
4. Vignette.
The lenses on cheap old cameras like the now popular Holgas were usually heavily affected by light fall-off, causing dark corners in the photo. Besides adding up to the retro feel this effect can be used to draw the viewer’s attention to the center or the subject of the image.
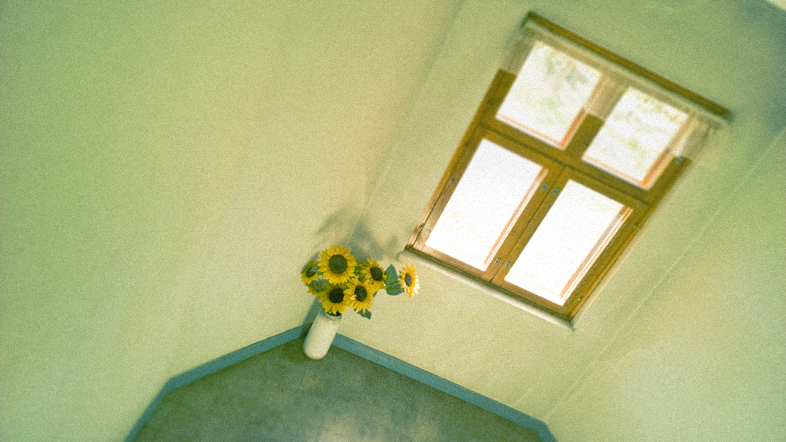
5. Special effects
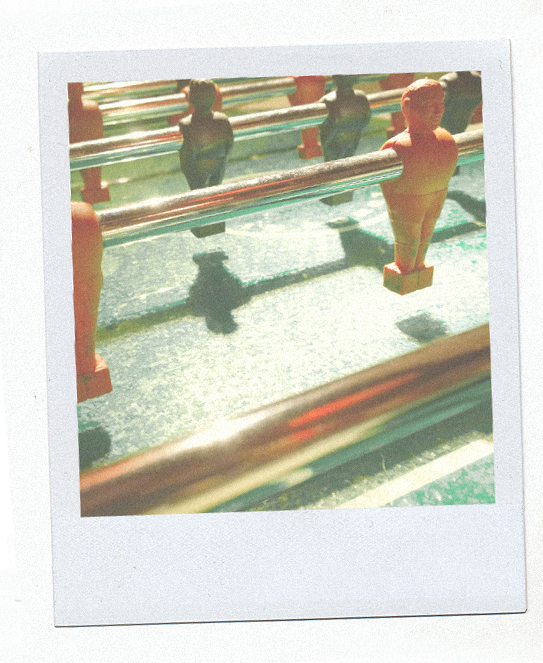
After you’ve done everything else it’s time to add the icing to the cake. Tilt the shot slightly for a Lomography-inspired “shoot from the hip” vibe. Maybe a few scratches here and there? Some light leaks or a polaroid frame perhaps? There’s maybe too much of everything here, but it gives you an idea of what kind of quirks to add!
These easy steps should give you a good idea where to start with your retro experiments. If you have any questions, please drop them in the comments below.
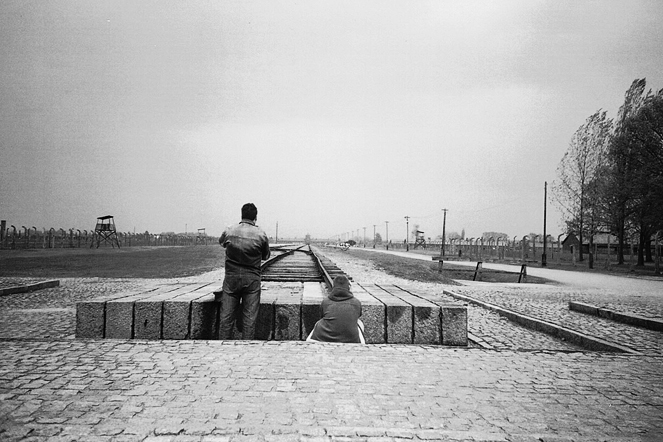
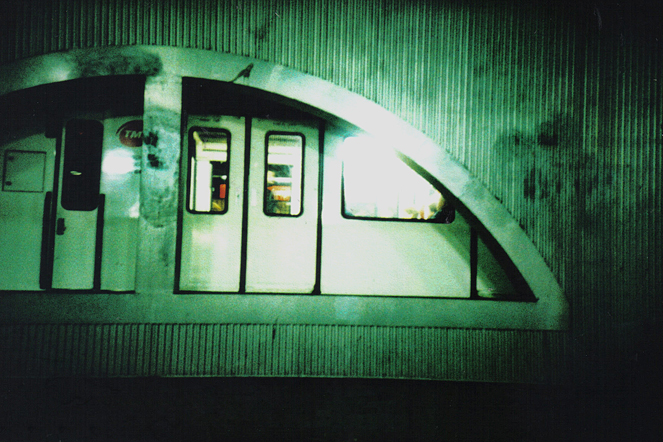
The retro challenge
But before you do that it’s time for a little bit of fun. Below are 10 photos of my old photos, the question I’m challenging you to answer is which are film scans from my archives, rather than just heavily processed Lumia shots? List the photos you think are film in the comments section and all will be revealed next week.
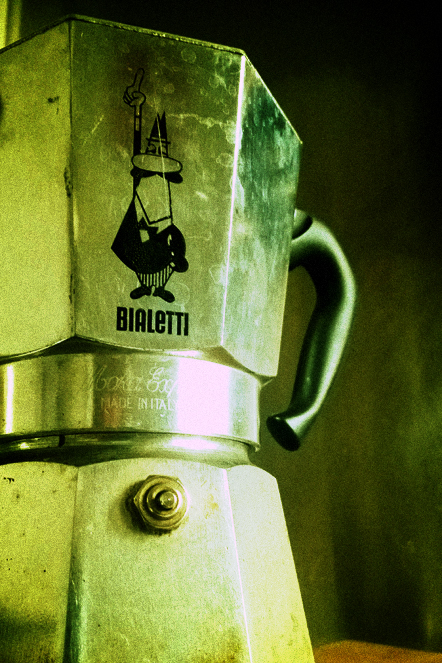
Number 1:
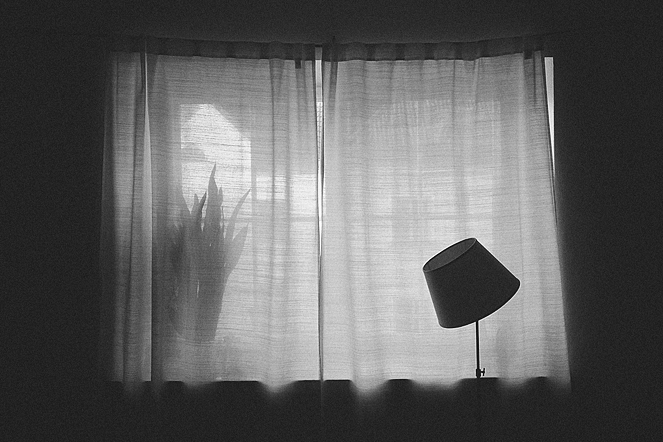
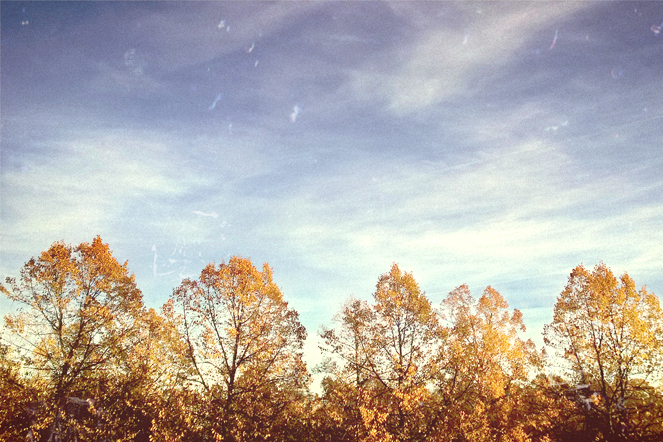
Number 2:
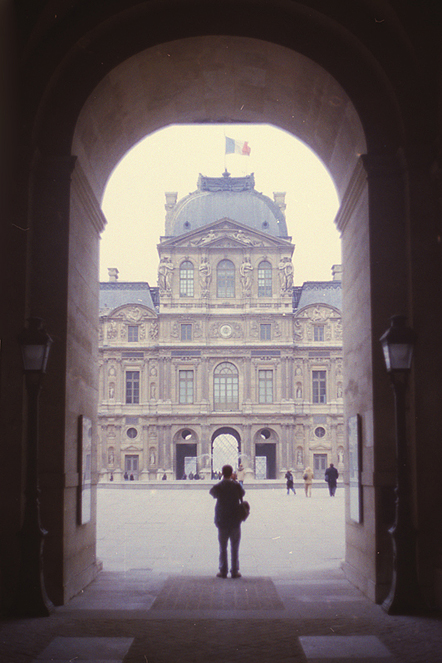
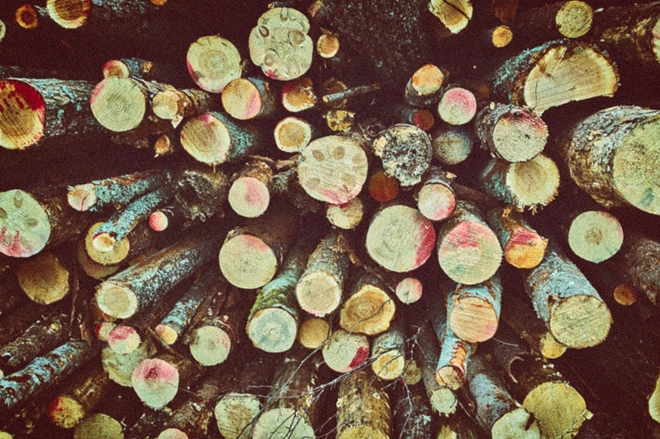
Number 3:
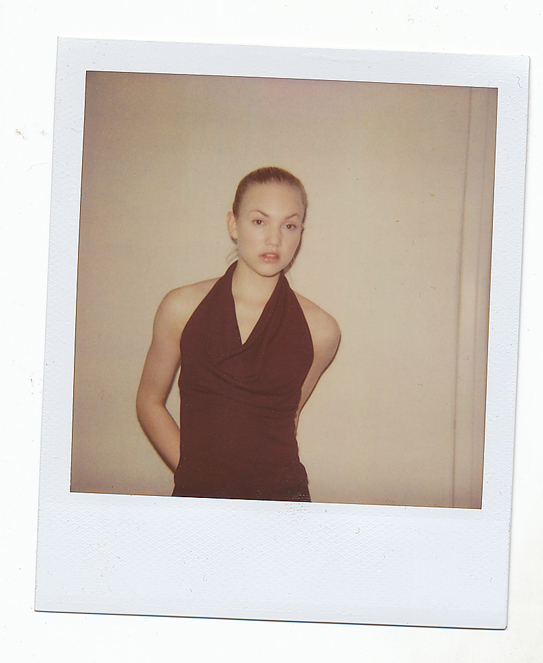
Number 4:
Number 5:
Number 6:
Number 7:
Number 8:
Number 9:
Number 10: