

Your 100 greatest Lumia photography tips: Part 2
Back in May, to celebrate the 100 thousandth photo posted using the hashtag #Lumia1020., we took a deep dive down the Conversations archives. The result was the ultimate four-part guide to Lumia photography, written by you.
The enthusiasm with which the first part was received totally matched ours, with loads more tips backed up with excellent photography flooding the comments section. Needless to say, we’re now even more excited to present part two. Scroll down for the next 25 tips that have helped make us all infinitely better Lumia photographers. Over to you, our fantastically fabulous Lumia photo community!
On zoom:
1. “Take advantage of the Lumia Zoom, always crop using the Nokia Camera App! Once you understand the power of the LumiaZoom it will really add flexibility on how/when/where you set up the composition of your shots.”
2. “If you own a Nokia Lumia 1020 (41Mp) or even the Lumia 1520 (20Mp), use those extra megapixels to your advantage. You can zoom in or use the full resolution mode and crop later to get in all those details and still have a good resolution in your final photo.”
On composition:
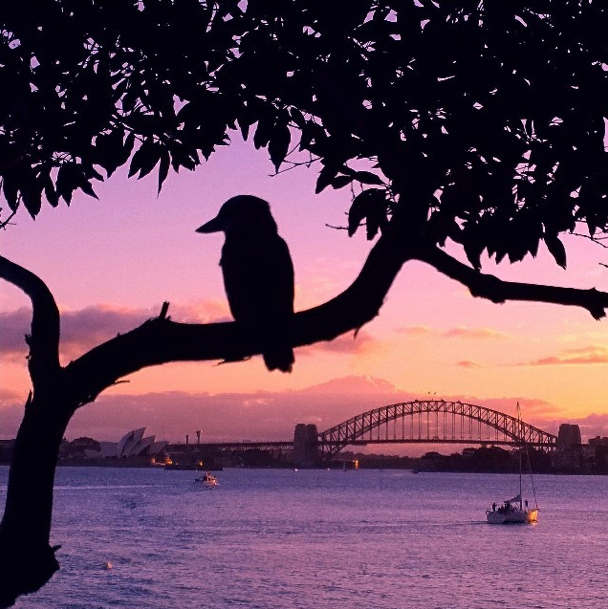
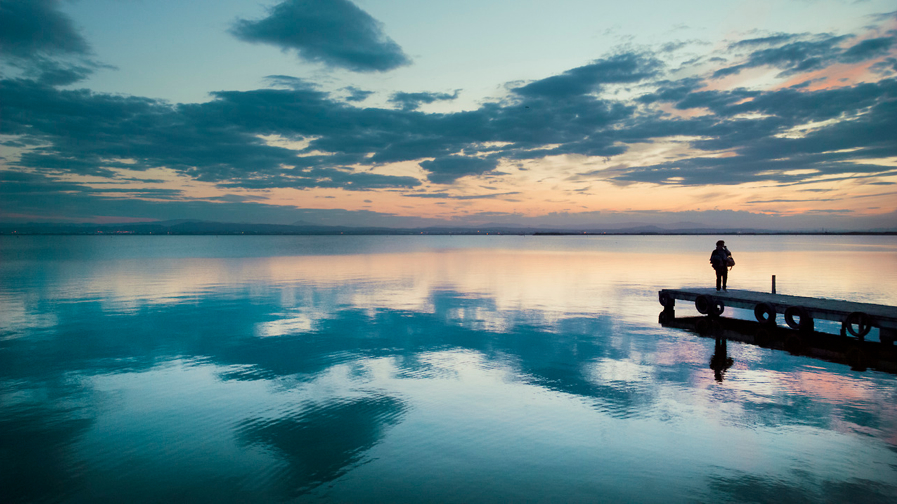
3. “It’s good to include people in your photos. They can give your photos another perspective, make them more alive and maybe help the audience to imagine they are there too.”
4. “Use depth of field to give additional drama to your photo. By creating some distance between your subject and the background, you can create an amazing out-of-focus effect.”
Jonas
5. “If you see a photo that you want to take, try it from a few different perspectives. Get really low, get really close, take one from above the subject, frame the subject differently, whatever you can think of! One thing I like to do is get my camera right down by the ground and focus on something in the foreground, while leaving the background a bit blurry. That can create a really cool effect.”

6. “I think that using a grid when taking landscapes is important as it means your horizon will be level when taking the image. So make sure you use a grid that gives a horizontal line; either the simple “cross hairs” grid, the “golden ratio” grid or the “rule of thirds”.”
7. “Remember to use perspective and try to use Rule of Thirds whenever possible, where the subject in your scene sits along “third” lines.”
8. “Many people will tell you that using “rule of thirds” to compose landscape images is crucial and is the only way to ensure a great result… like all rules, it’s there to be broken; it very much depends on the view in front of you and sometimes a centrally composed image can be better.”
Richard Dorman
On low light photography:
9. “I don’t use the infinity focus position. If there are any light sources, even if they’re far away like a lamppost, I focus manually until I see the light source blink. That means that everything is on focus and I’ll get a good result.”
10. “Essentially, anything can be photographed at night as long as there is some light, be it a streetlight some distance away, or a lit fountain. Fountains are especially good because the moves, giving you a misty effect with a long exposure. The trick is to select the right ISO for the image you want. Also a tripod can be useful to prevent blur. At the very least, find somewhere to rest the camera so it doesn’t move during exposure.”
Richard Dorman
11. “When it comes to low-light and night shots, there are two basic requirements to keep in mind. Firstly, keep the Lumia steady. It is really easy and frustrating to end up with blurry photos when shooting at night. By keeping your Lumia still, you will prevent unwanted blur from camera shake or movement. Secondly, set a slow shutter speed. This will help you capture more movement of the subject you focus on.”
12. “I always try to shoot with the lowest ISO setting. Between 100 and 200 to minimize the noise and capture colours at their best.”
Toni Garcia
On Instagram:
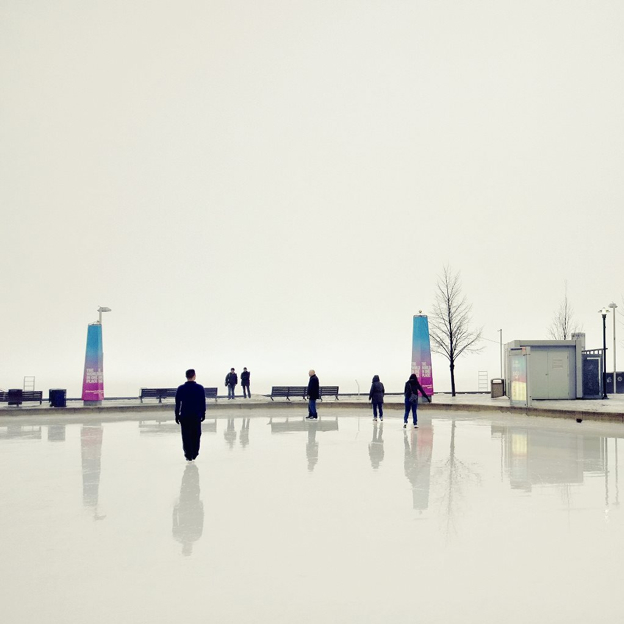
13. “My top tip is get the case. Having the shutter button was such a bonus during the extremely cold winter we had this year – didn’t have to take off my gloves to get the shot. And you can set it to turn the camera on with the button without having to touch the screen.”
14. “My top tip for taking Instagram photos on the Nokia Lumia would definitely be to get familiar with the settings on Smart Cam. Once you are familiar with the settings and how everything works, you can start to see what style of photography you are into.”
15. “Use InstaSquarer to post images that aren’t in a 1:1 ratio. For a cleaner look, select the white background.”
16. “Use the square framing grid so you know the subject of your photos can be cropped for Instagram… Set the full 5mp + 38mp resolution so you can crop them later.”
17. “I prefer to shoot at the 16:9 aspect ratio – excellent for shooting landscapes and for capturing a large view of the scene, then cropping down to the interesting part of it to the 1×1 ratio for Instagram.”
Susan Drysdale
18. “Give Oggl PRO a try. It’s a really neat app that lets you take analog photos and share them to Instagram, twitter, tumblr, Foursquare, Flickr and Facebook – super easy and fun.”
Bridgette Shima
19. “Explore places and experiment with different framings and positions you are shooting from. Take time to get familiar with the surroundings of the places or the people you shoot.”
20. “If you’re interested in exposing your photographs to the widest audience, tag them with applicable and common Instagram tags. It will do wonders to broaden the audience viewing your photographs and will help you discover others from around the world with similar interests.’
21. “When posting square photos, upload the image directly to Instagram – then scale and crop within the app.”
Bridgette Shima
22. “In my opinion, natural landscape and city view photos always look better in full size. So I insist on sharing them to Instagram without too much cropping. By using a third party Instagram app in Windows Phone Store called 6tag, I am allowed to upload full size photos to Instagram. This app is fantastic!”
23. “Get familiar with the filters and if you’re looking for other styles then I suggest using apps such as Fhotoroom, Fotor, Camera360, etc., which offer a variety of filters and effects.”
Bridgette Shima
On extra kit:
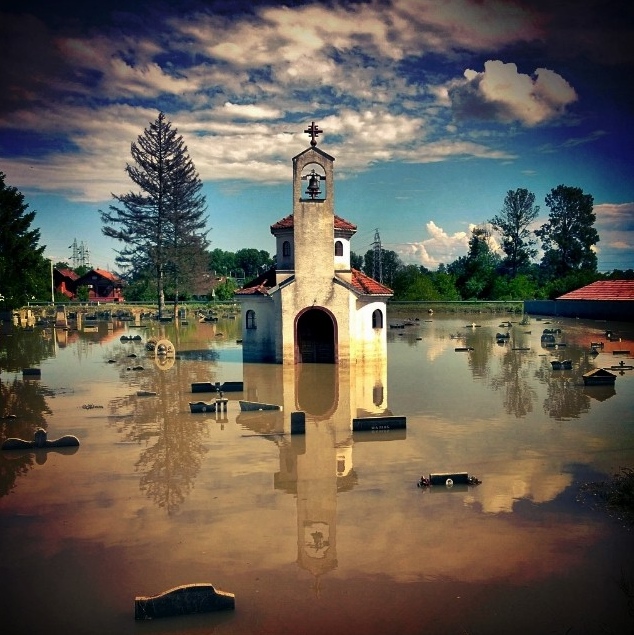
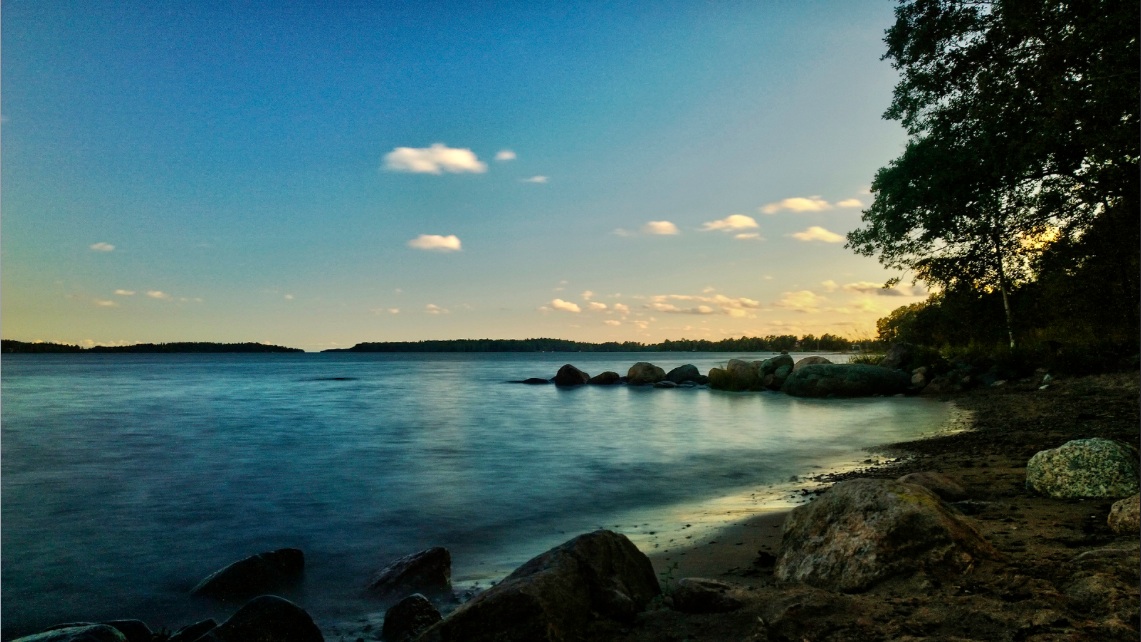
24. “One of the main reasons for doing long exposures during the day is to get that misty effect with water (see below): If you fancy trying this out, then you will need a little extra kit. Most importantly some sunglasses for the camera in the form of ND (Neutral density) filters and some ever-trusty elastic bands.”
Richard Dorman
25. “To increase the zoom and add some quality, you can try to use an additional lenses that can be even from an old camera that you don’t use anymore.”
Jonas
That’s it for today, ladies and gentlemen. We’ll give you (and us!) some time to test these ones out before rolling out part three. Please keep the tips and pics coming in the comments, too, we’re loving them! Who knows where the best ones might end up…
Cover image by Alban Xhakaj
Other images in order of appearance by Rob Mulally, Bryce McNitt, Toni Garcia, Susan Drysdale, Antoniel Pavliš and Richard Dorman.