

The Beam Machine
A Retrospective
In late 2016, the Windows Insider team did something new. We hosted a real-time Webcast. While the concept of a webcast is not new, this was the first one for us. We hosted it during the development cycle for the Creator’s update and we timed it with the first Bug Bash. It was a small but fun session and we immediately knew it was something we’d want to do again. When the second Bug Bash for the Windows 10 Creators Update occurred in February of this year, we hosted two more webcast sessions. Each session was a success and brought in more Insiders from around the world. The webcasts provided an opportunity to chat directly with, for Insiders to chat with one other, and to have a little face-to-face time with some of the Microsoft employees they engage with frequently on social media.
As with anything new, there were some growing pains. The webcast sessions were fun and engaging, but the broadcast itself was a bit rough around the edges. There were a few technical difficulties with the streaming software, the PC hosting the video stream was a bit underpowered, and Insiders reported the video quality as being sub-par. Although the general feedback about the webcasts was positive, we knew we could make some improvements and provide a better experience.
What to do?
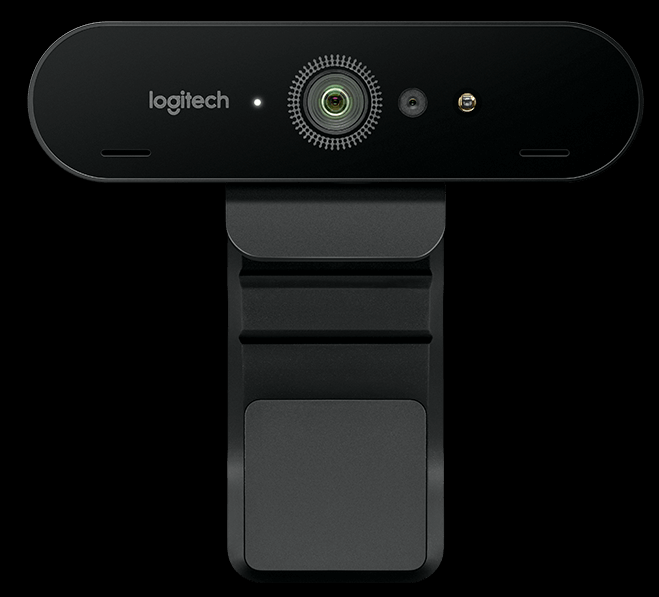
Insider feedback in-hand, it was time to make a few changes, but where to start? The easy thing to tackle was the video quality. We used a small lower-resolution webcam for the original webcasts, so making a change here was straight-forward. To enhance this part of the webcast experience, we acquired a Logitech BRIO 4k webcam. It is the first 4k consumer webcam and during our internal testing with it, it provides a huge leap in video quality compared to our previous hardware.
Next up for review was the broadcasting software. Our first broadcasts were run using OBS Studio with FTL. This software was simple to set up and configure and was easy to become familiar with for our webcasts. Knowing we wanted to get progressively “fancier” over the course of time, we posed some questions to the web community and to our partners on the Beam team as to what the best software out there is and were pointed to XSplit Broadcaster. While we haven’t hosted a webcast using this new software, it does look like it will allow us to achieve some of our future goals with providing higher quality webcasts.
Having tackled two of the three important aspects of the webcast, it was time to overhaul the computer being used to host the broadcast. That brings us to the birth of the #BeamMachine.
The #BeamMachine
How do you start a new PC build? If you could pick out the parts and build to your own specifications, what hardware would you choose? The core of any new PC builds comes down to two key questions: what is your budget, and do you want an Intel or AMD based setup? Our focus for this build was video streaming, a function that is CPU intensive and is good to support with the proper RAM. We weren’t building a gaming rig, so we didn’t need the most cutting edge graphics card. The rest of the core components would fall into place as we compiled our parts list.
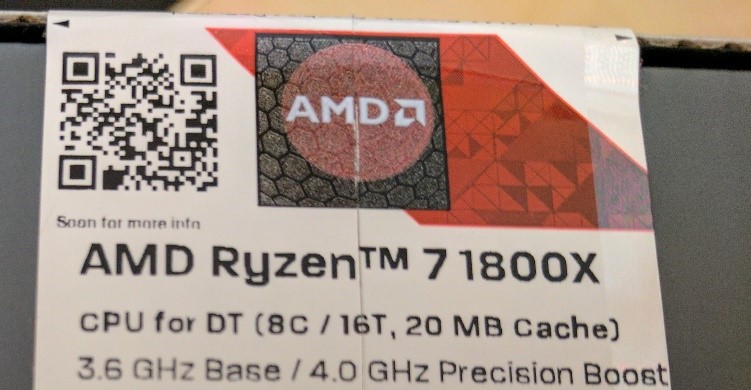
Wanting to build a solid machine that would be somewhat future-proof, we chatted with some partner teams and set our build expectations. As much fun as it is to spend money on new computers, we have budgets too! Being the figurative core of the new build, the first part up for consideration was the CPU. Intel has a reputation for being the fastest and most cutting-edge, but that performance comes at a price. Comparatively, AMD recently released their new Ryzen series processor and the initial reviews on performance were promising. Keeping our budget in mind, the new Ryzen chipset was now the focal point of the build. The difference between the 1700x and the faster 1800x was $100, so we decided to splurge a bit and go for the faster version.
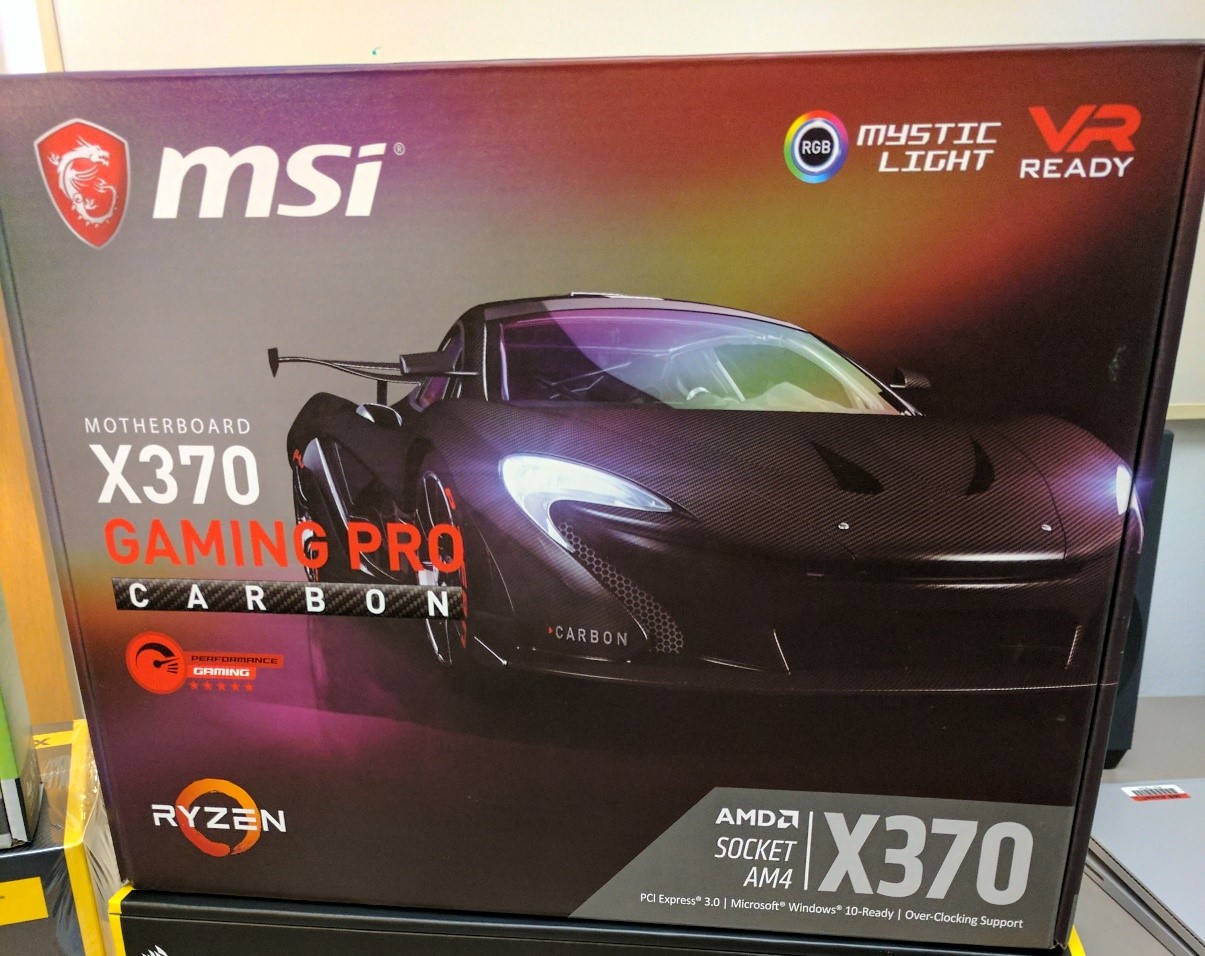
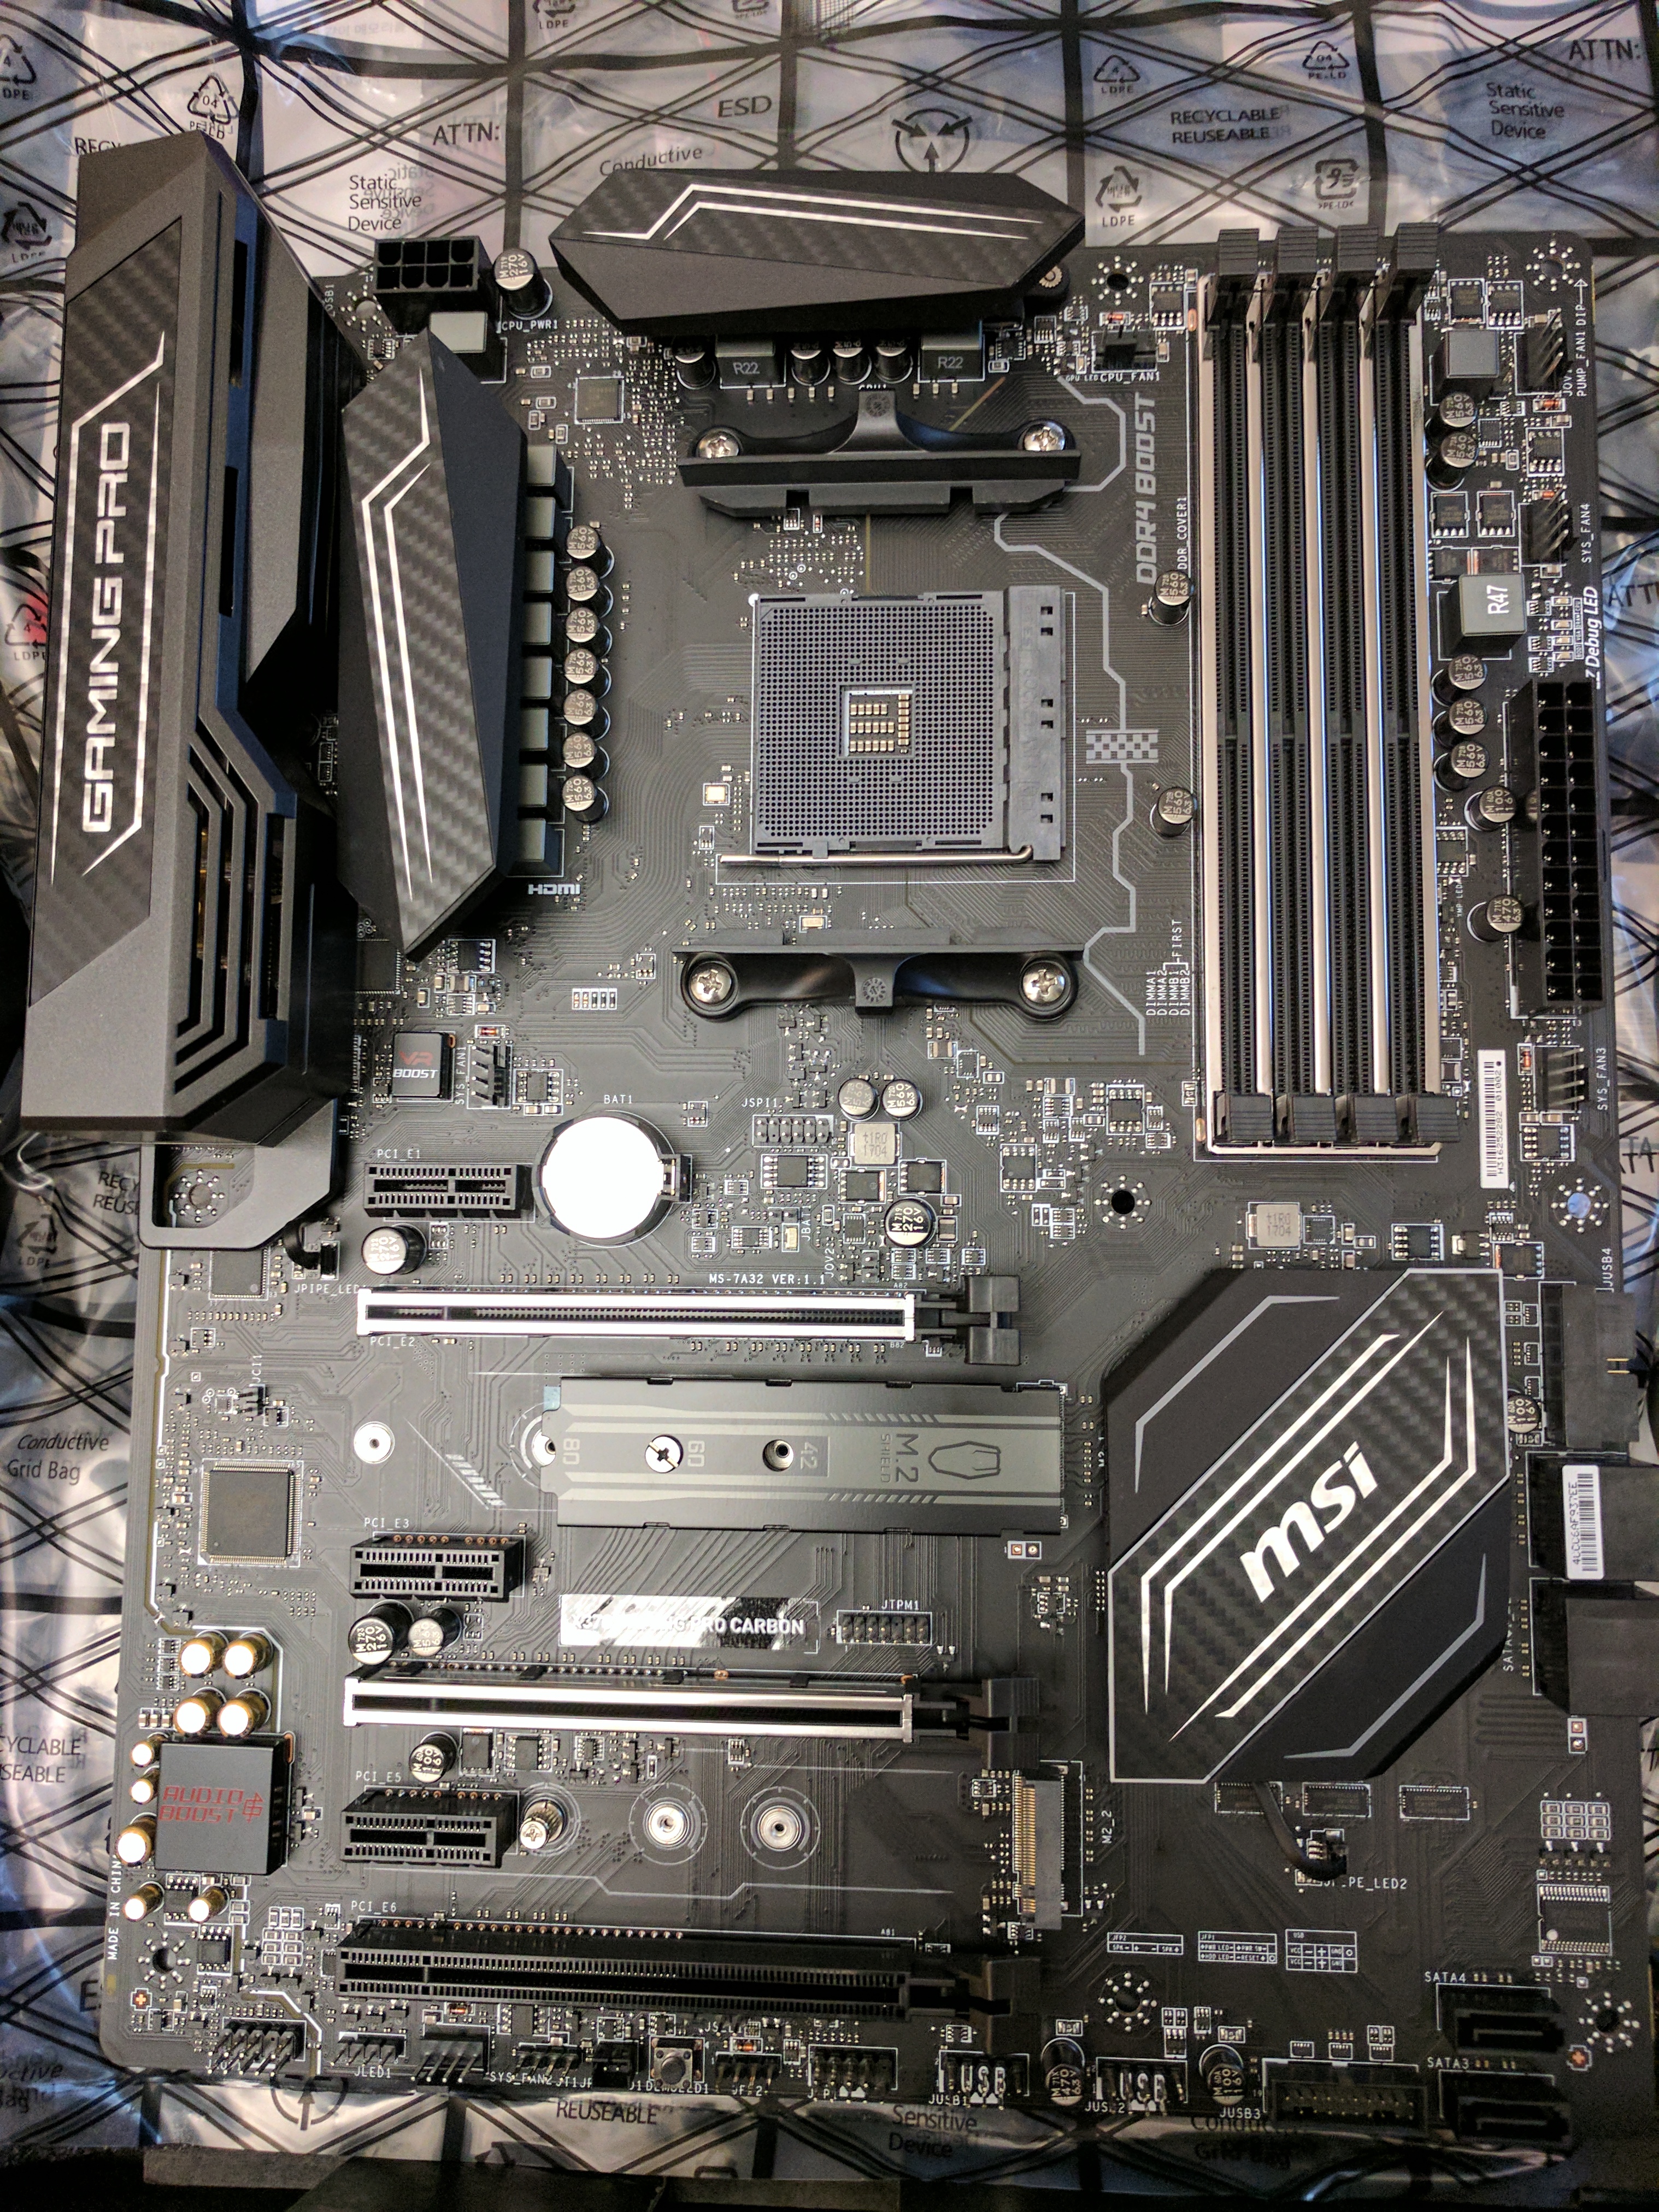
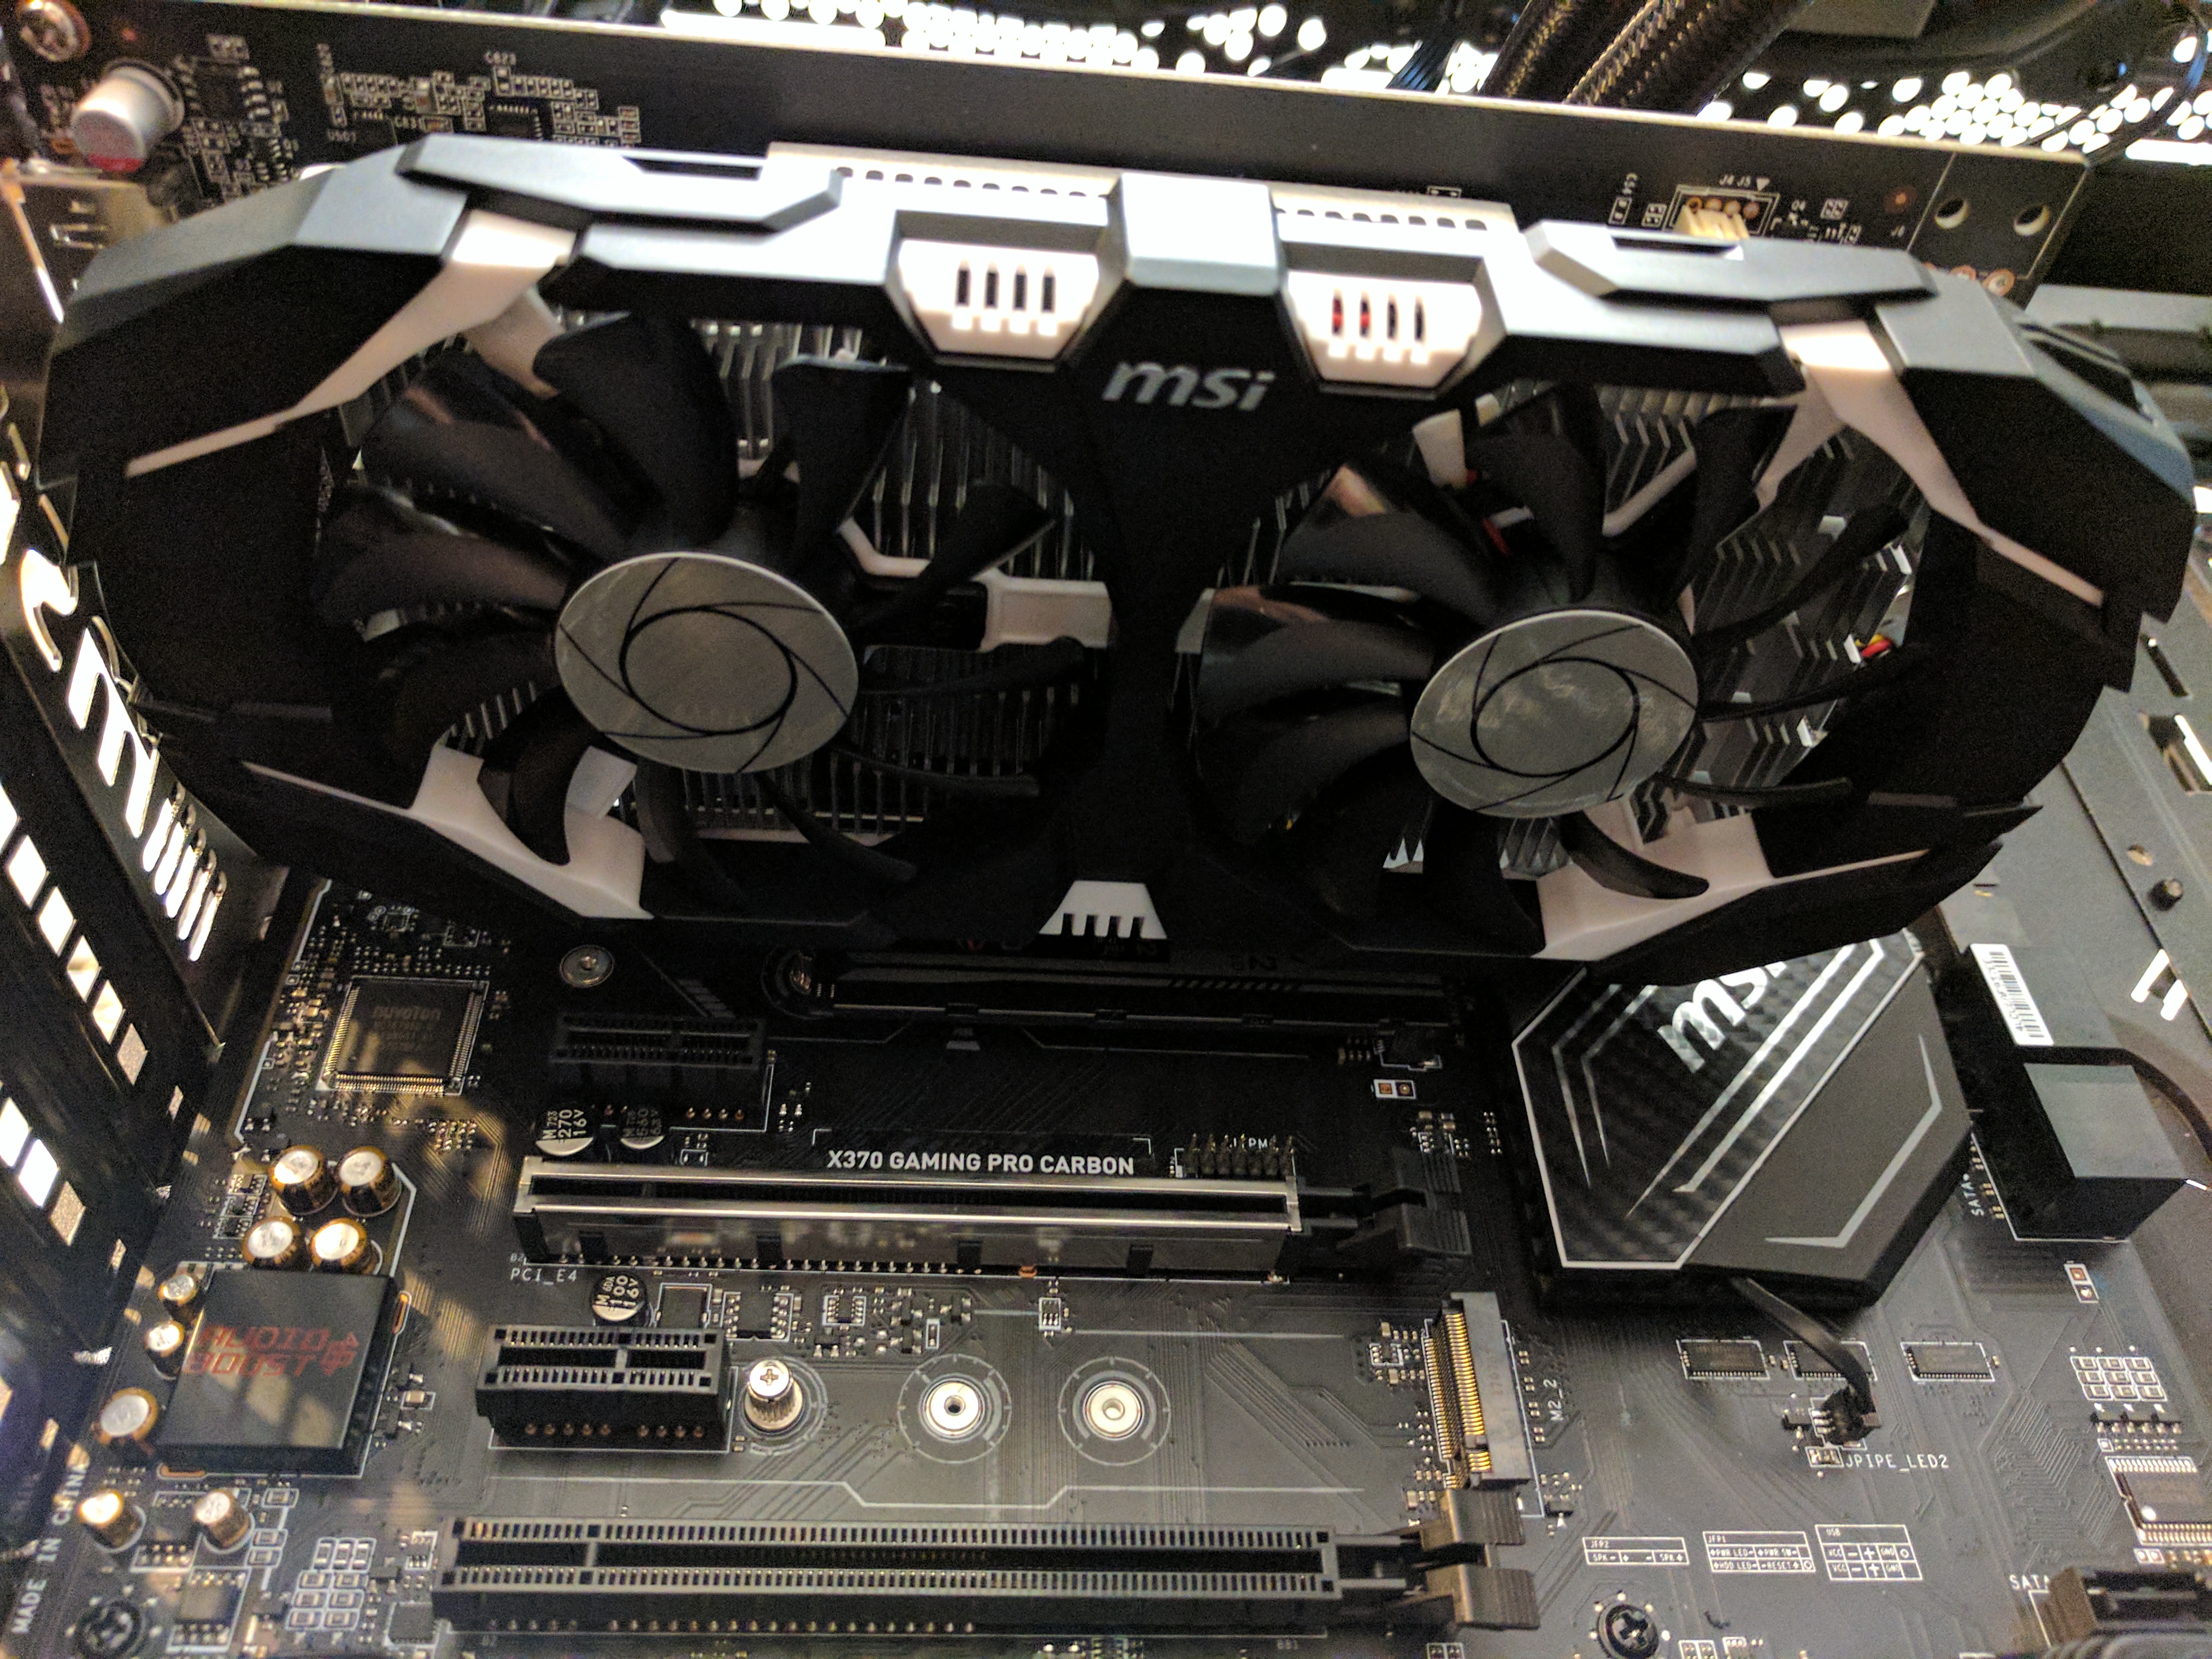
Having settled on a processor, the rest of the #BeamMachine build fell into place quickly. Being a first-generation processor, the list of compatible motherboards was somewhat limited, but thankfully some of the better-known OEMs have already been working on their supporting hardware. Given our timeline for the build, general availability, and MSI’s reputation for ease of setting over-clocking configurations, the new X370 Gaming Pro Carbon motherboard rose to the top of our build list.
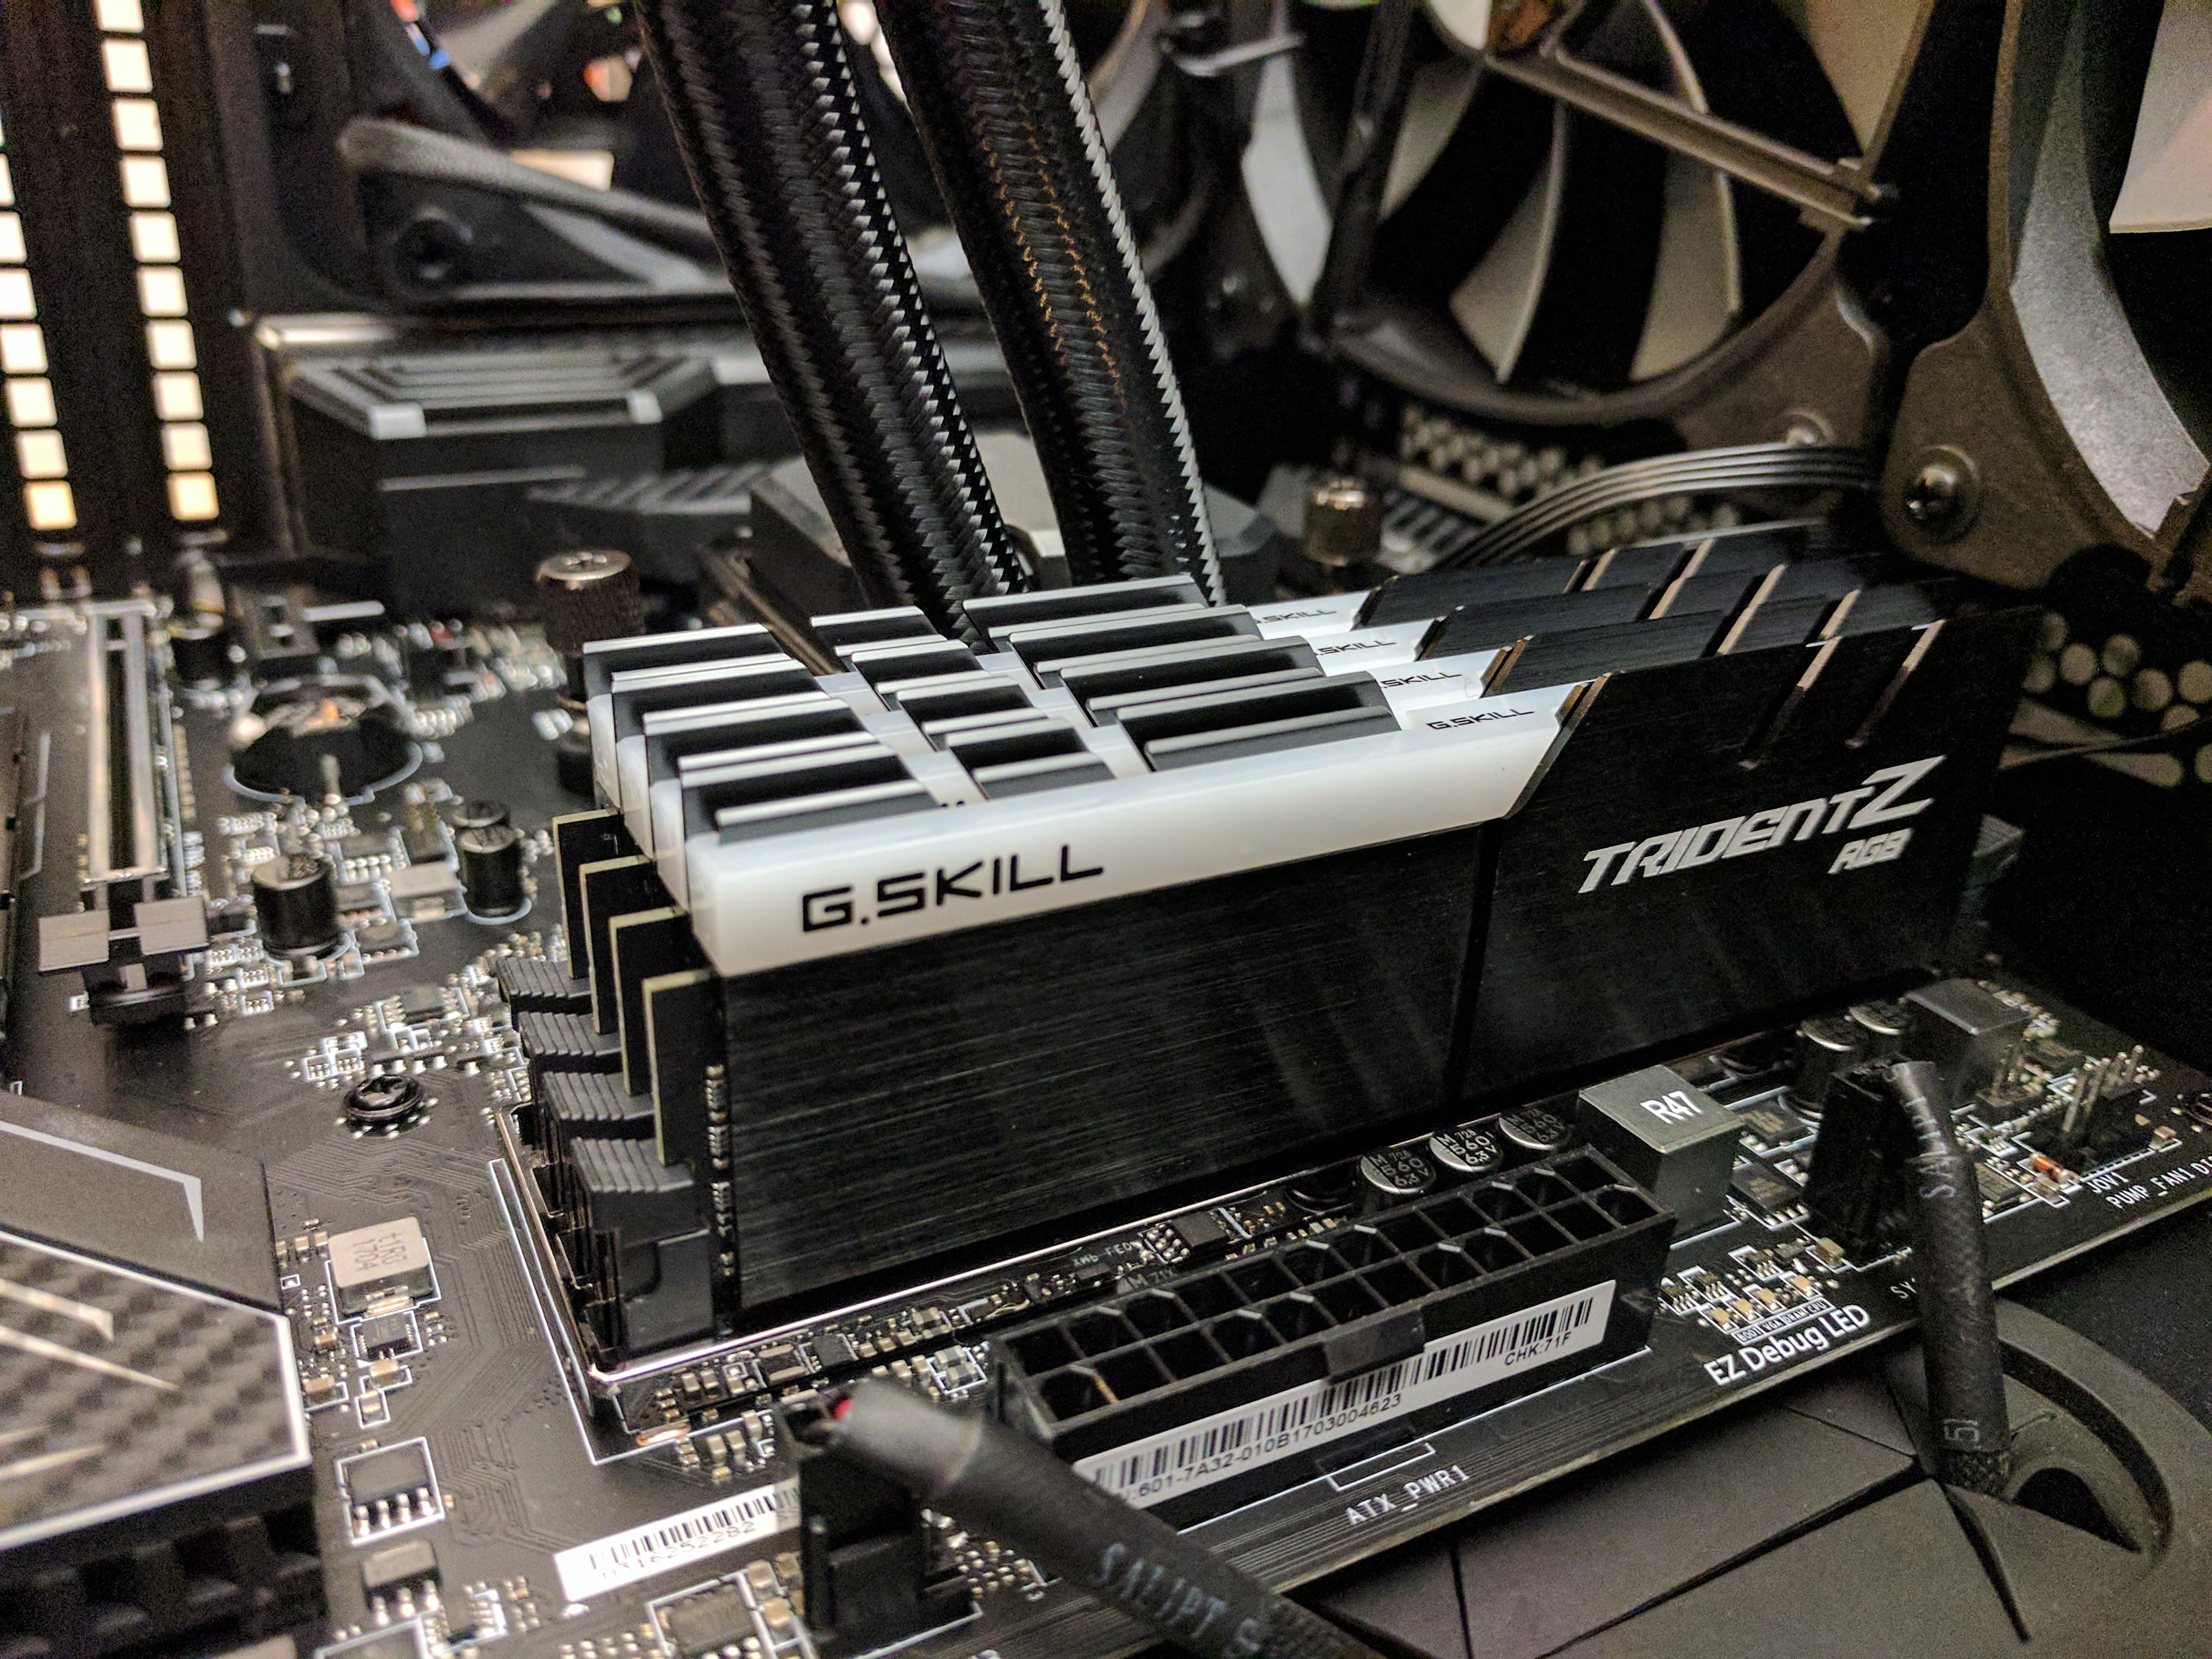
Next up was RAM and the choices were bountiful. Honestly there were more options than we could sort through. There’s a lot to take into consideration though. What speed RAM do you want? Are you going to over-clock it? What’s the performance vs. cost ratio? I personally have had great past experiences with G.Skill RAM and overclocking and quickly settled on a choice.

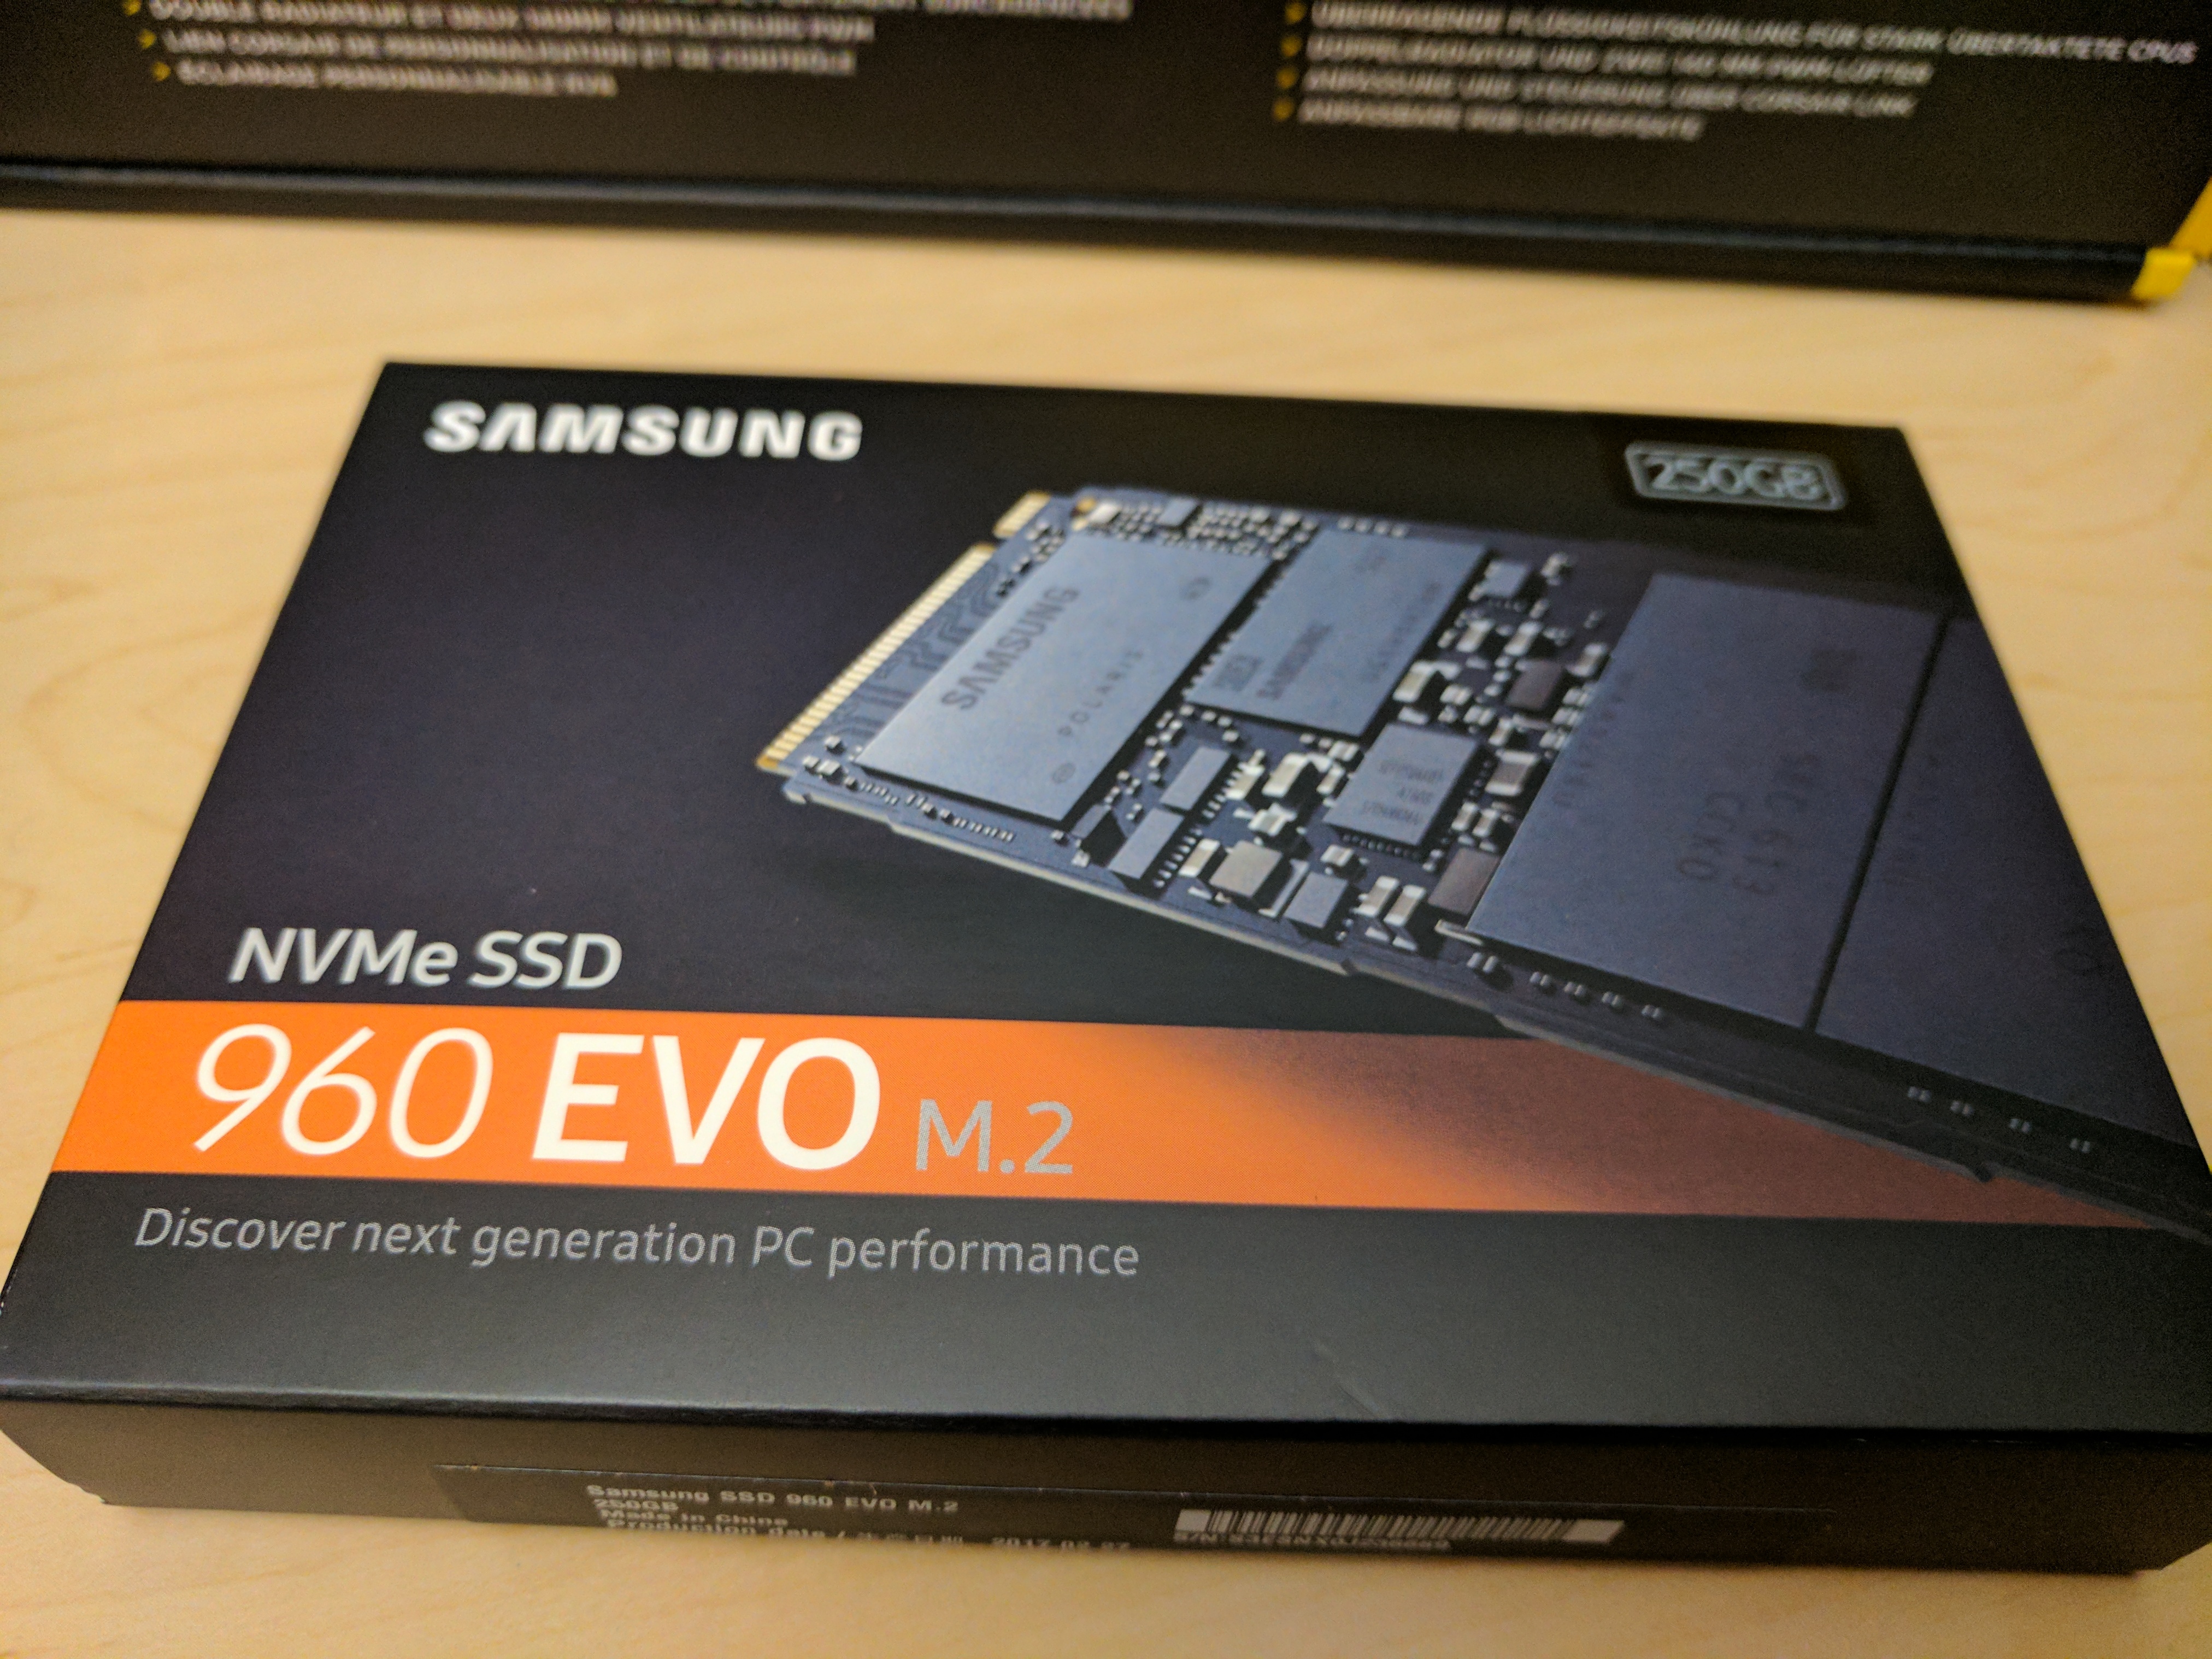
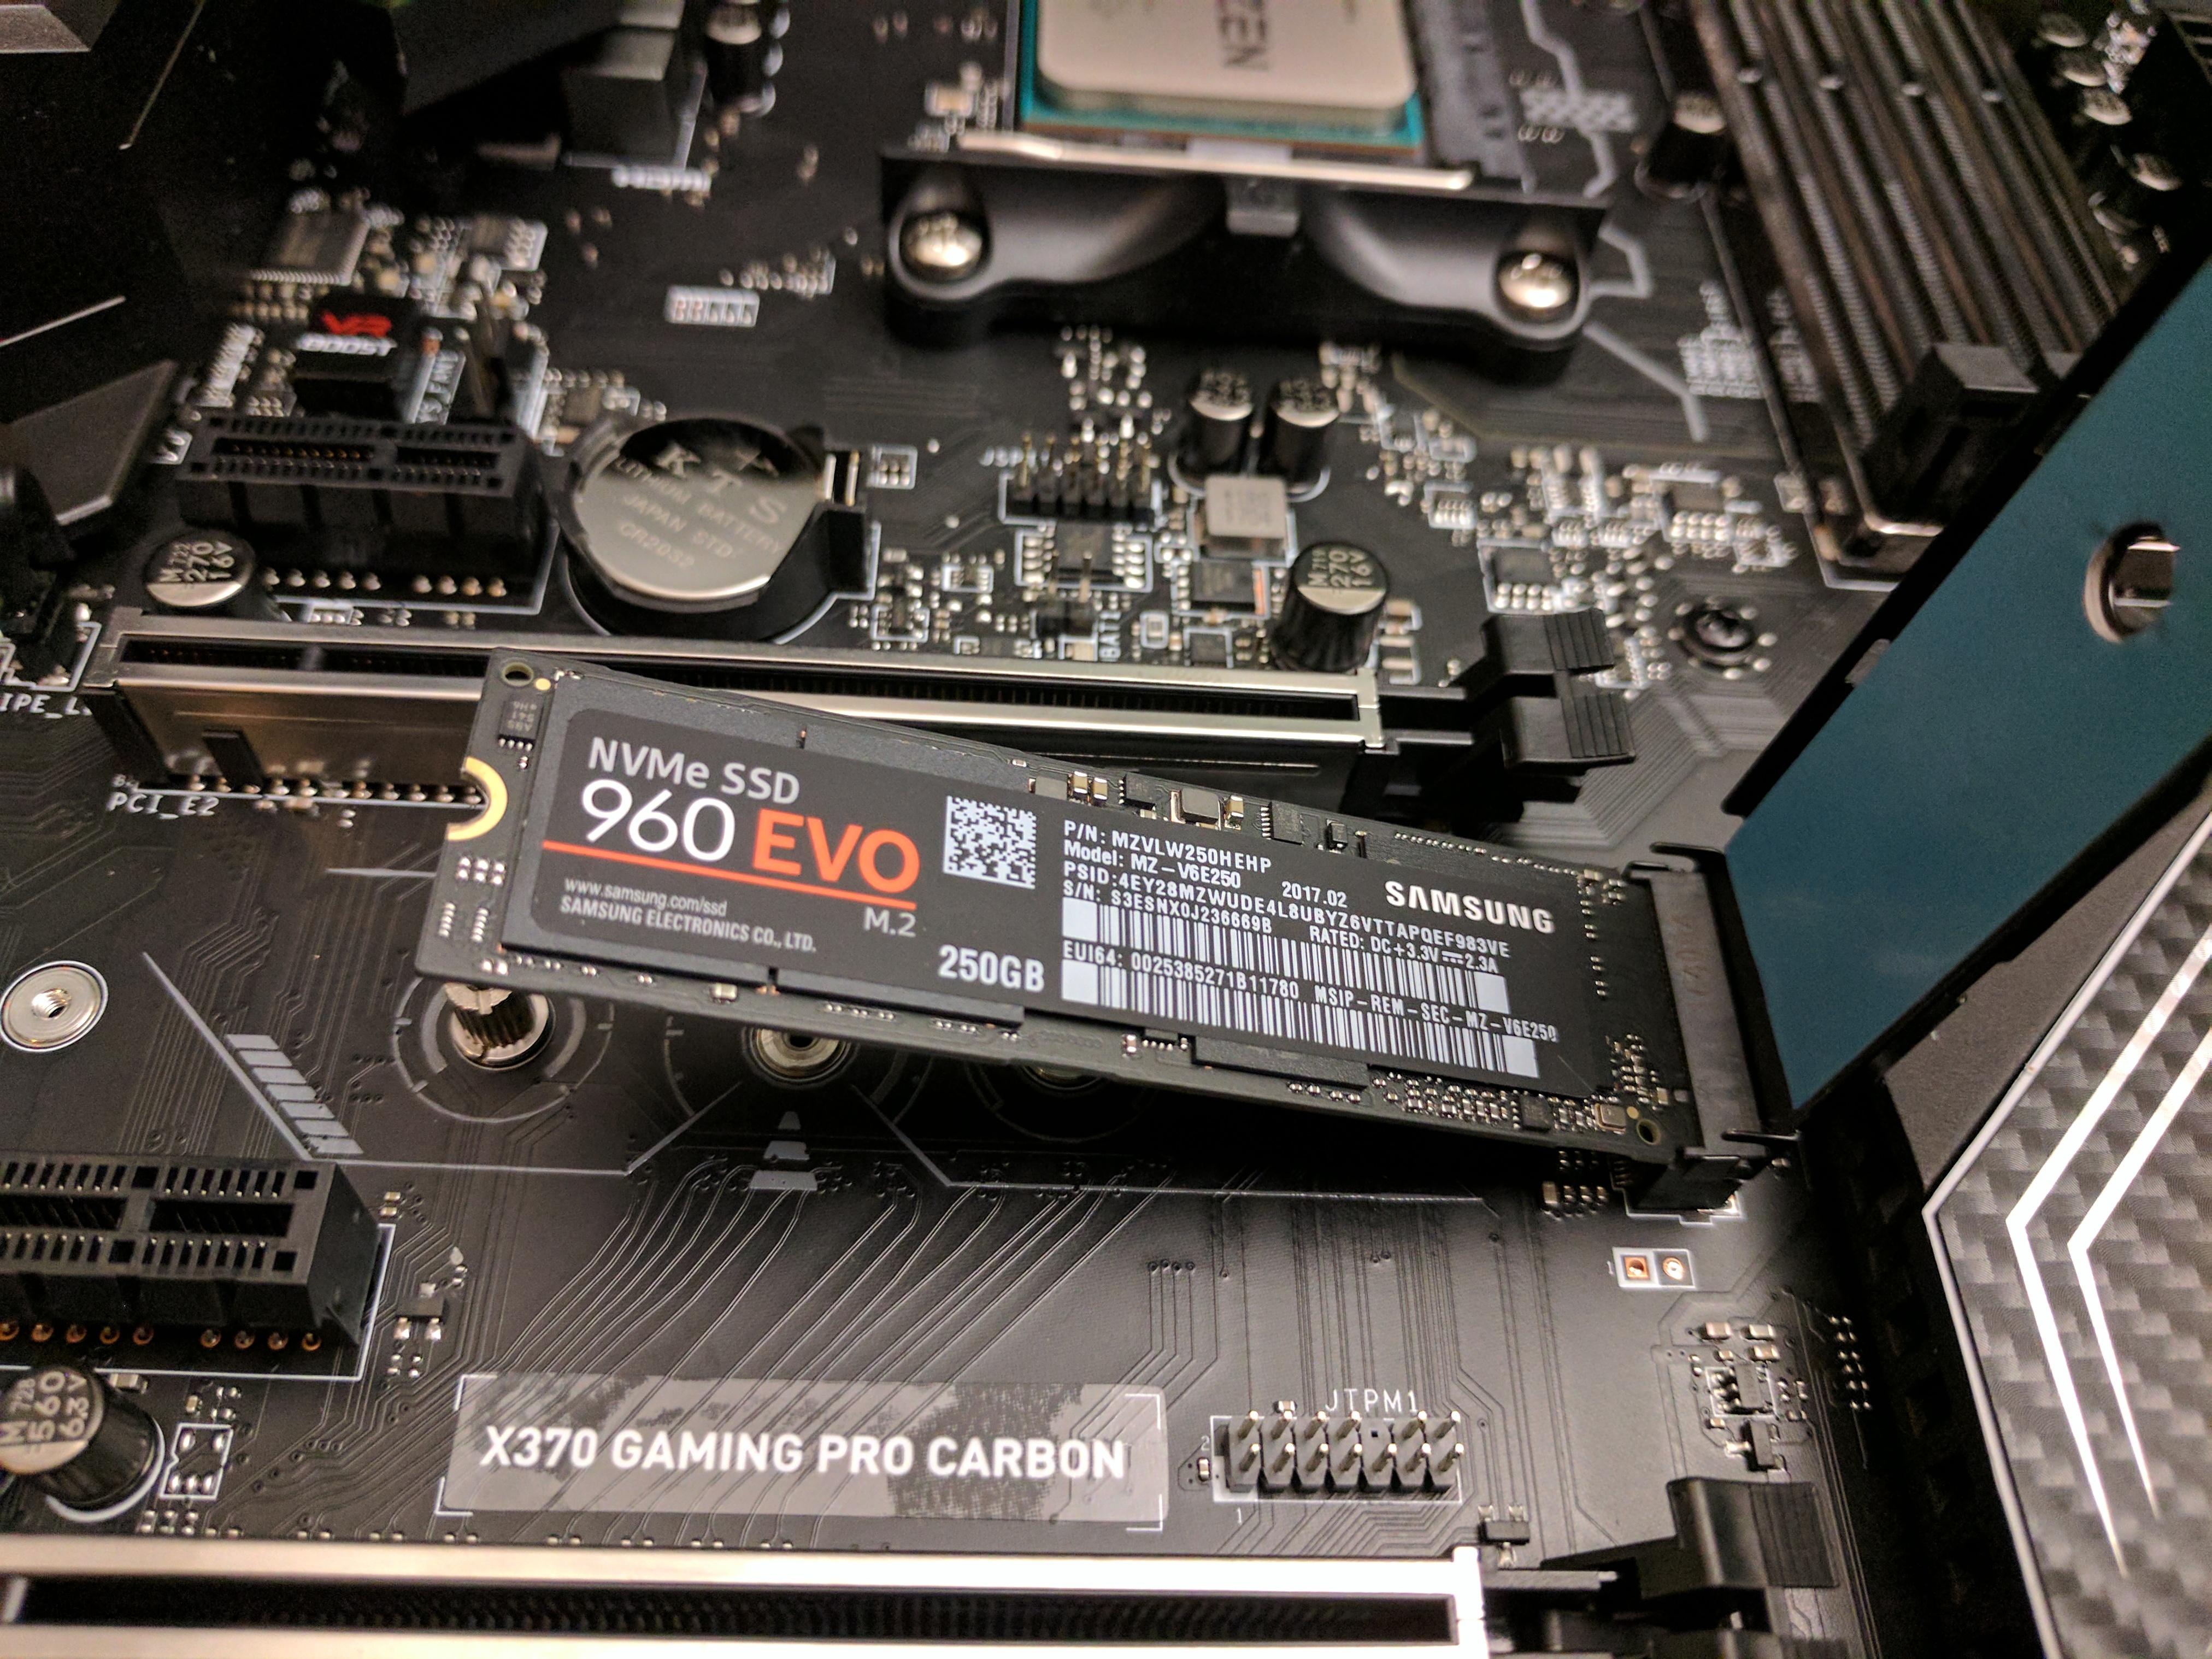
Next on the list was graphics. As mentioned before, we didn’t need the most powerful graphics card out there since it’s not vital to the streaming experience. Knowing this wouldn’t be a constraint, there were plenty of options to select from. Hard drive capability was another important factor if we were going to record the video streams, so we made sure to put a high-quality solid-state drive (SSD) on the build list.
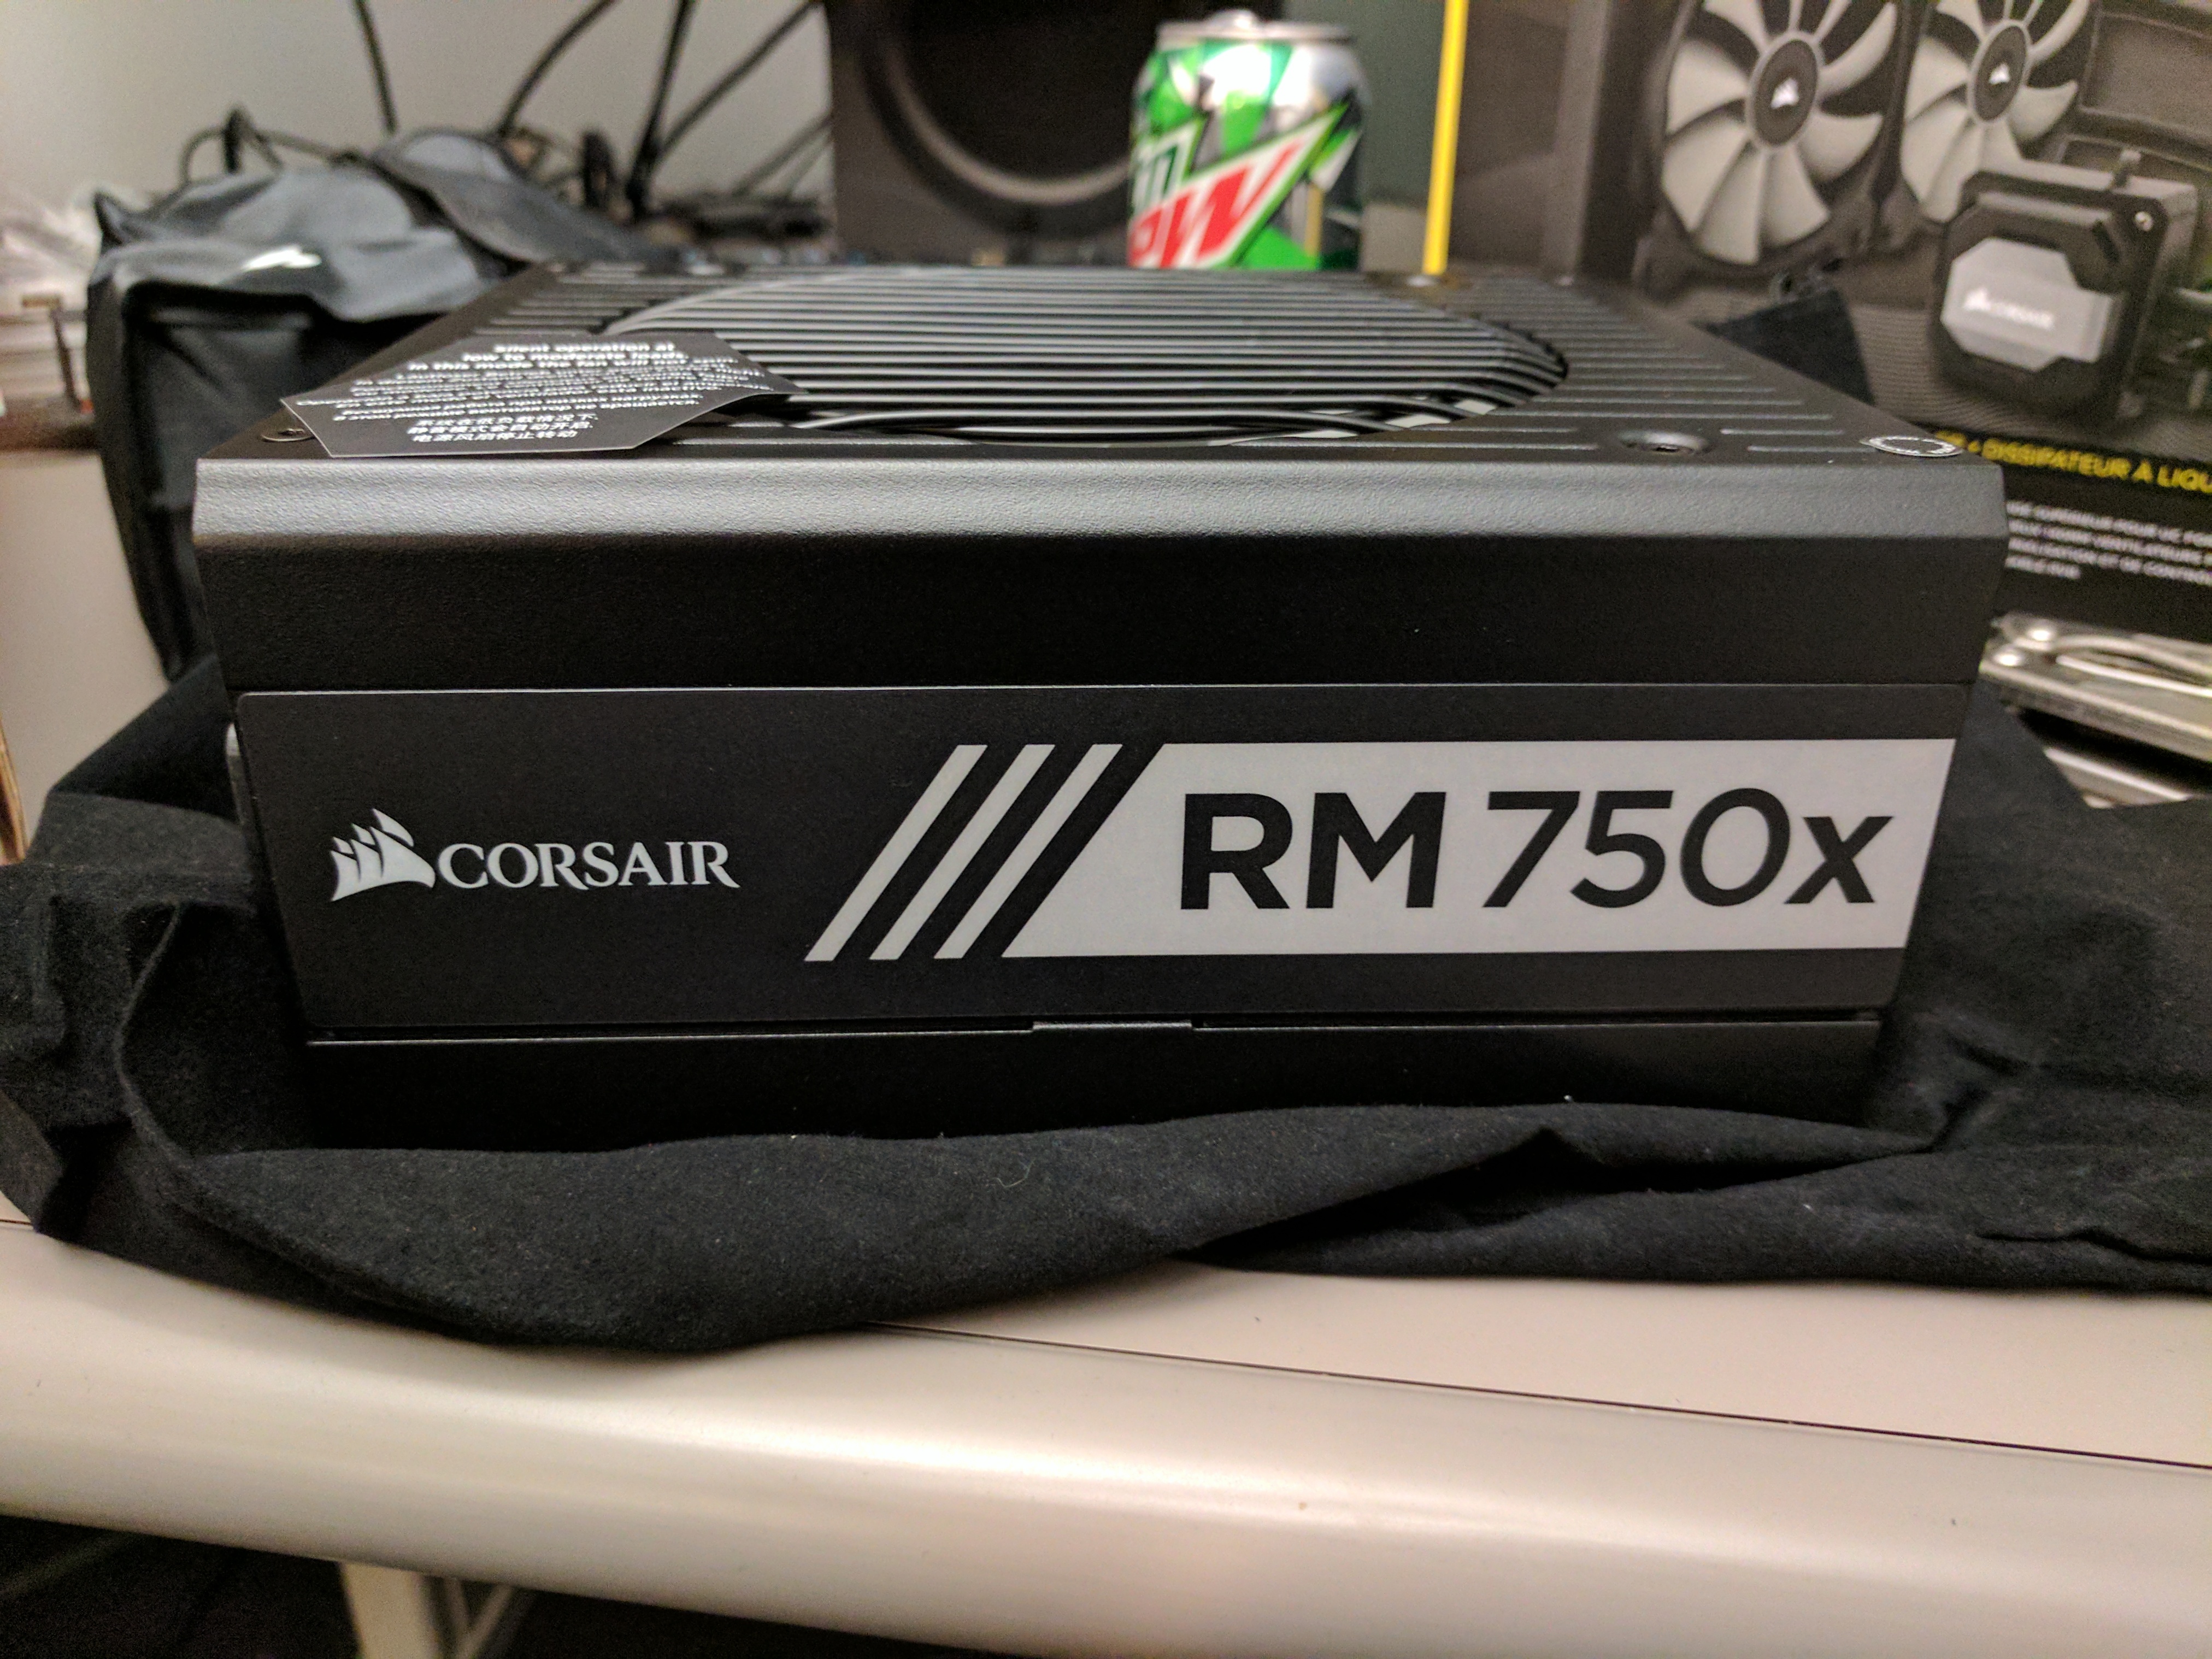
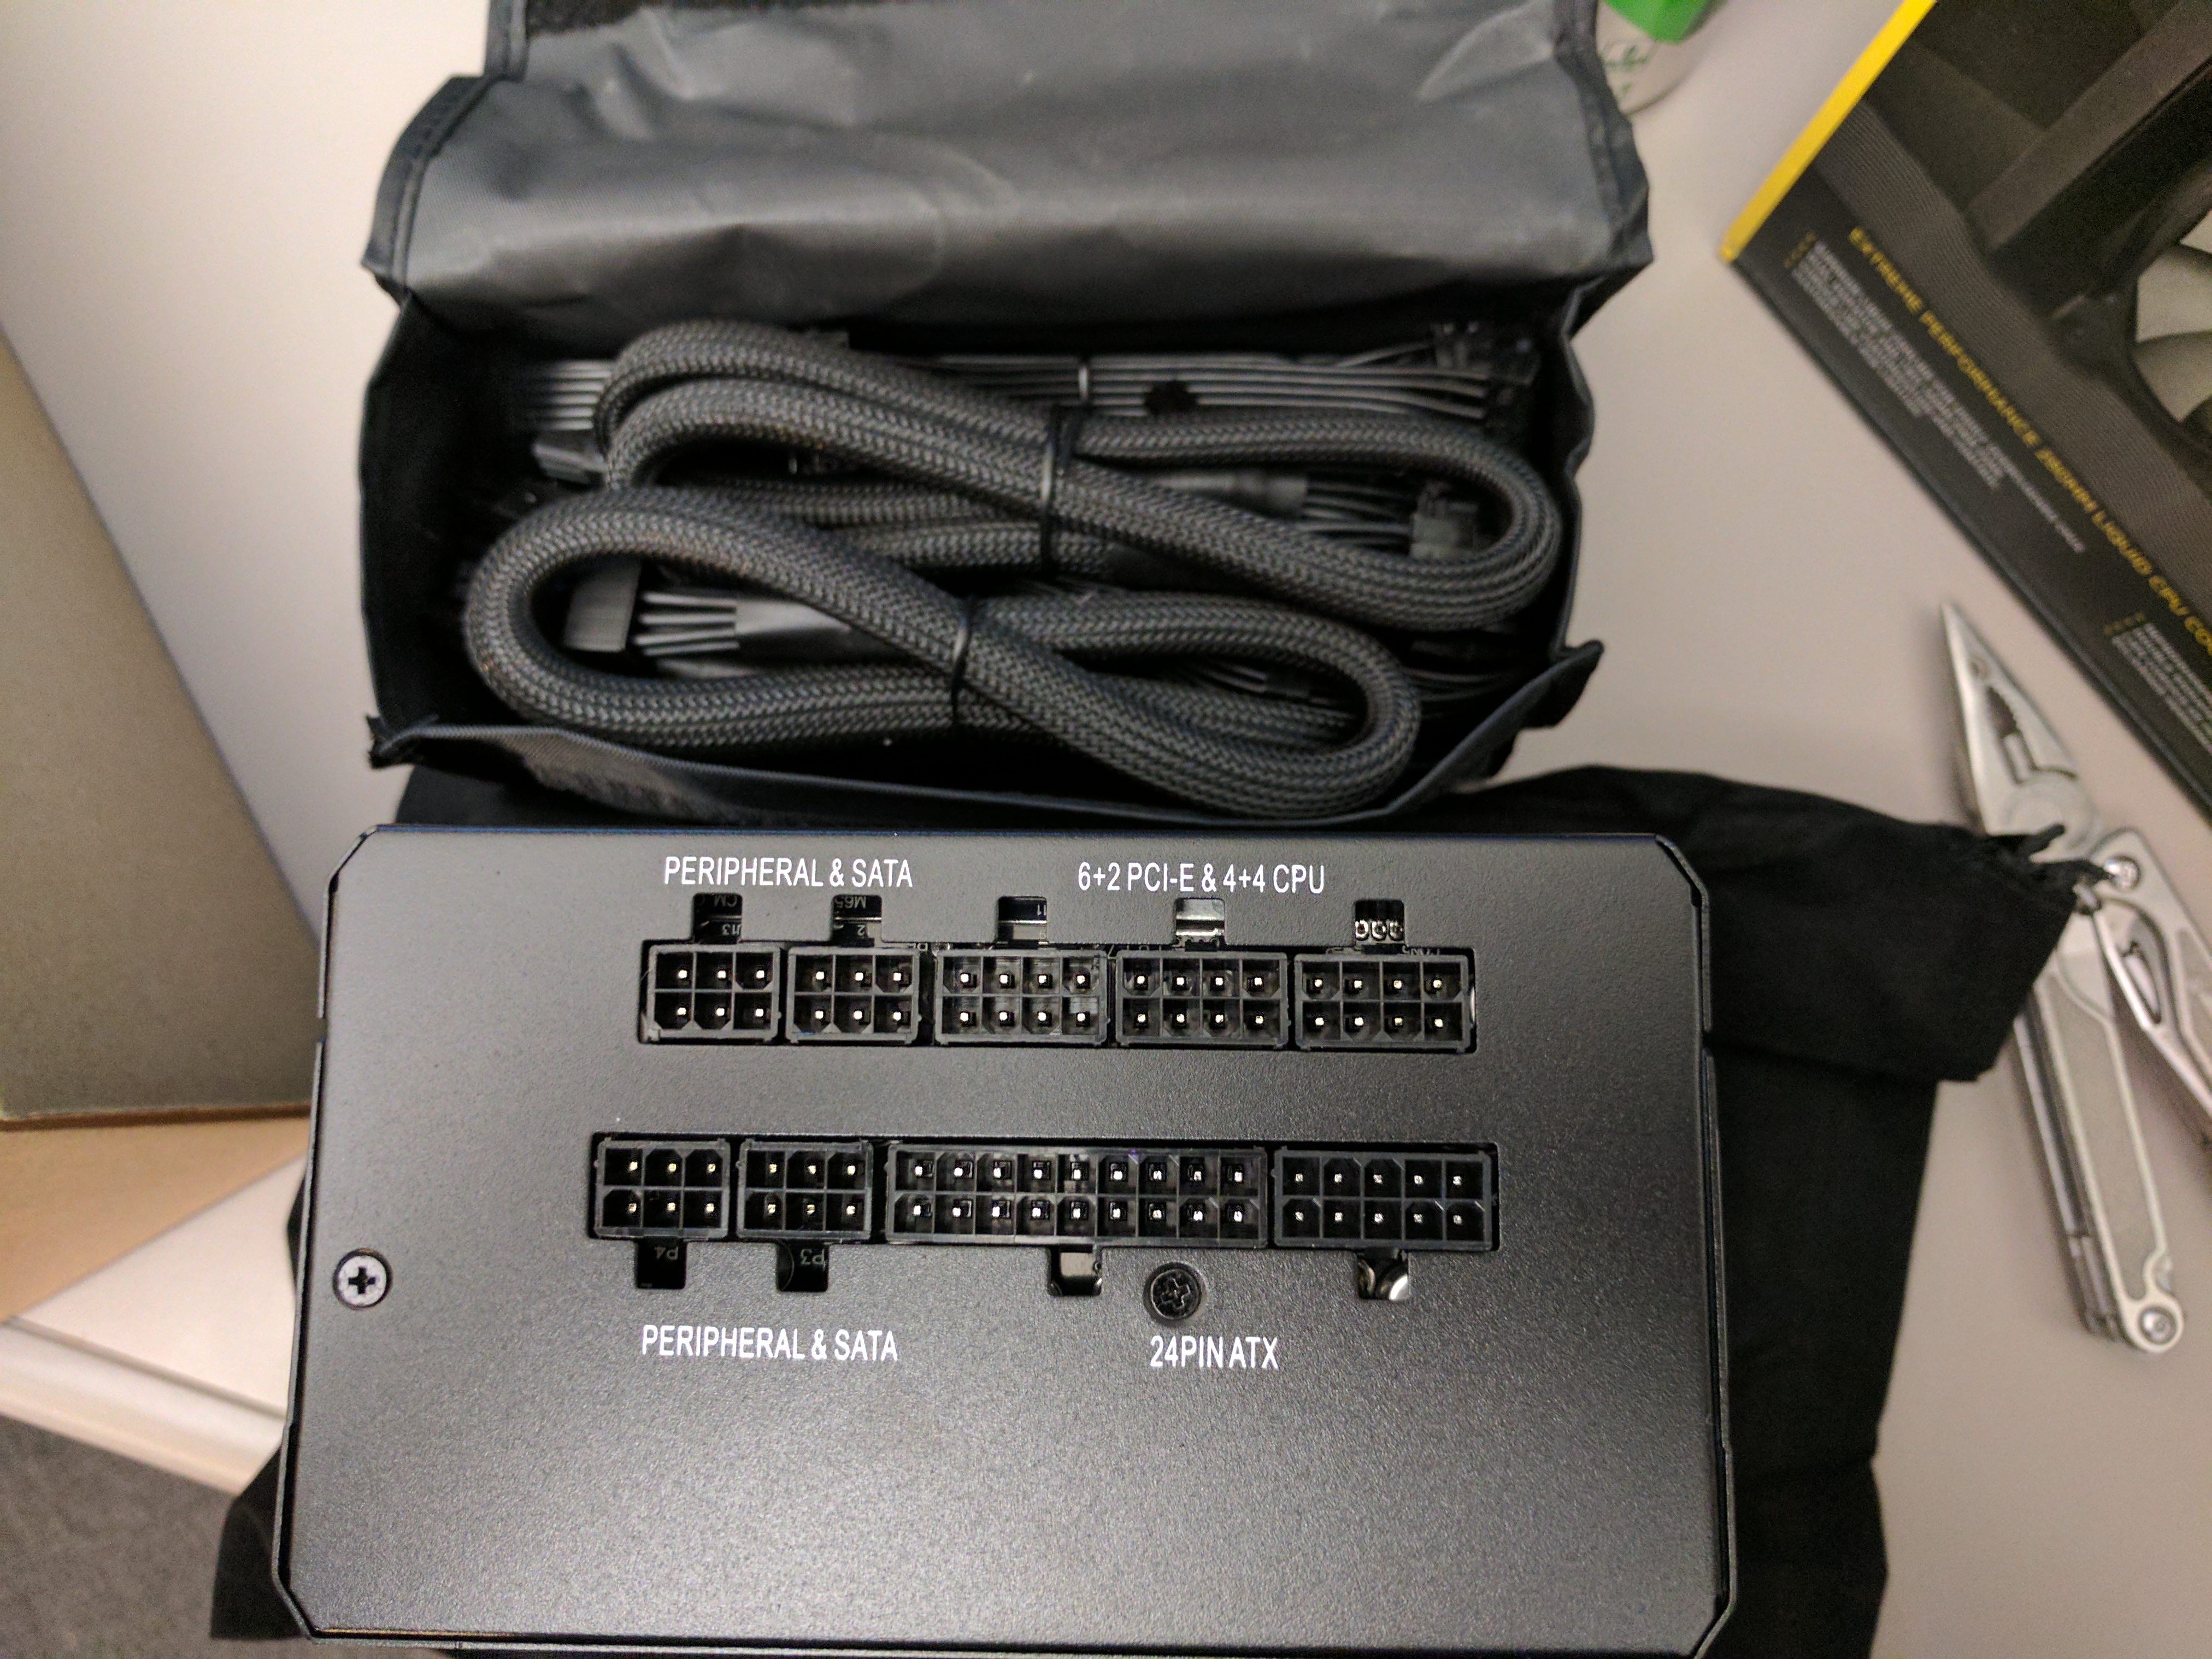
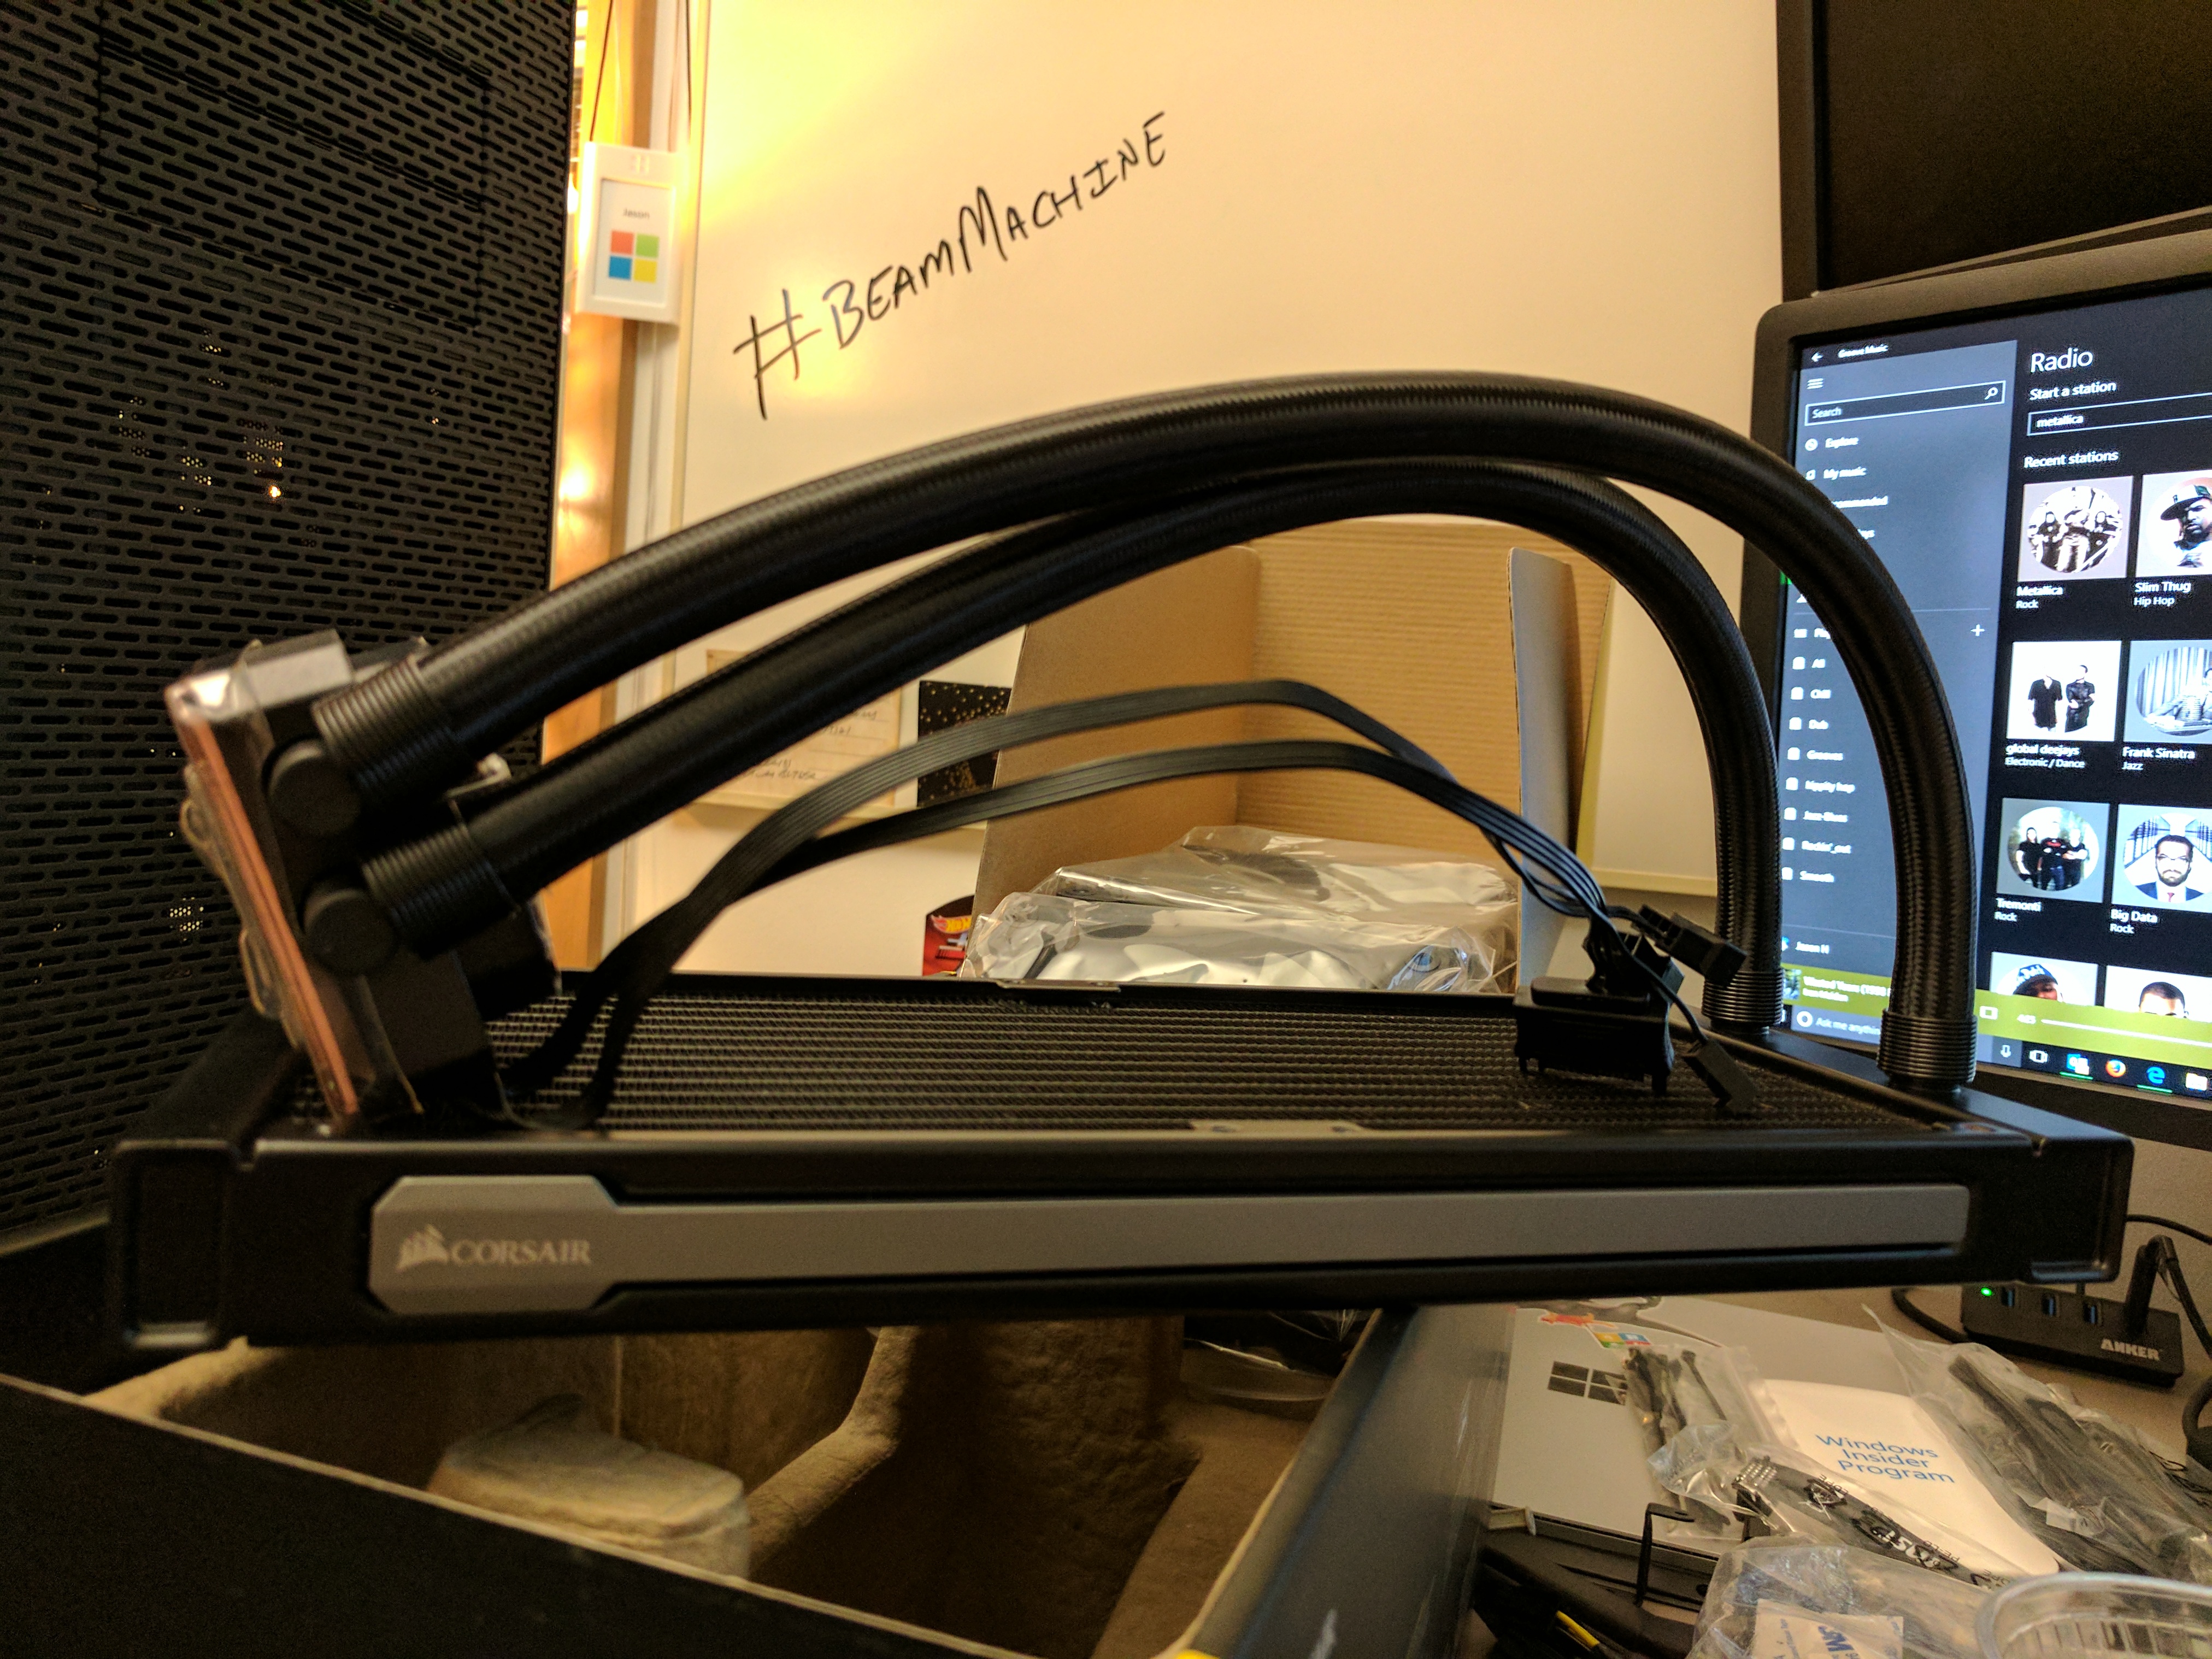
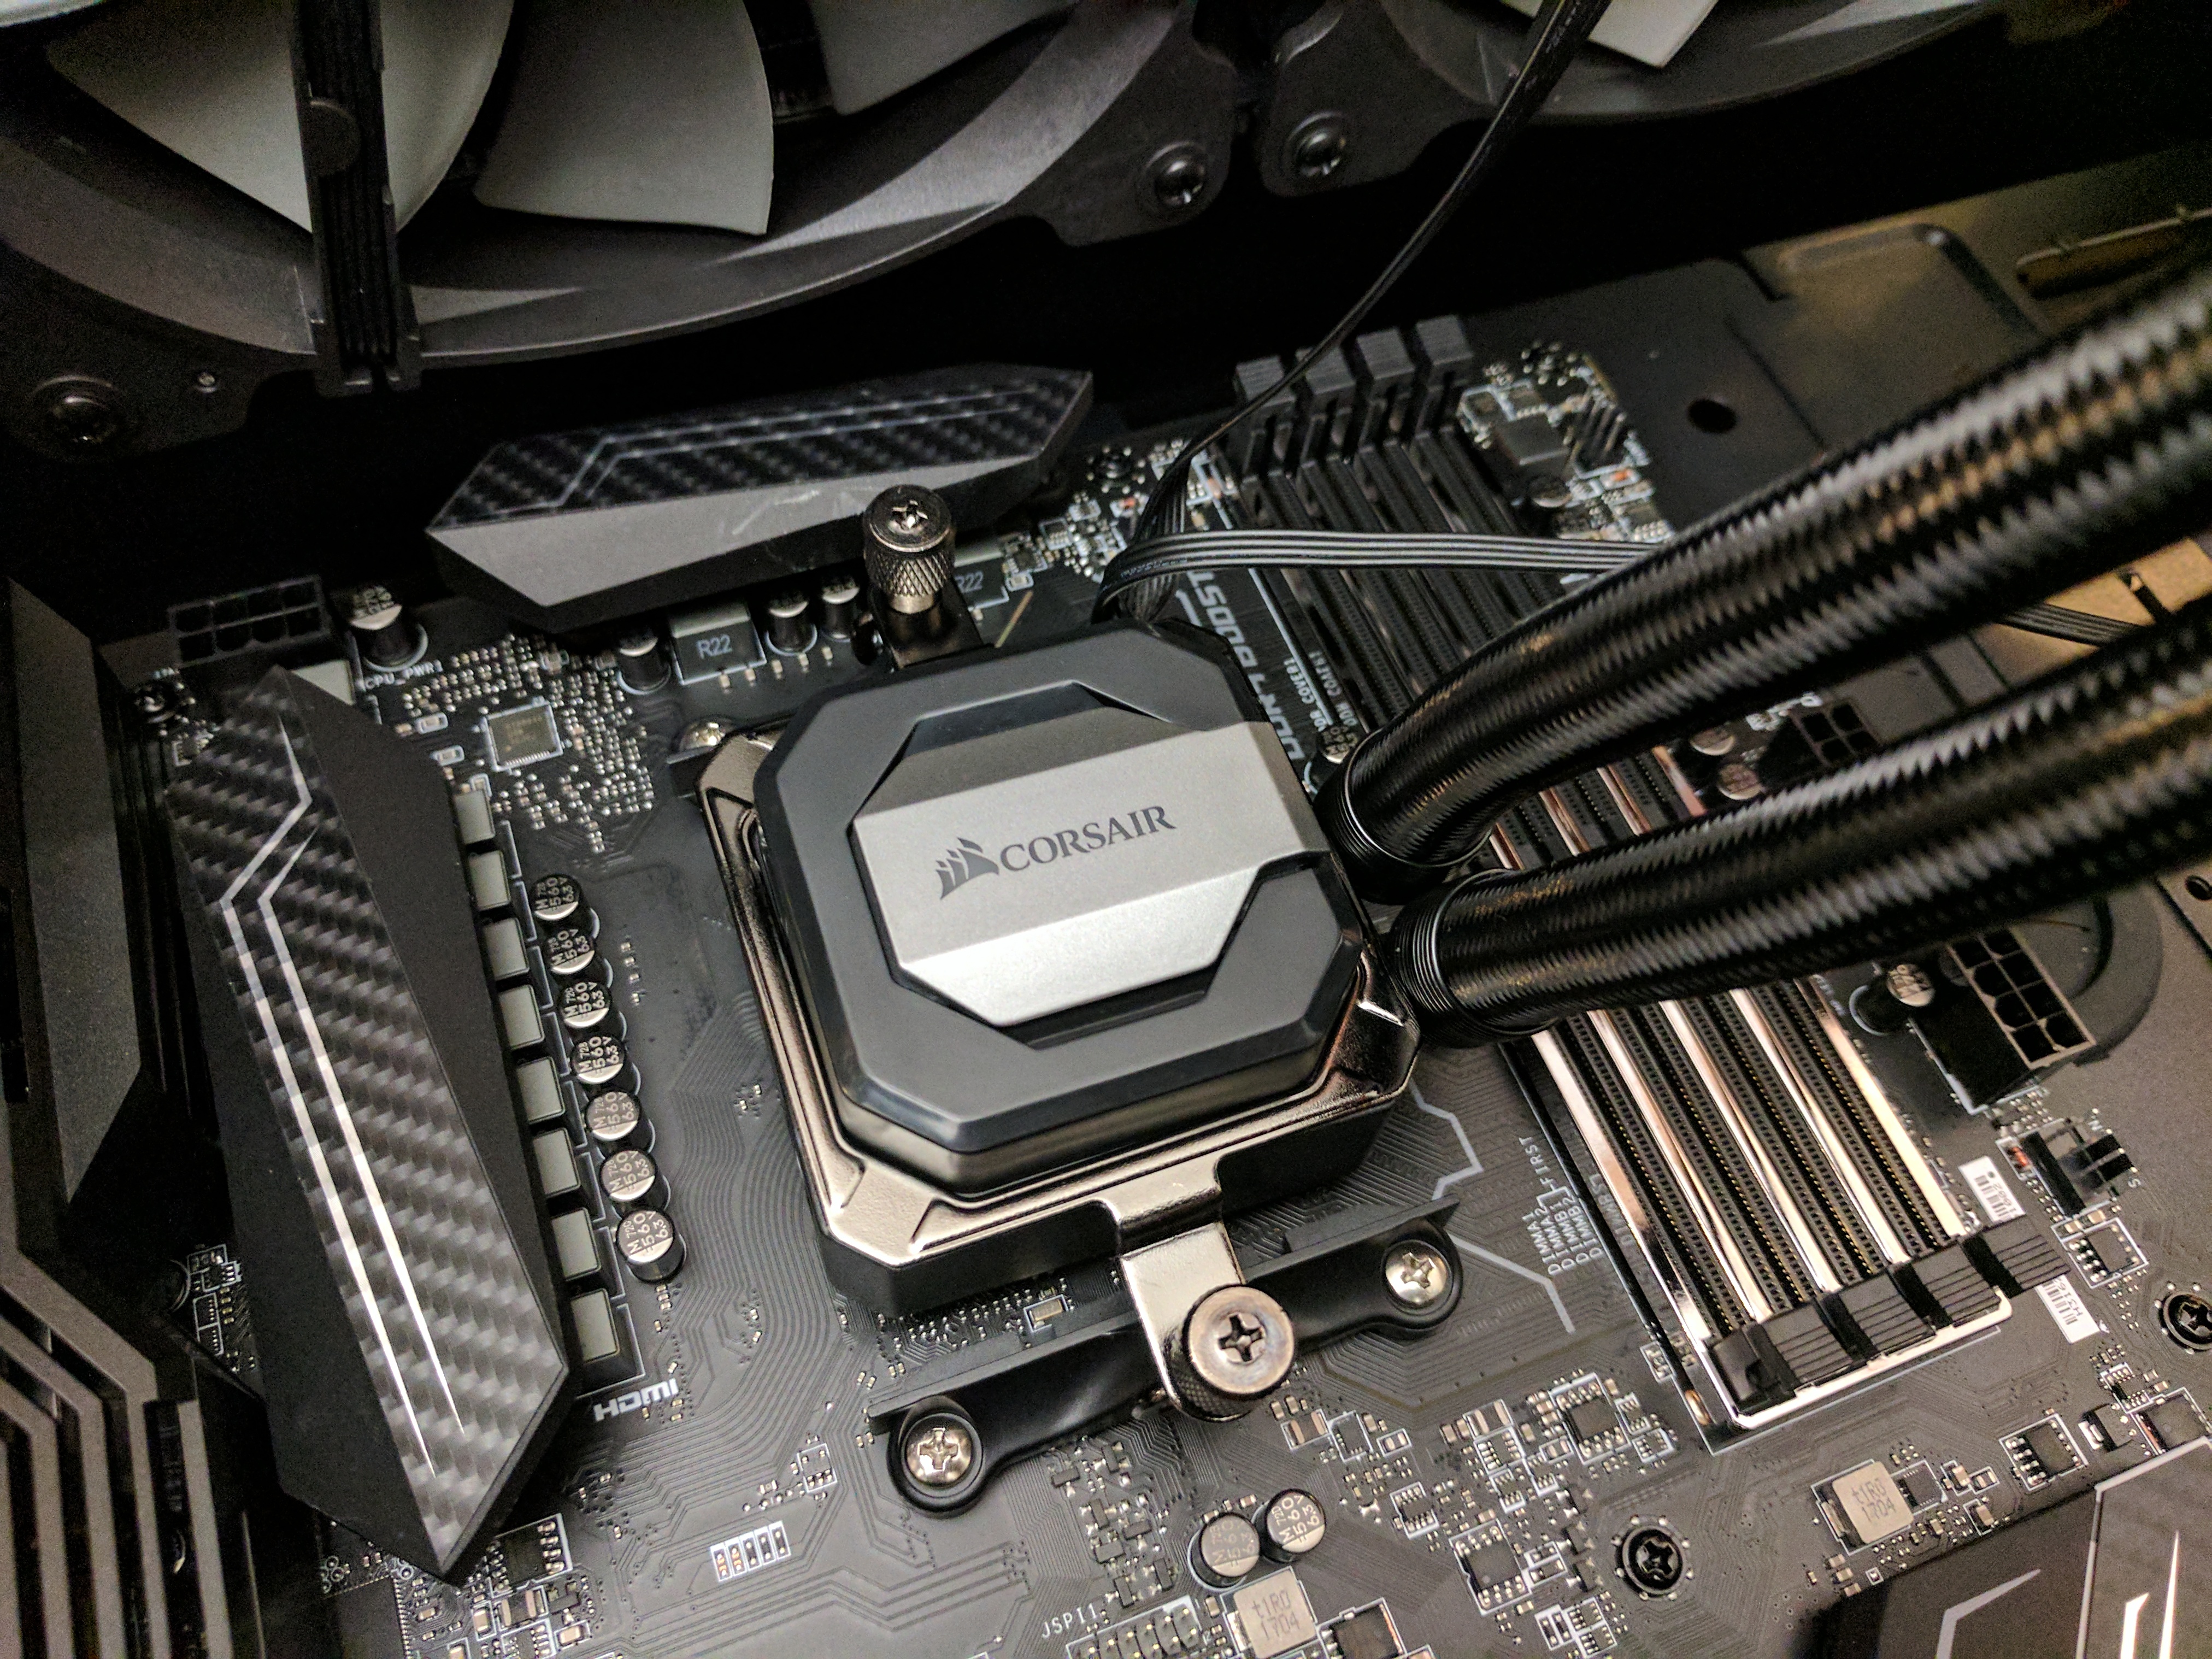
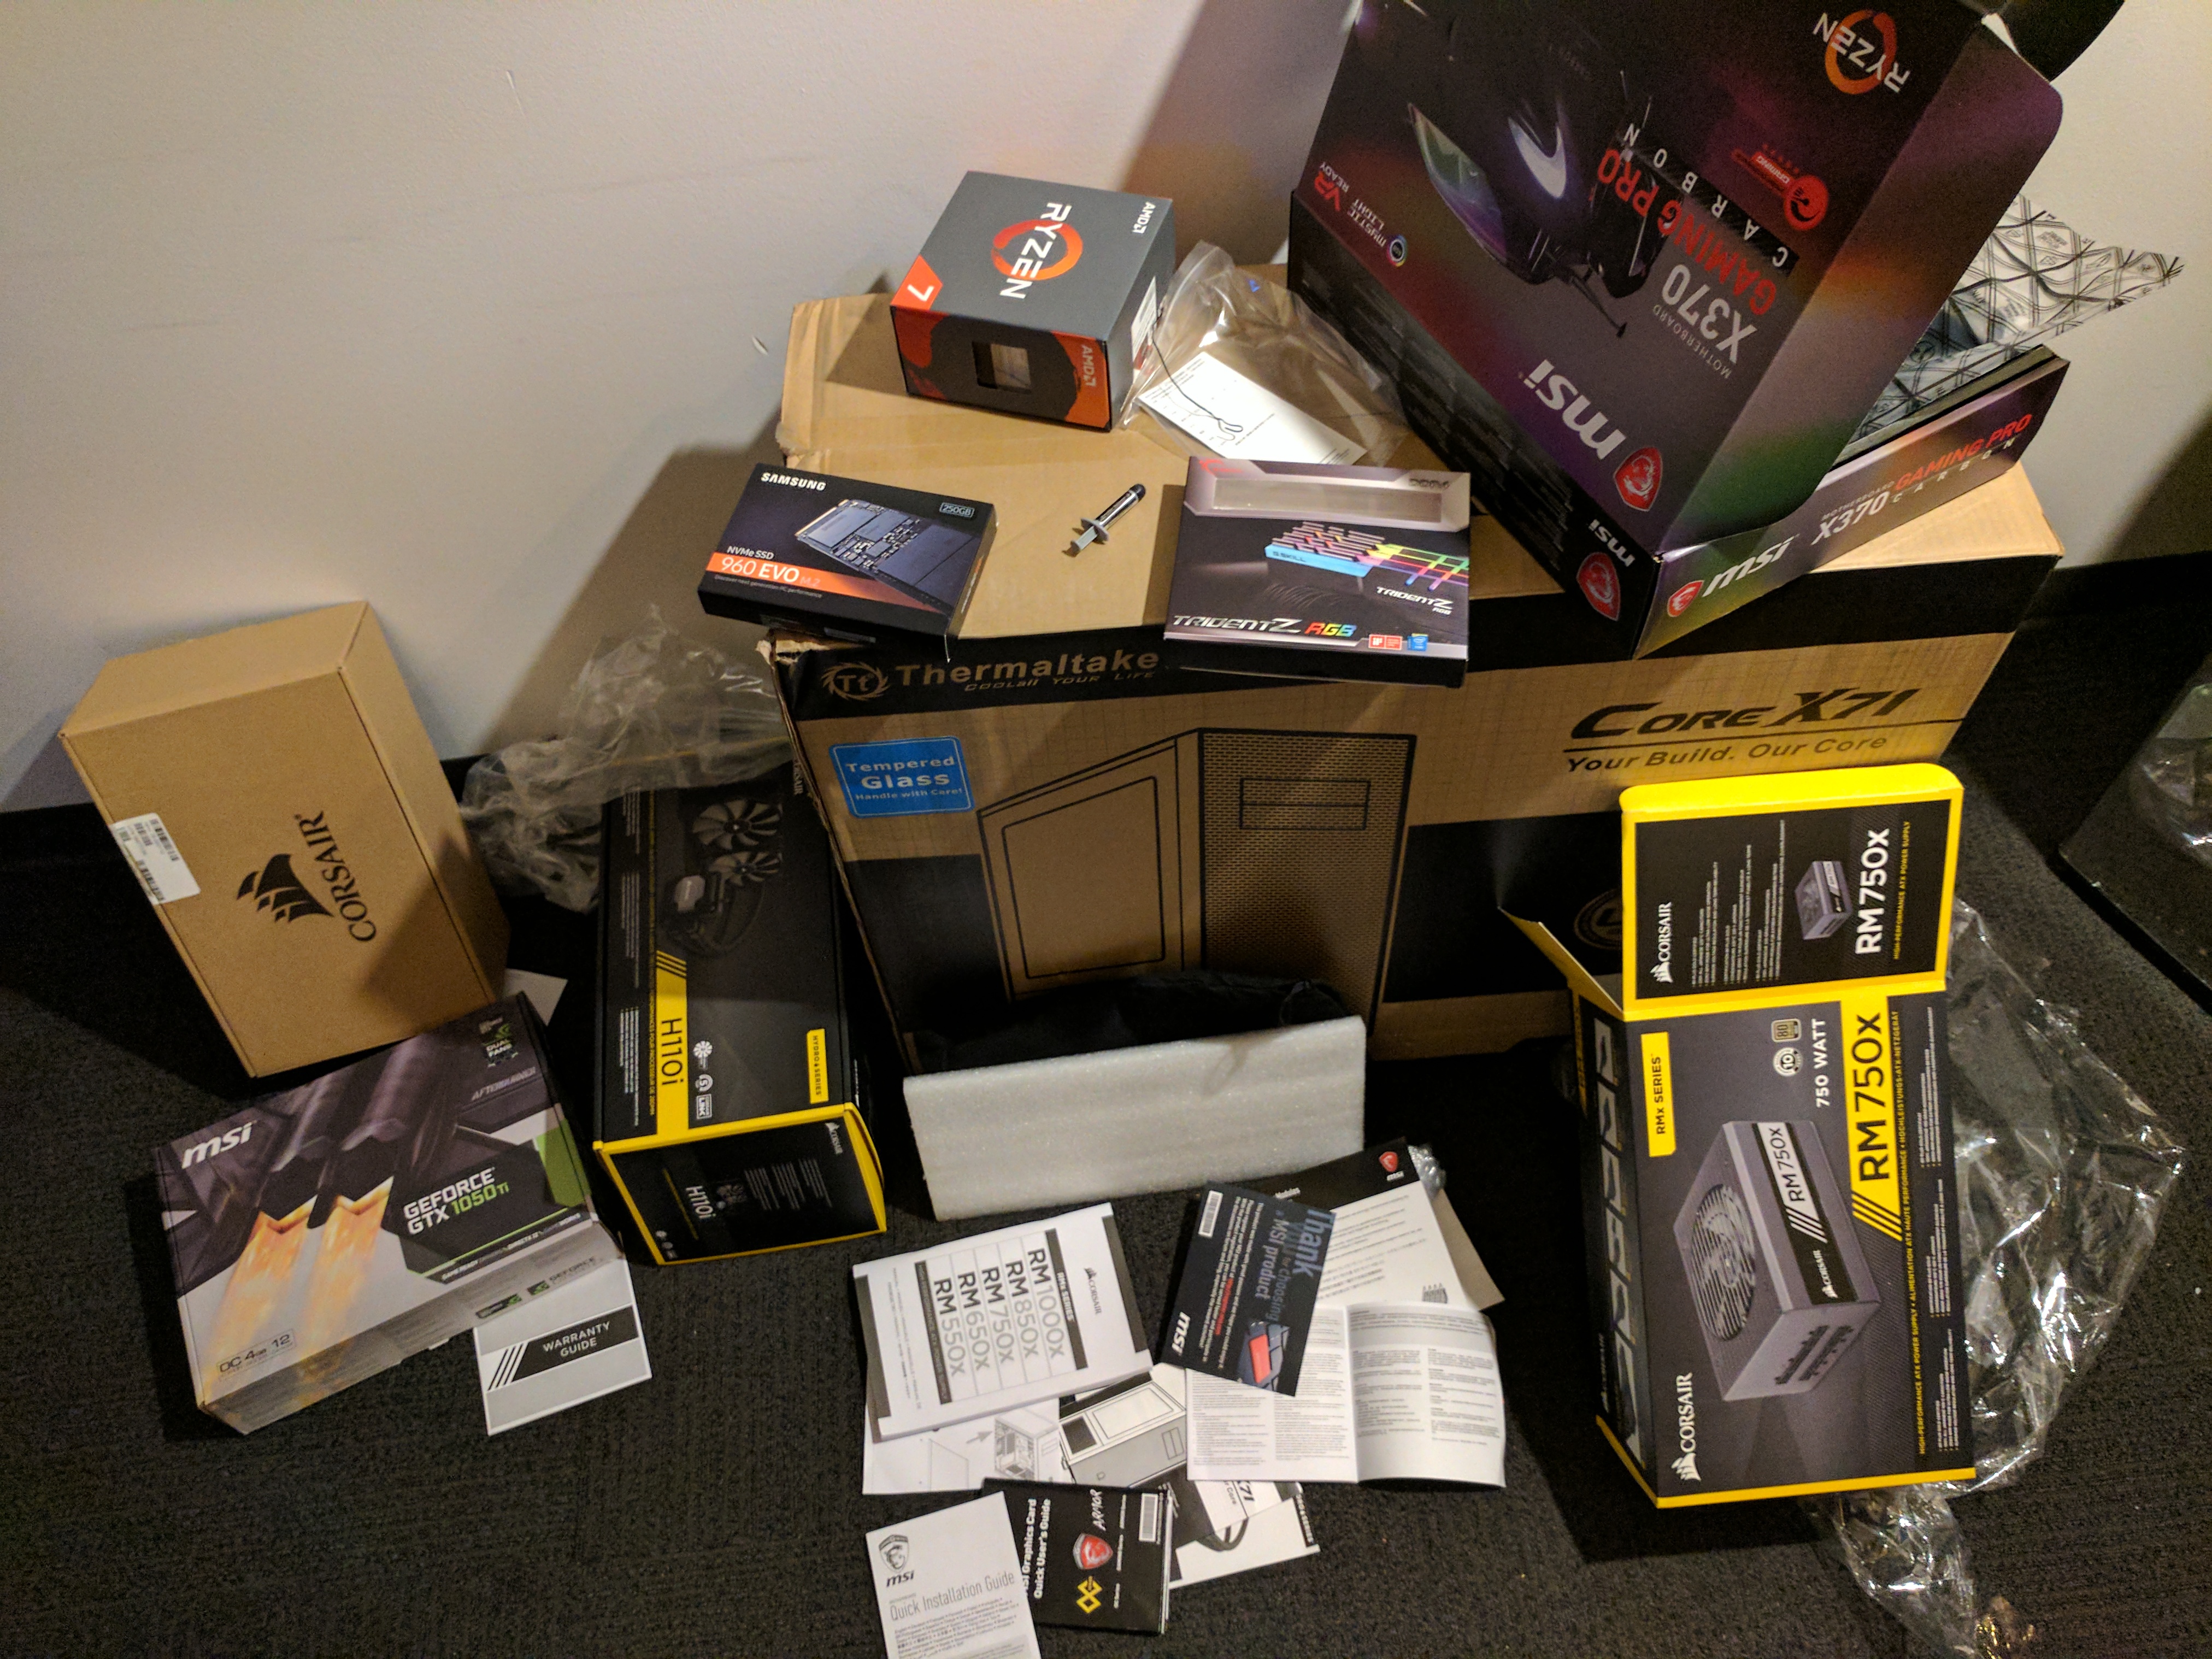
At this point we were down to the finishing components. We needed to top off the build with a quality power supply, a case that would show off the internal components, and we made the decision to add a closed-loop liquid cooling system (because hey, why not!). With these final components selected, the #BeamMachine was ready to go! Well, on paper at least. Now it was time to order parts and wait for the boxes to arrive. Over the course of about two weeks, boxes arrived one-by-one until the full slate of components was ready to go and the new PC was ready to come to life. It was finally time to start building!
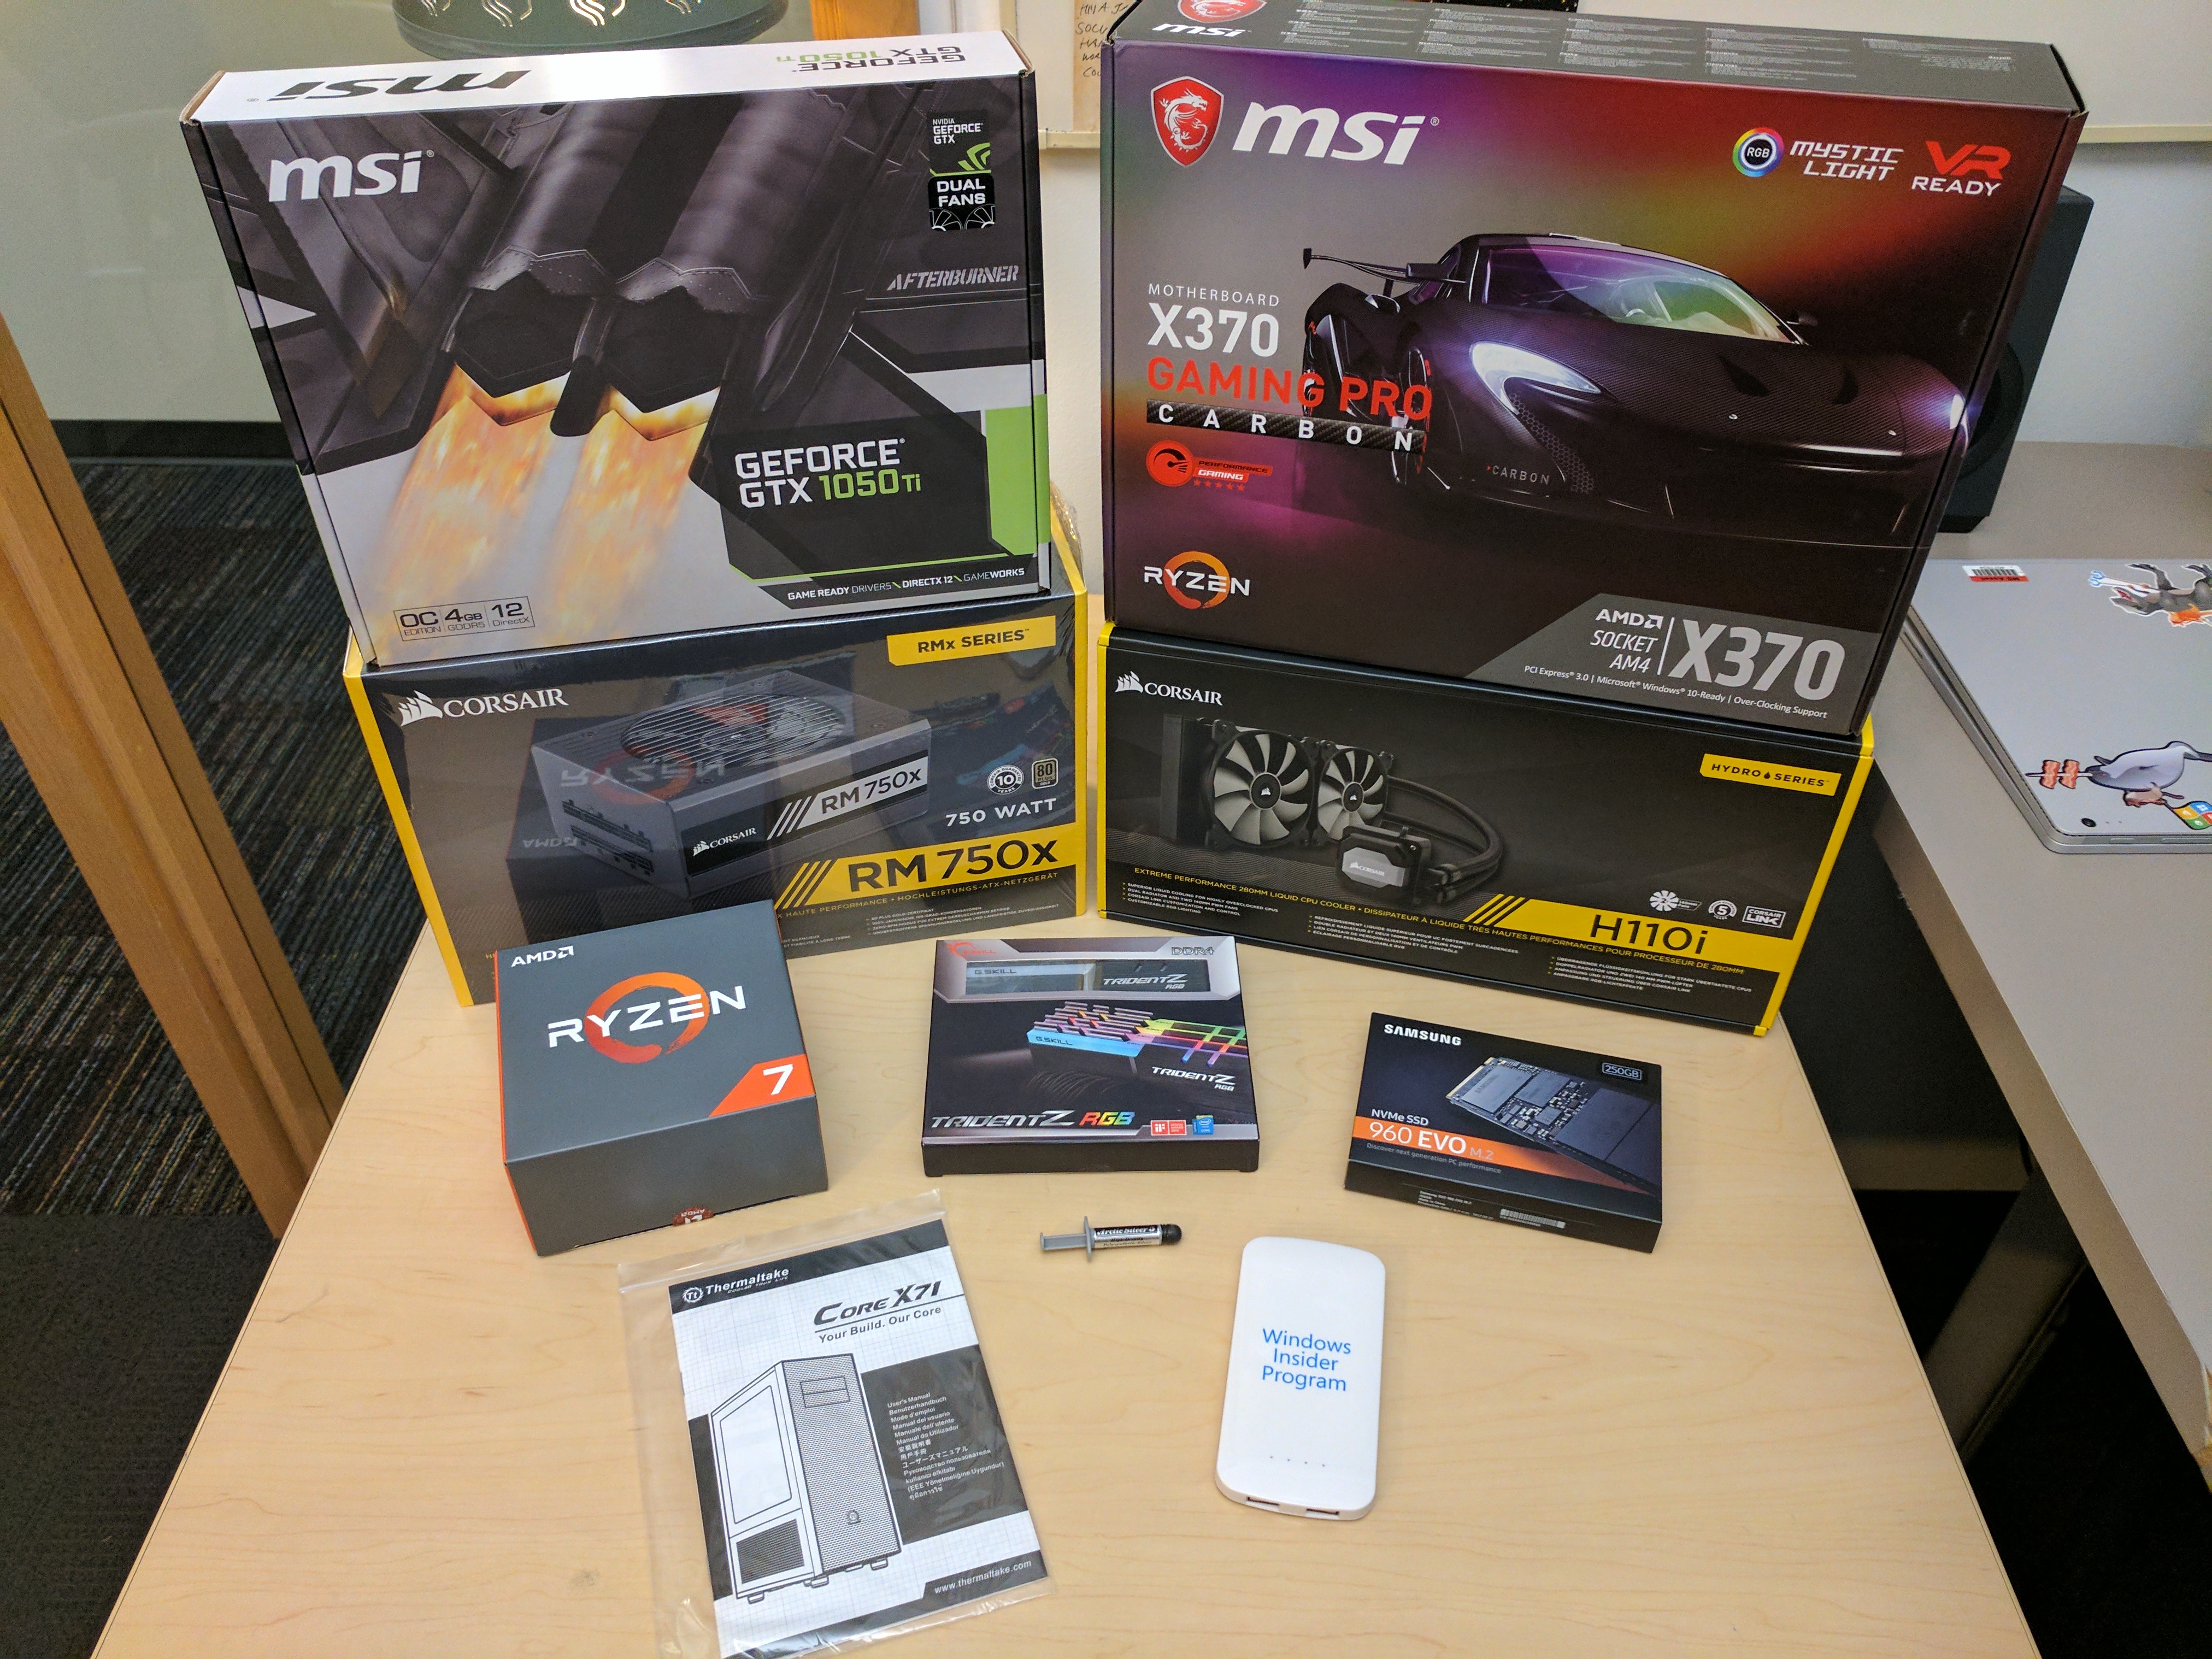
Here’s a quick recap of the system components used in the build:
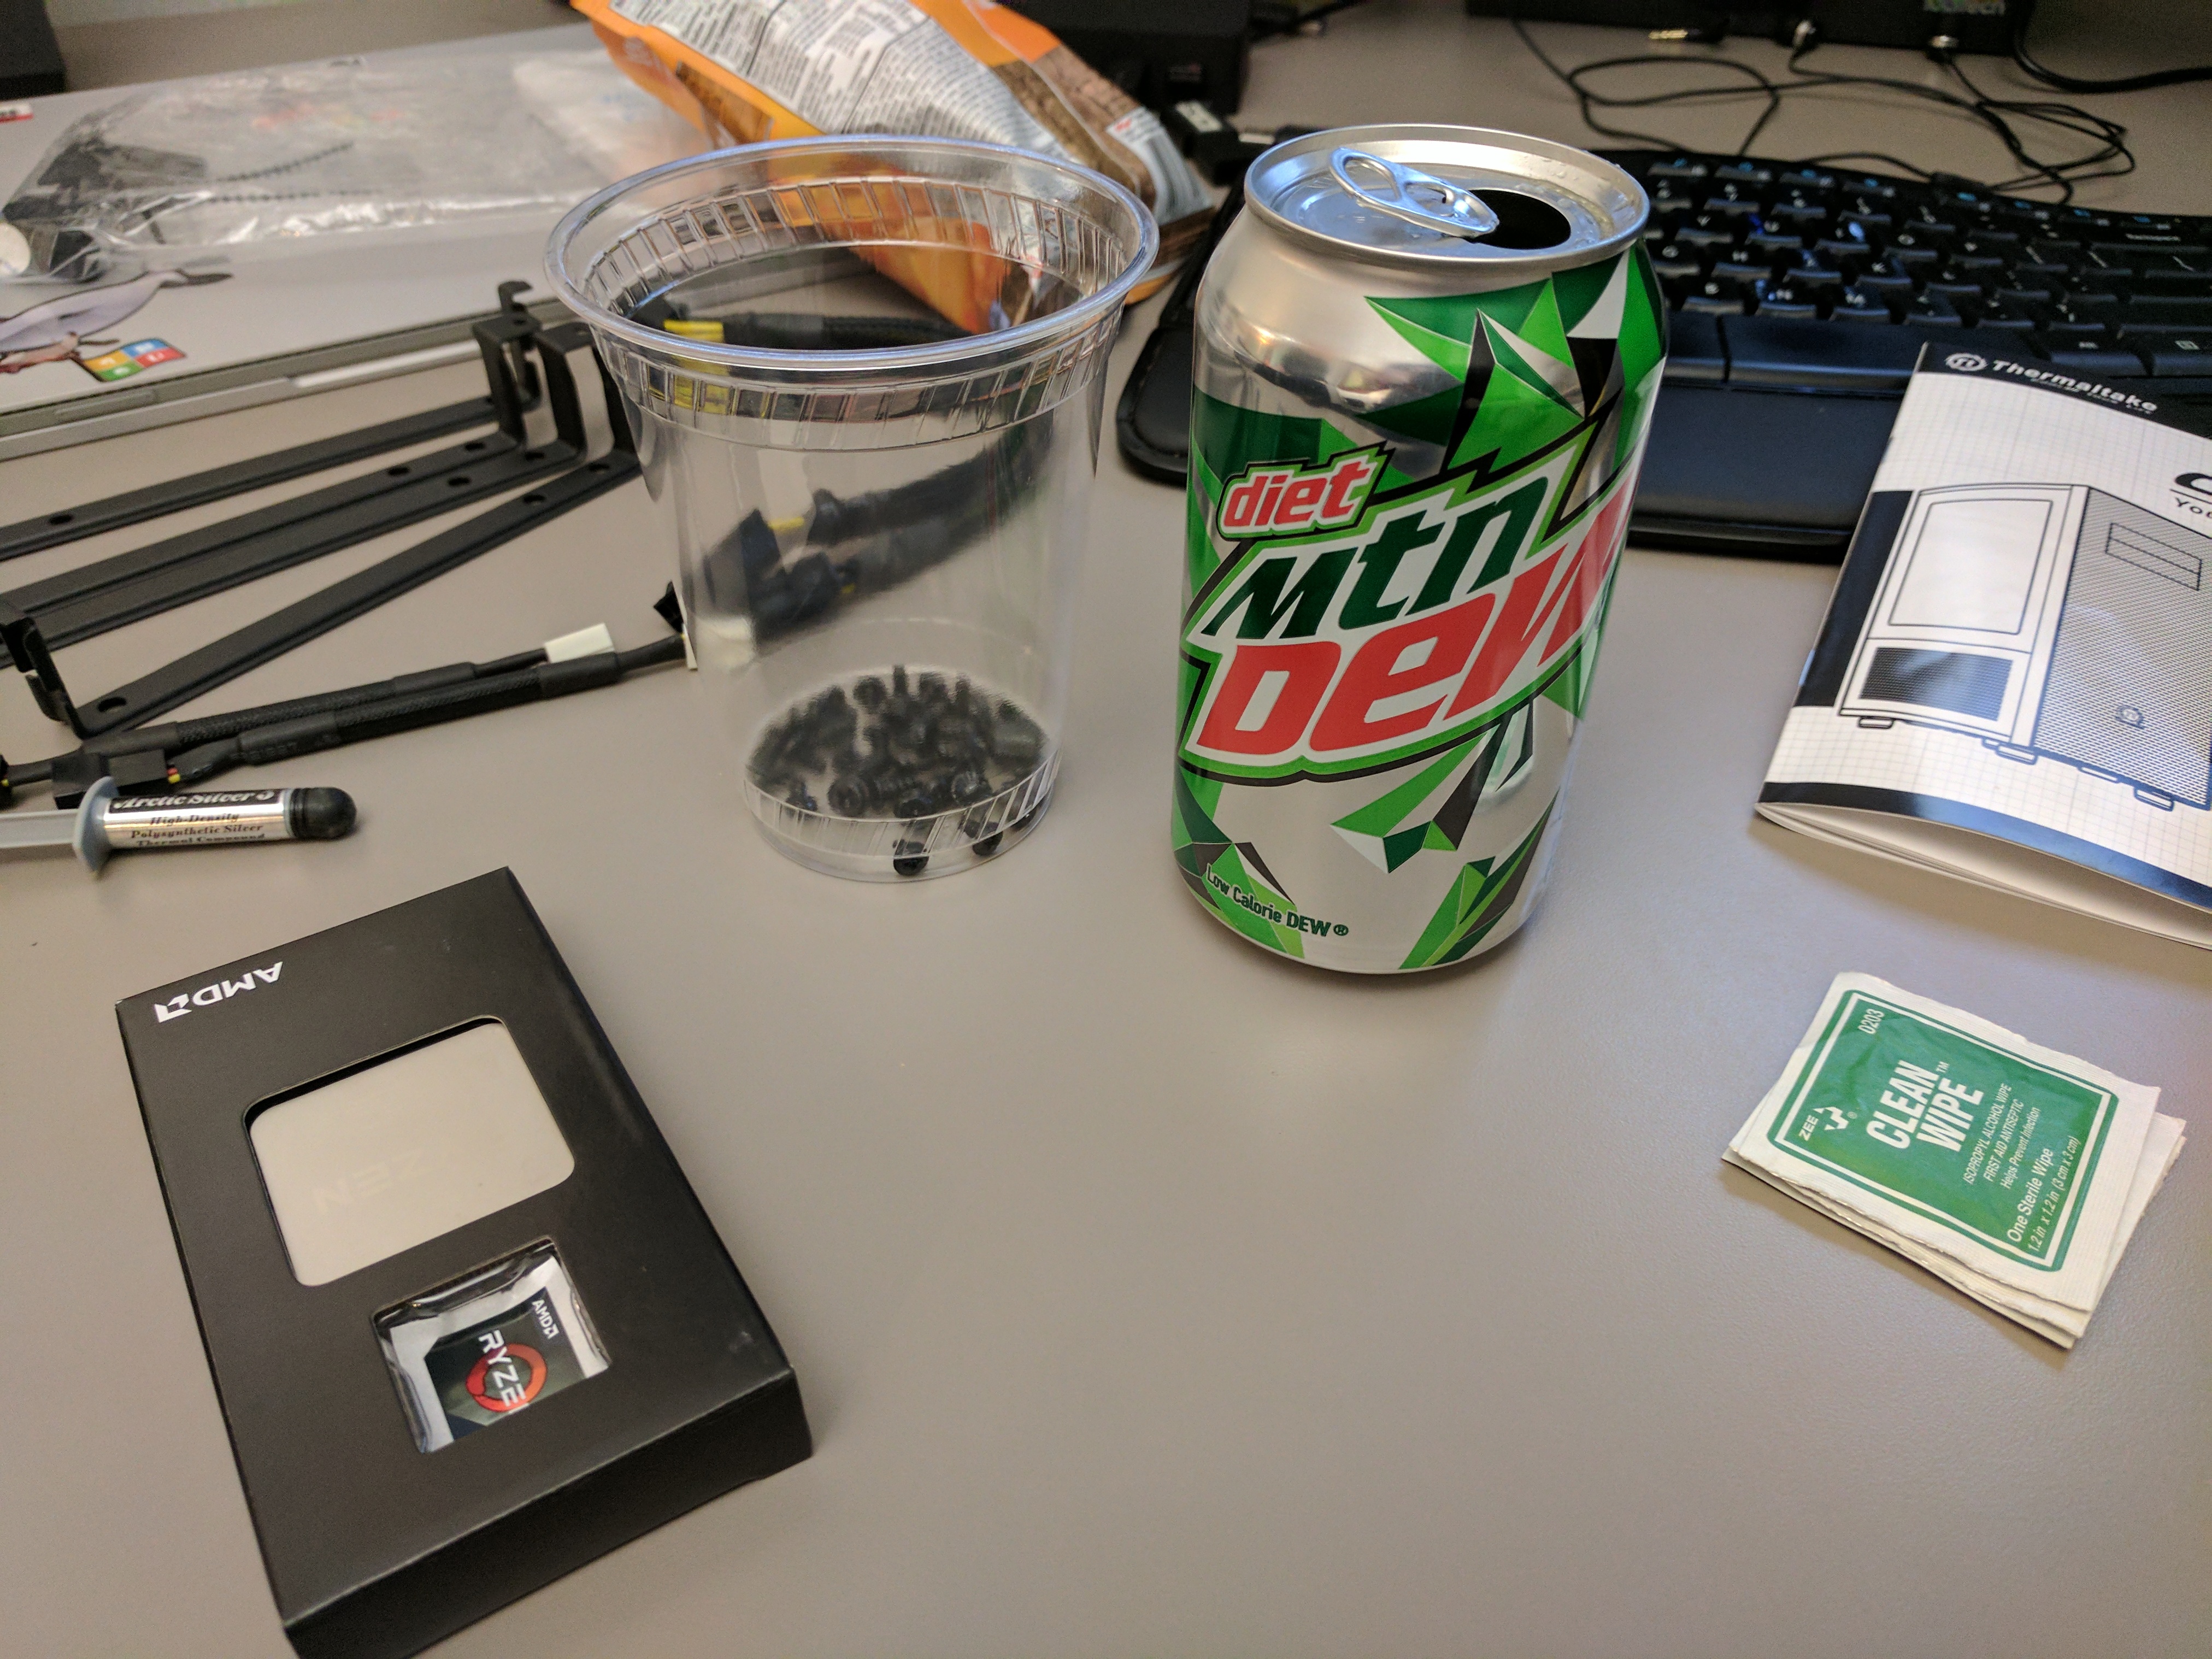
- AMD Ryzen 7 1800x CPU
- MSI x370 Gaming Pro Carbon motherboard
- 32GB (4x8GB) G.Skill Trident Z RGB DDR4 RAM
- Samsung EVO 960 M.2 NVME solid-state drive
- MSI GEFORCE GTX 1050 TI graphics card
- Corsair H110i liquid cooling system
- Corsair RM750x power supply
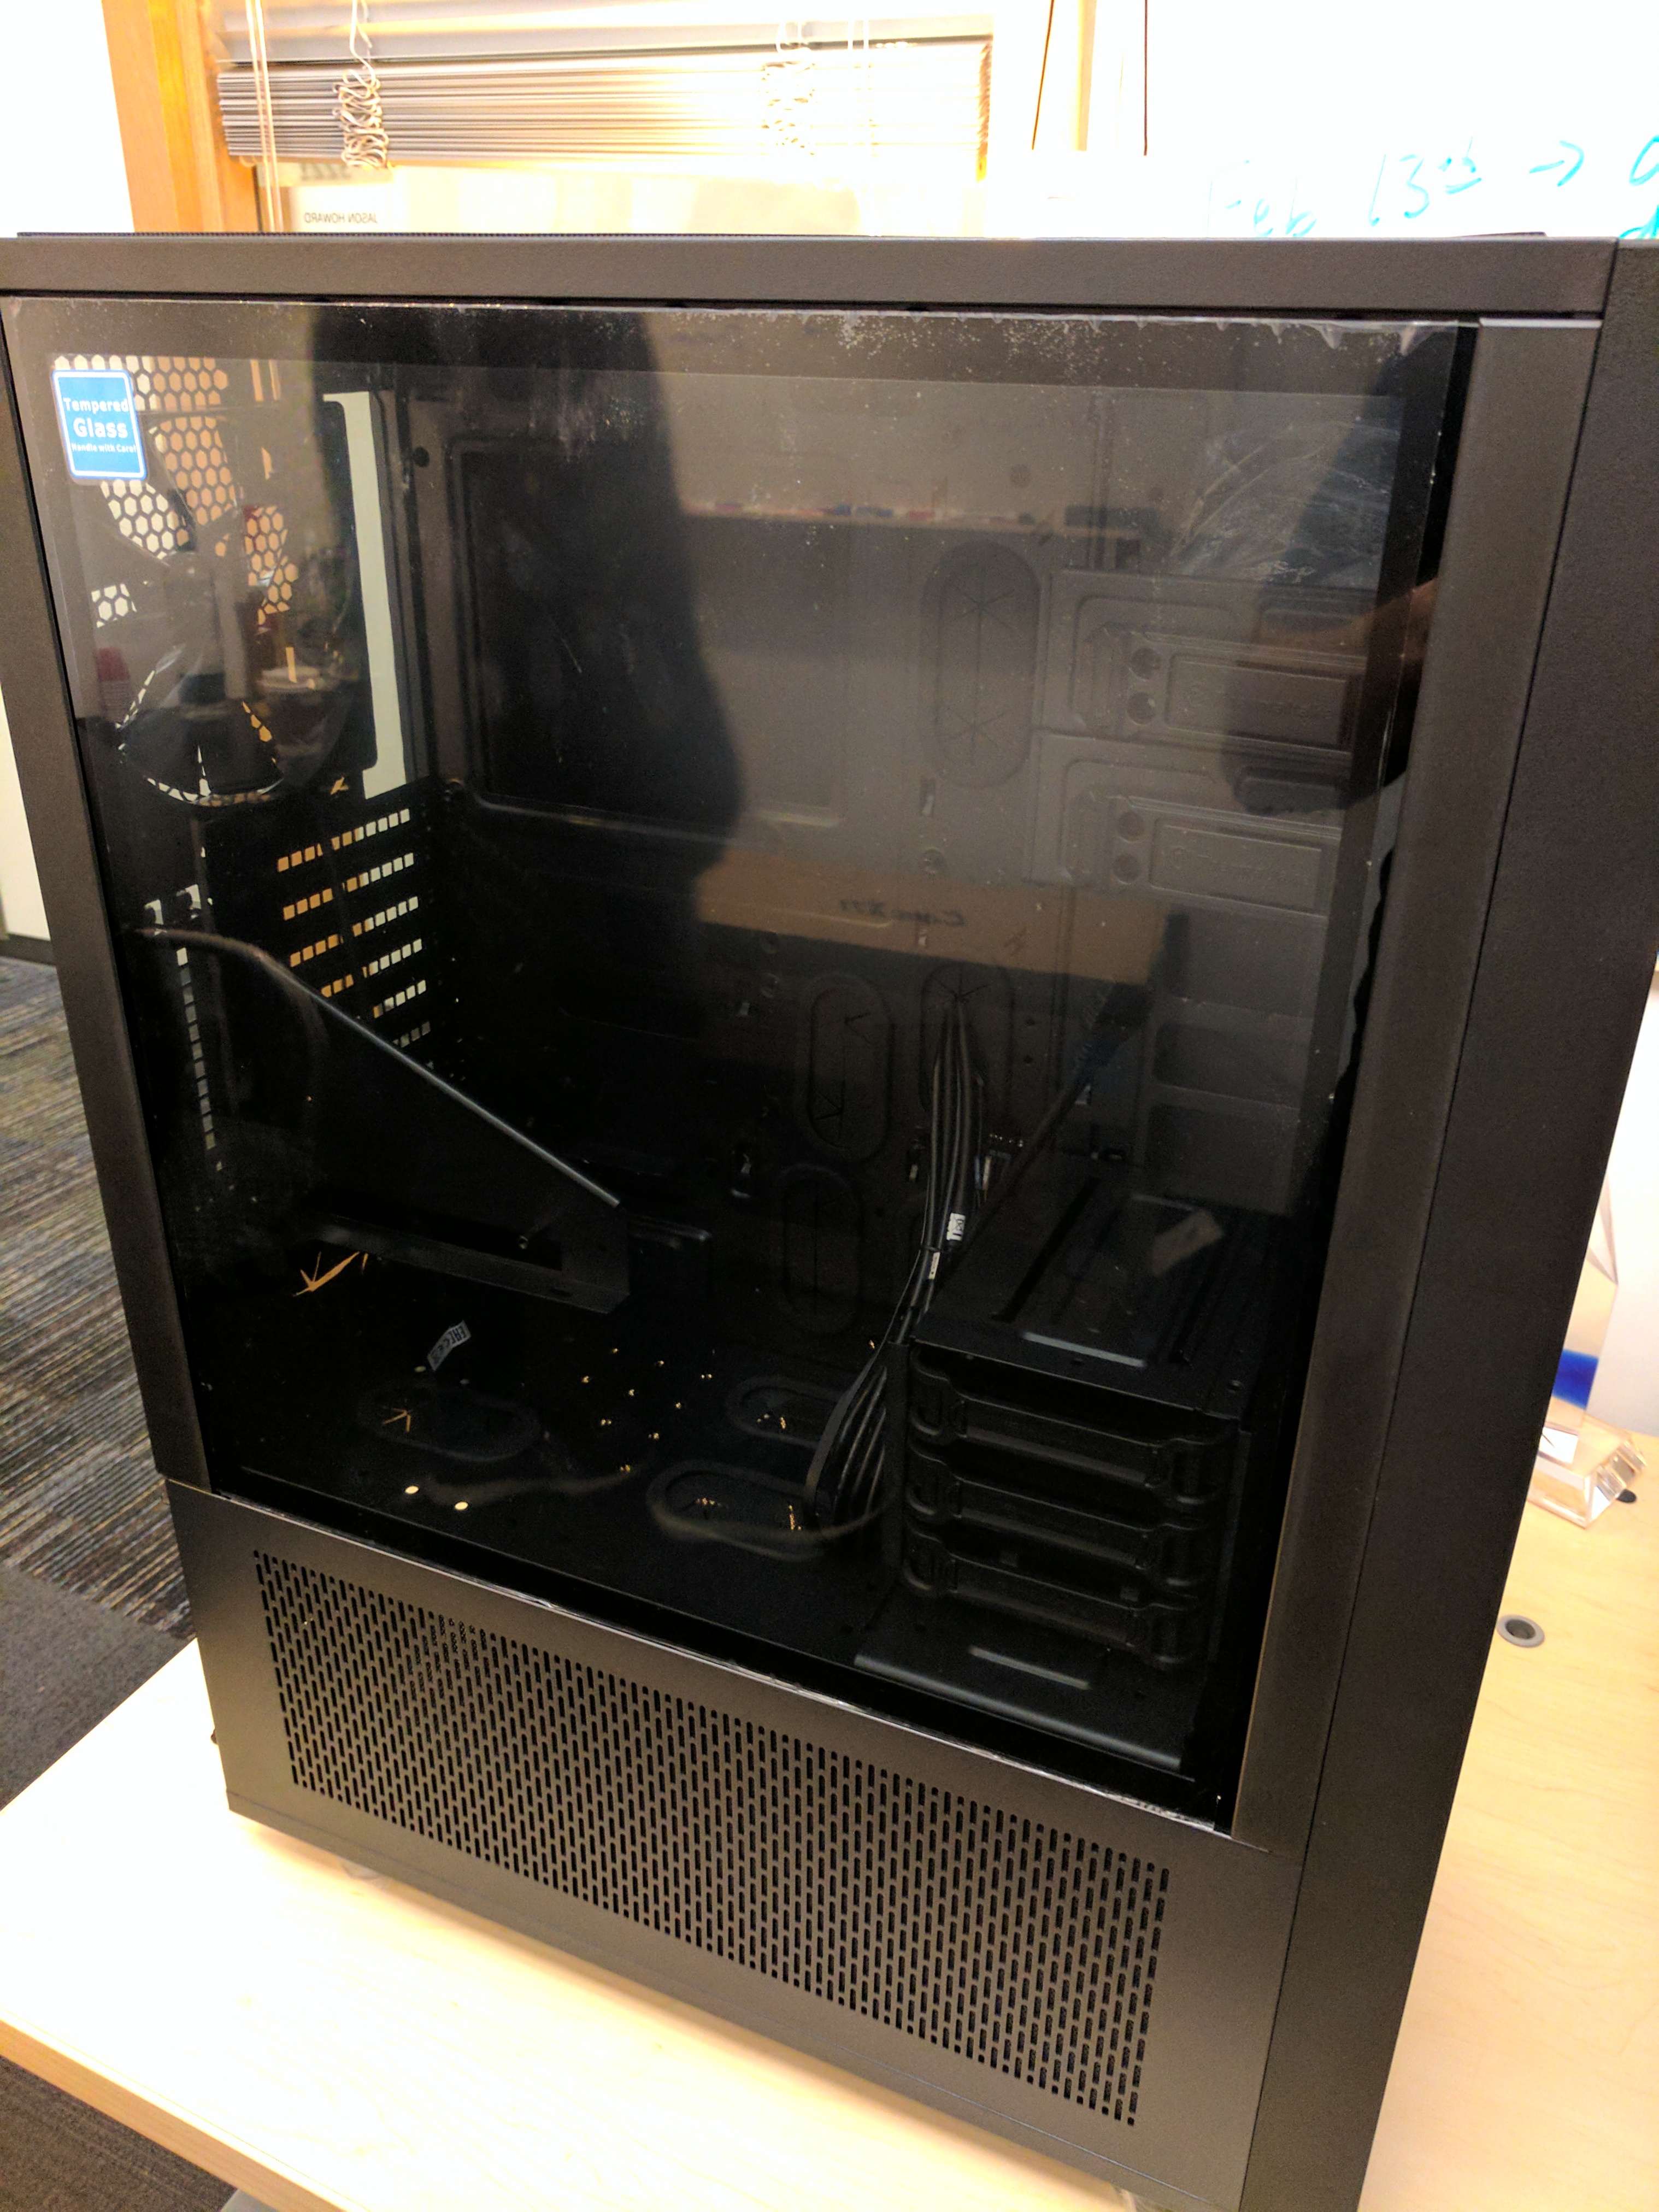
- Thermaltake X71 full-tower case
- Arctic Silver 5 thermal paste
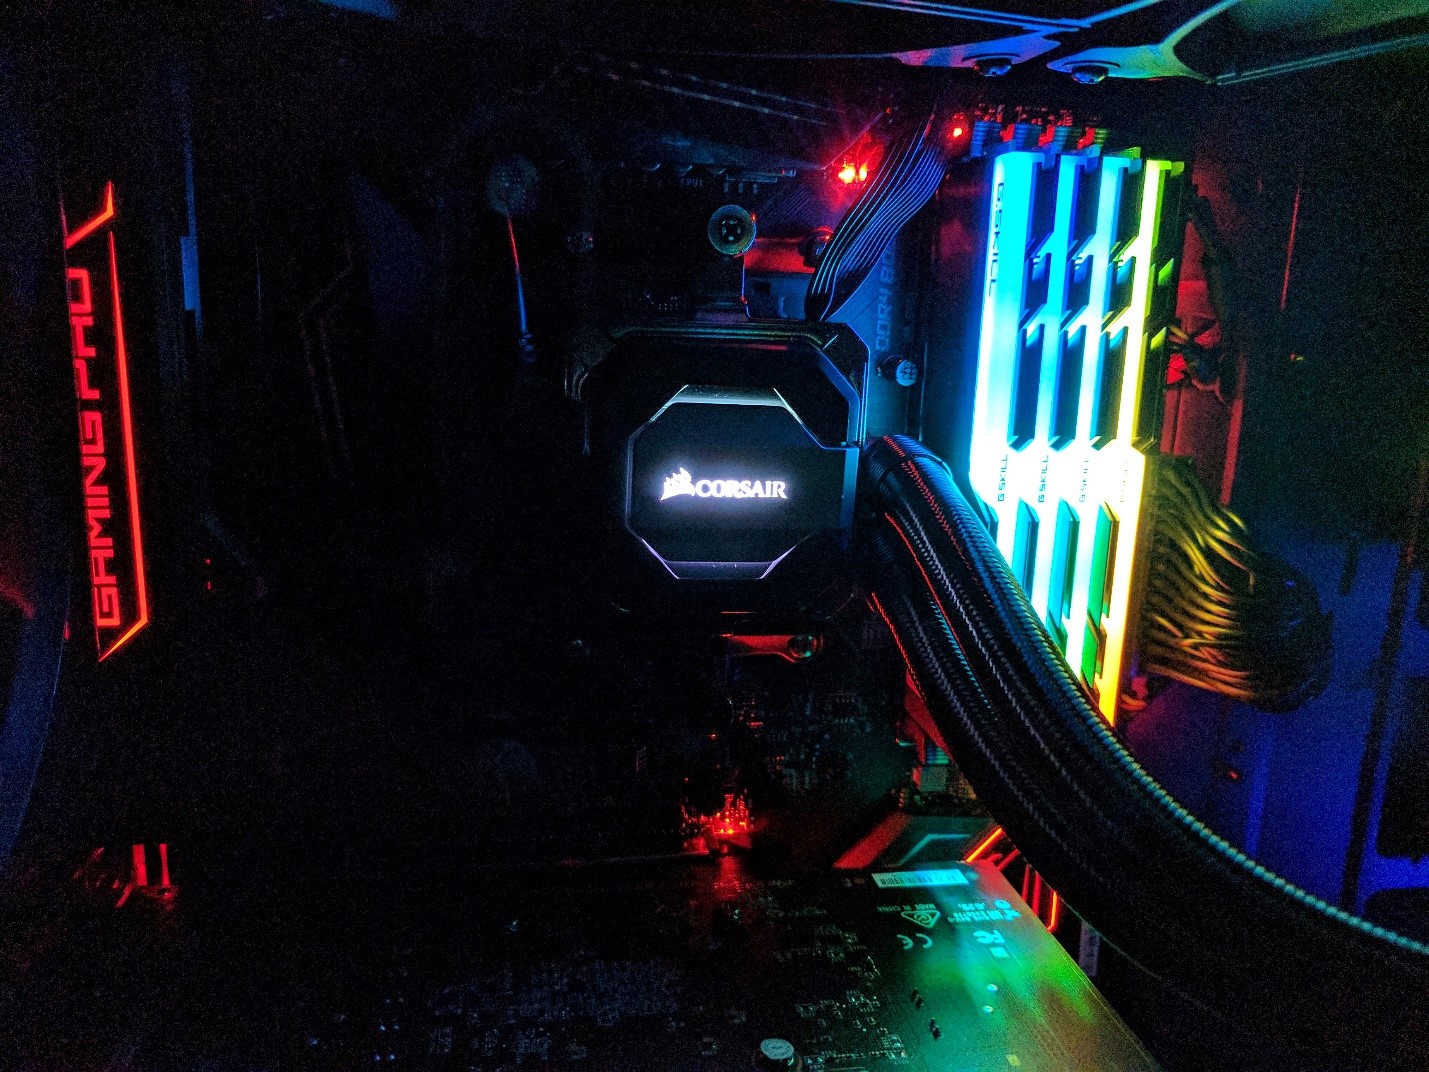
- And of course, some awesome LEDs to make the build stand out
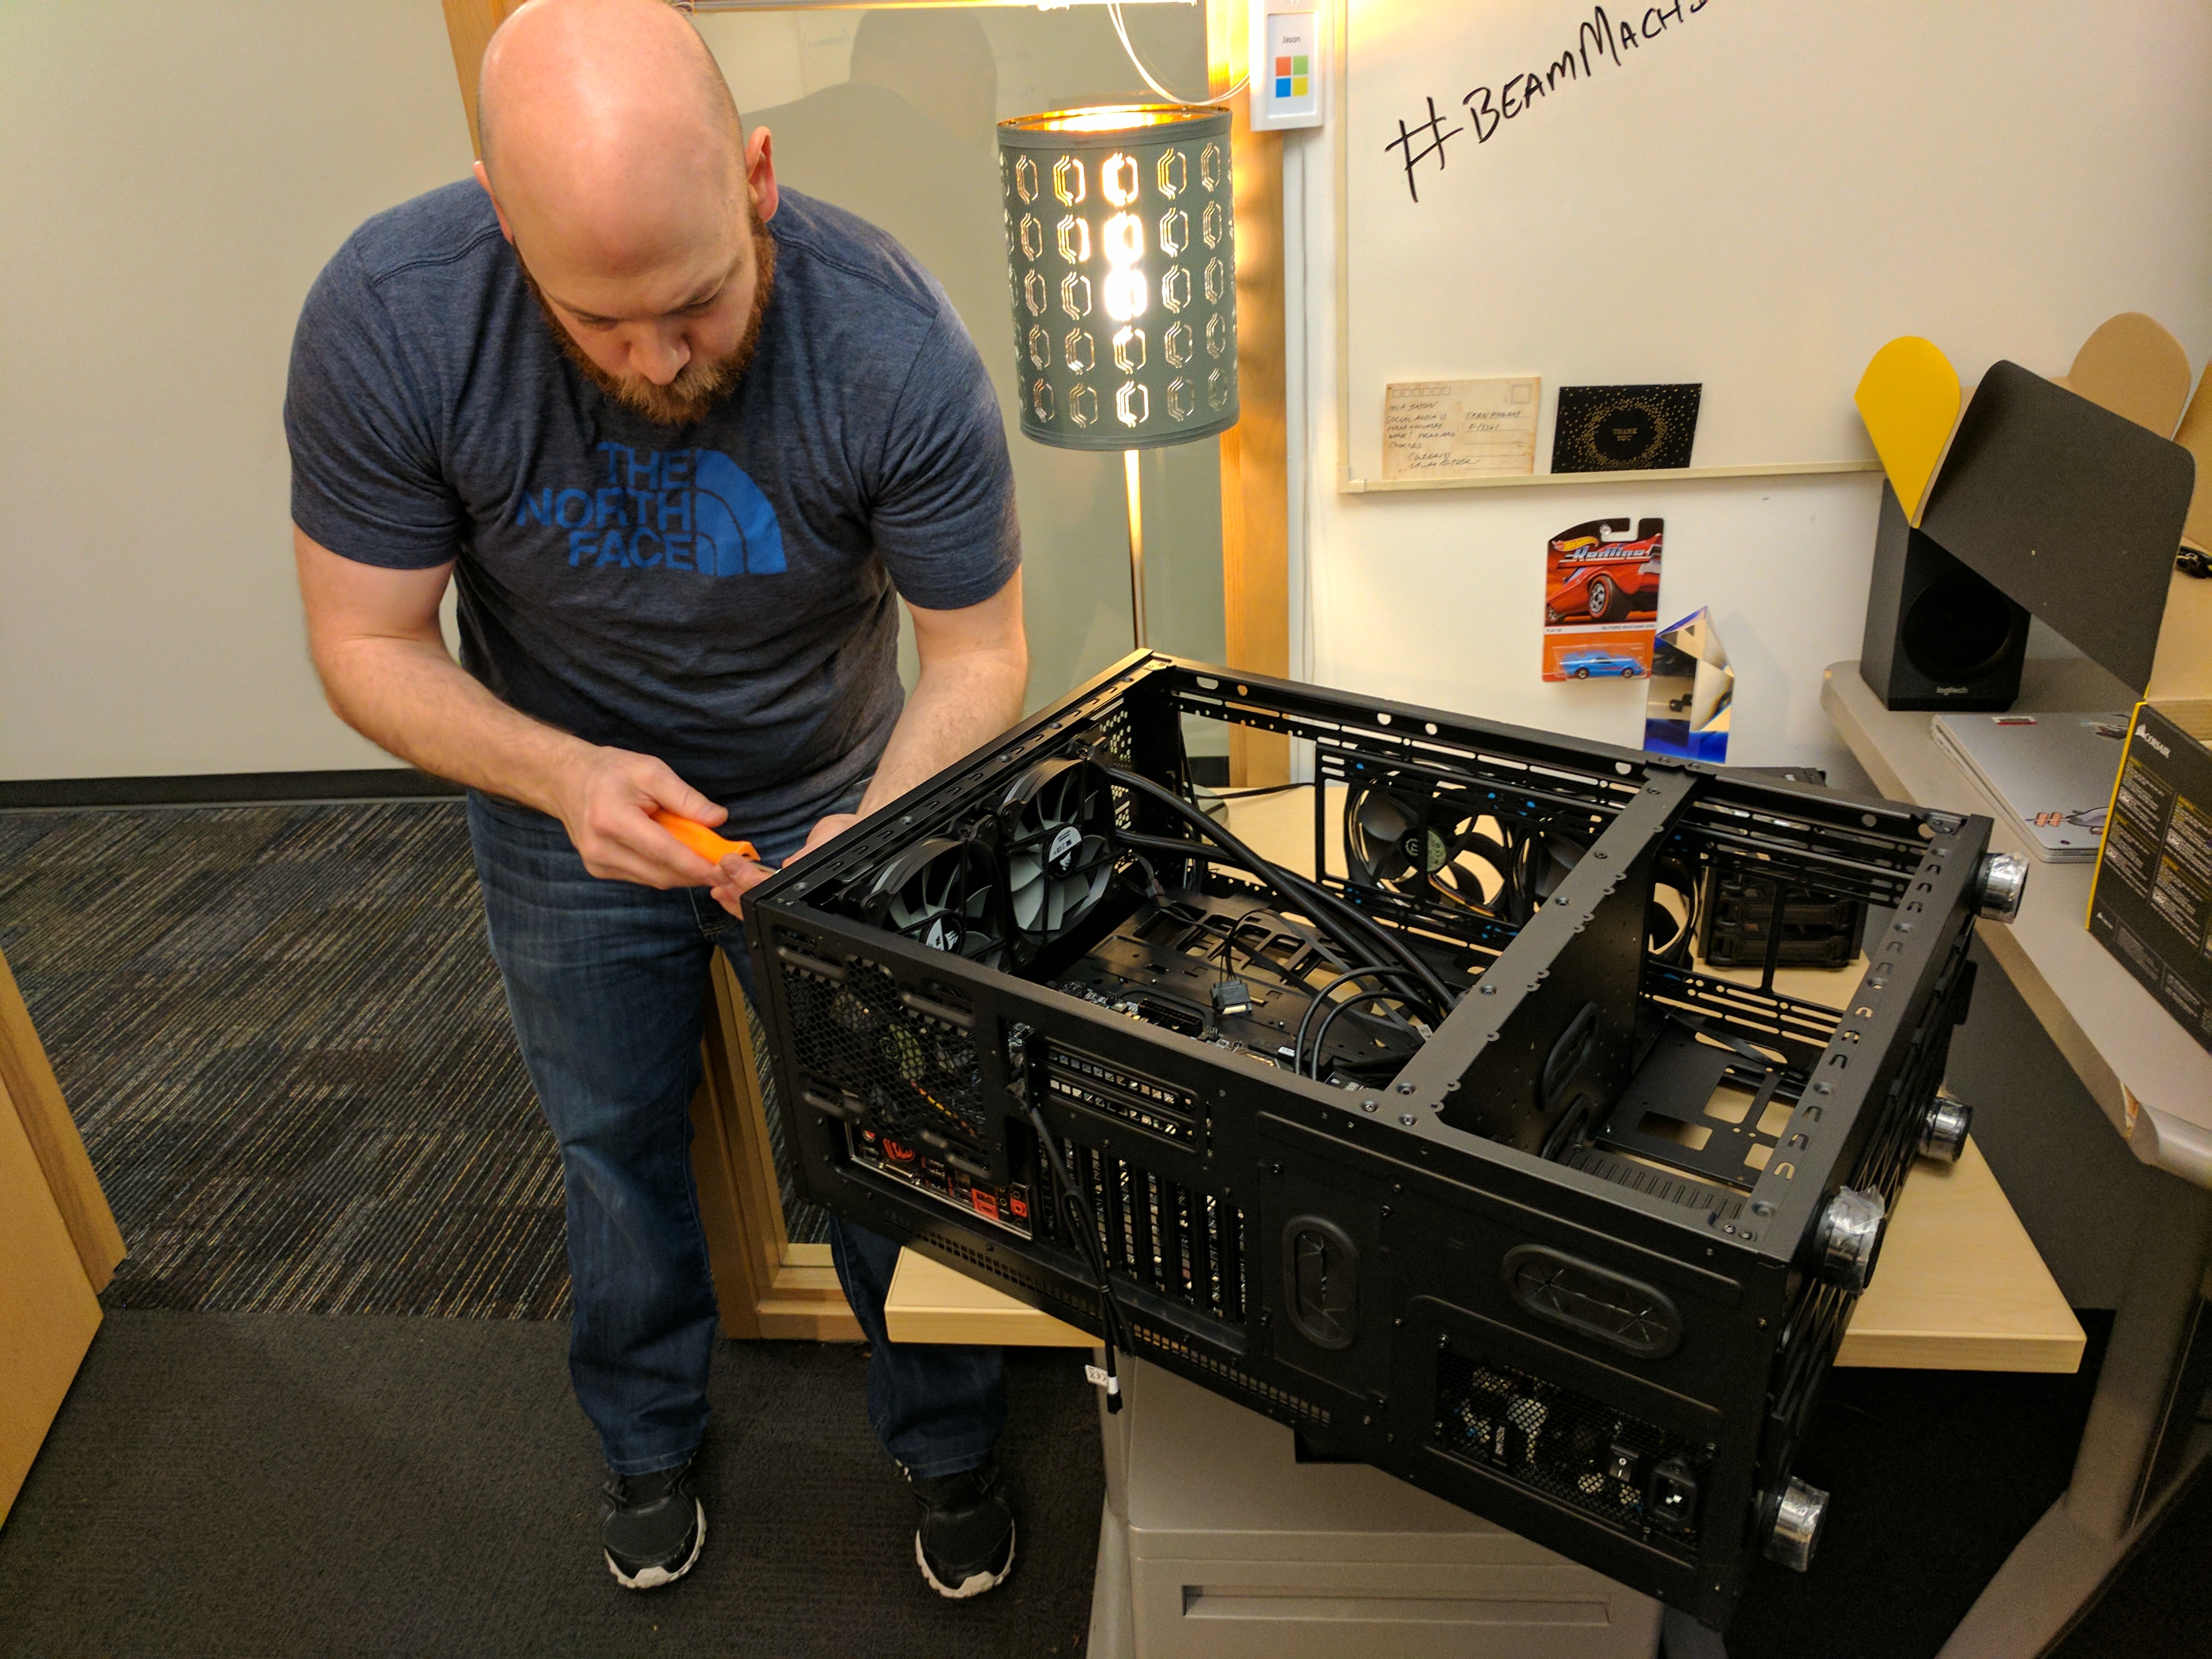
Thankfully we took many photos throughout the build process as we wanted to document and share the build process for anyone who has never assembled their own PC, or for those who love watching new PCs come to life. Without further ado, let’s get to the photos!
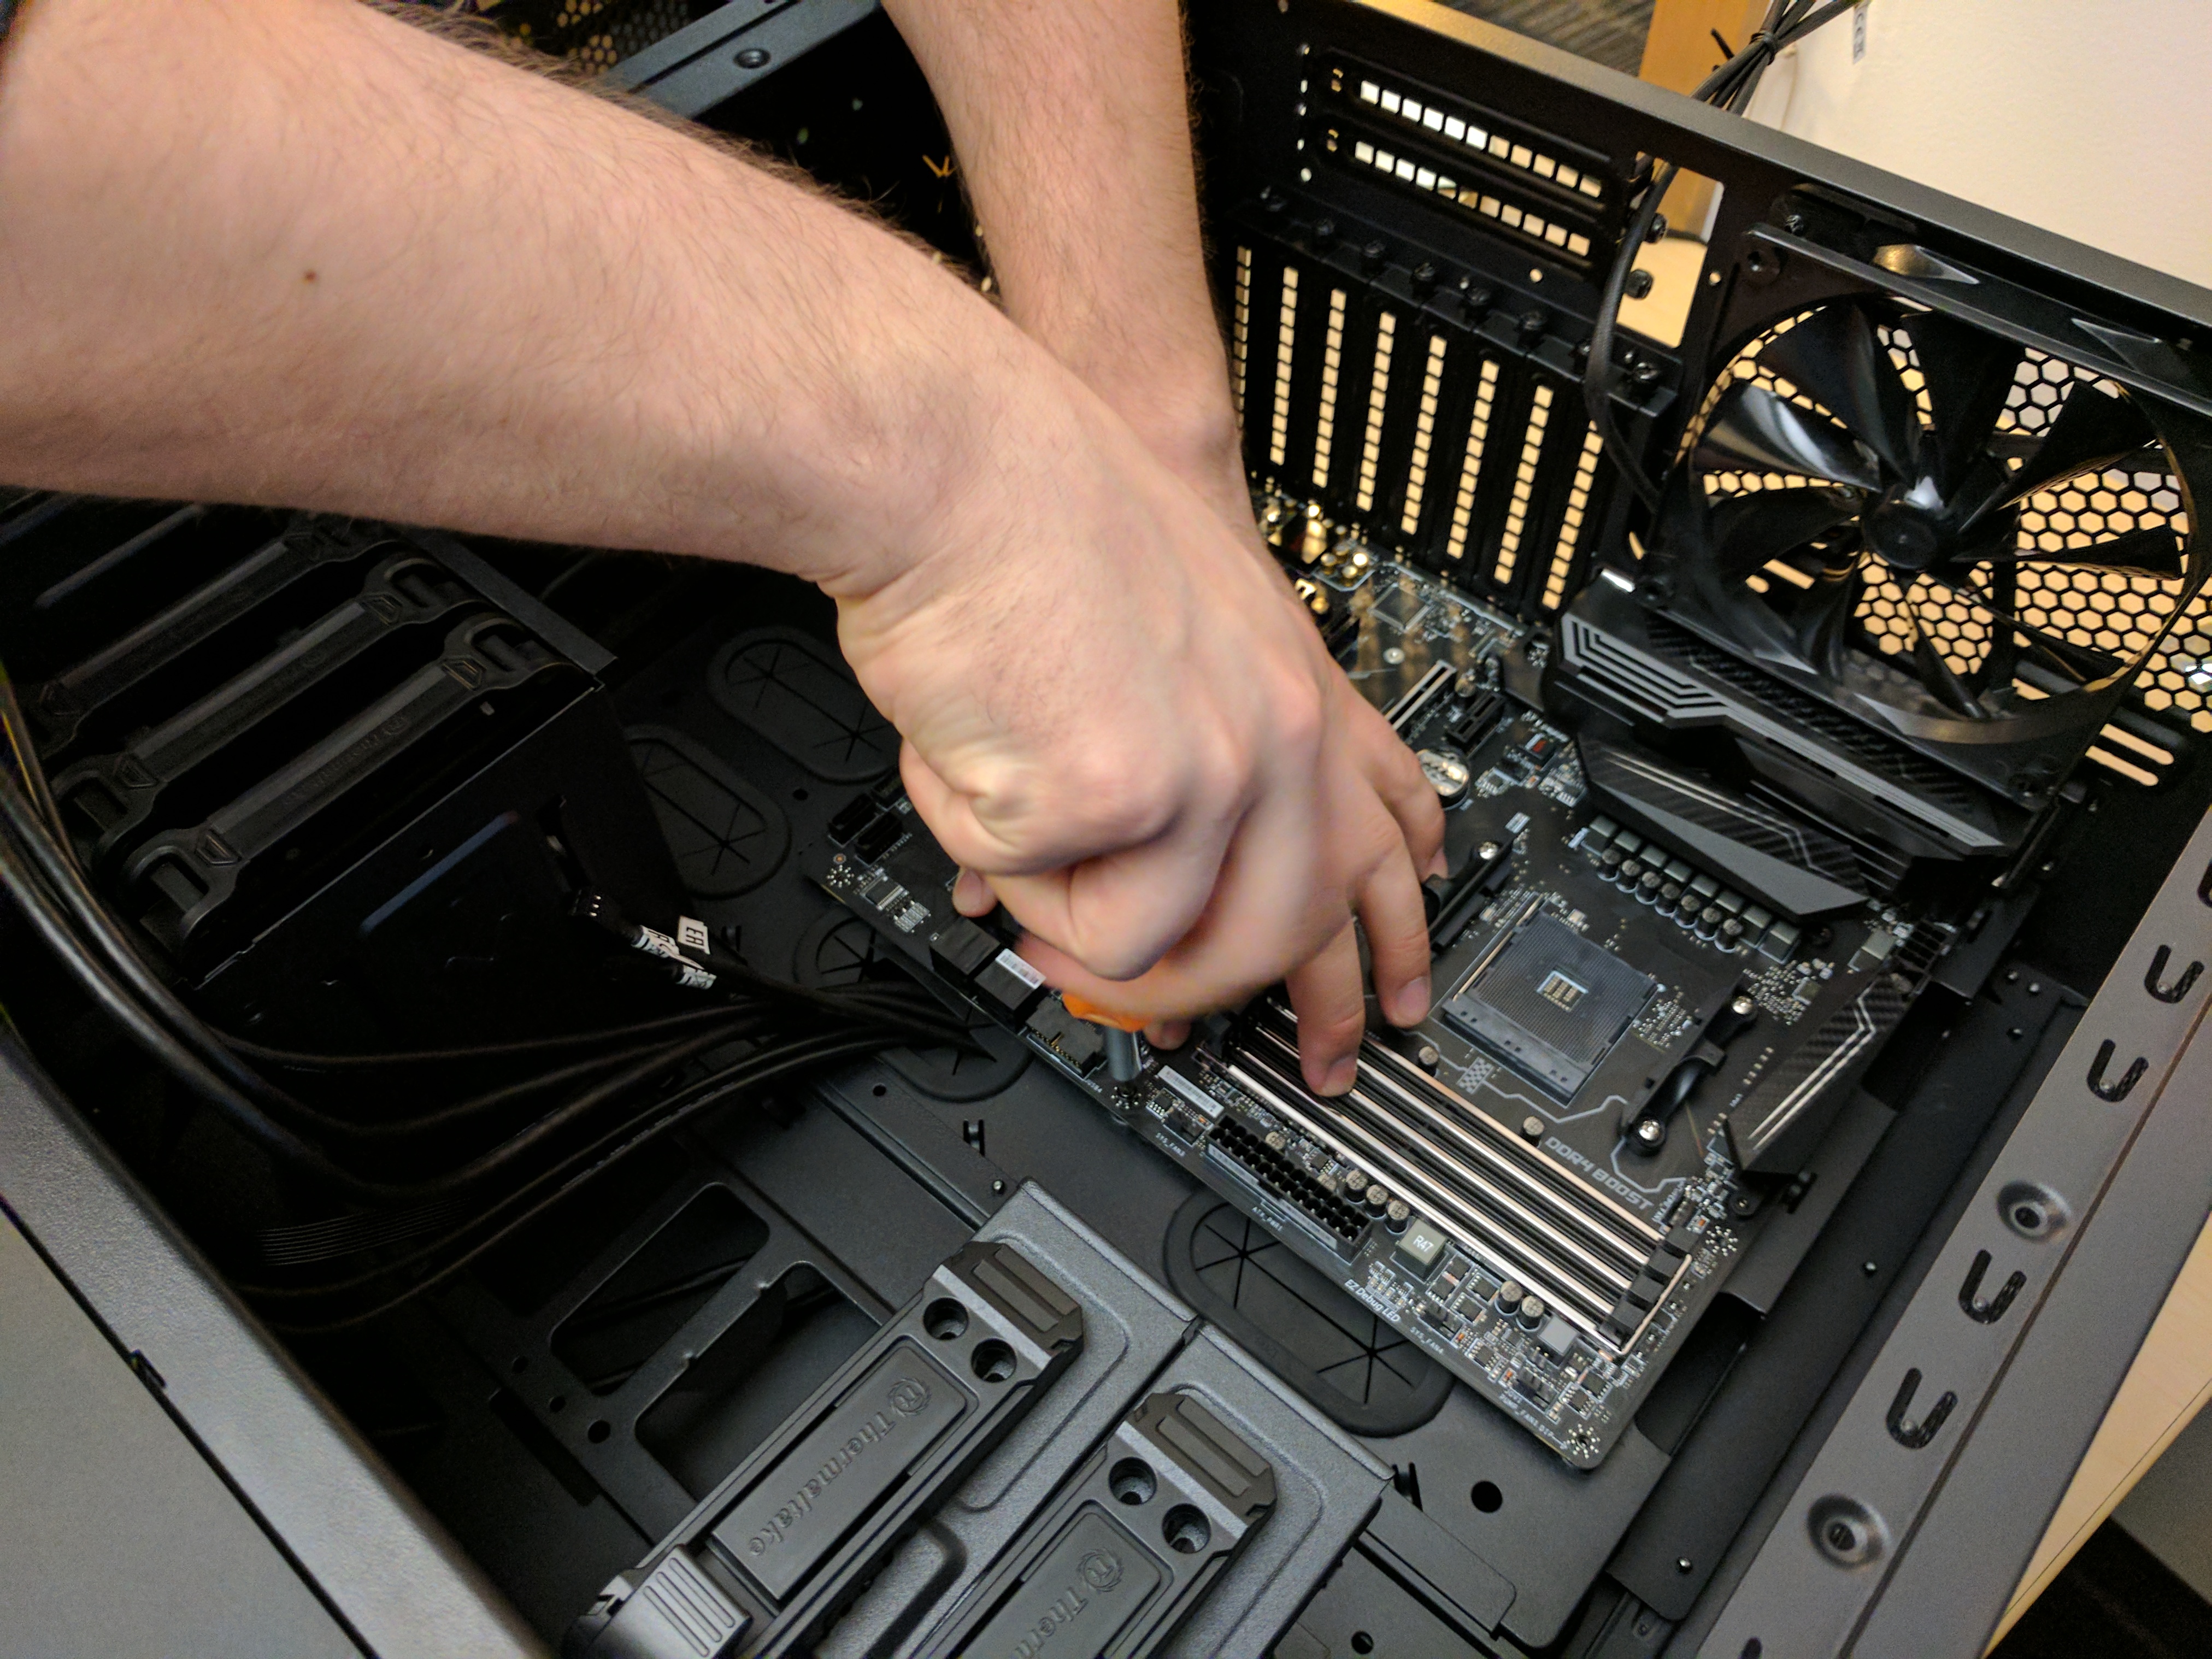
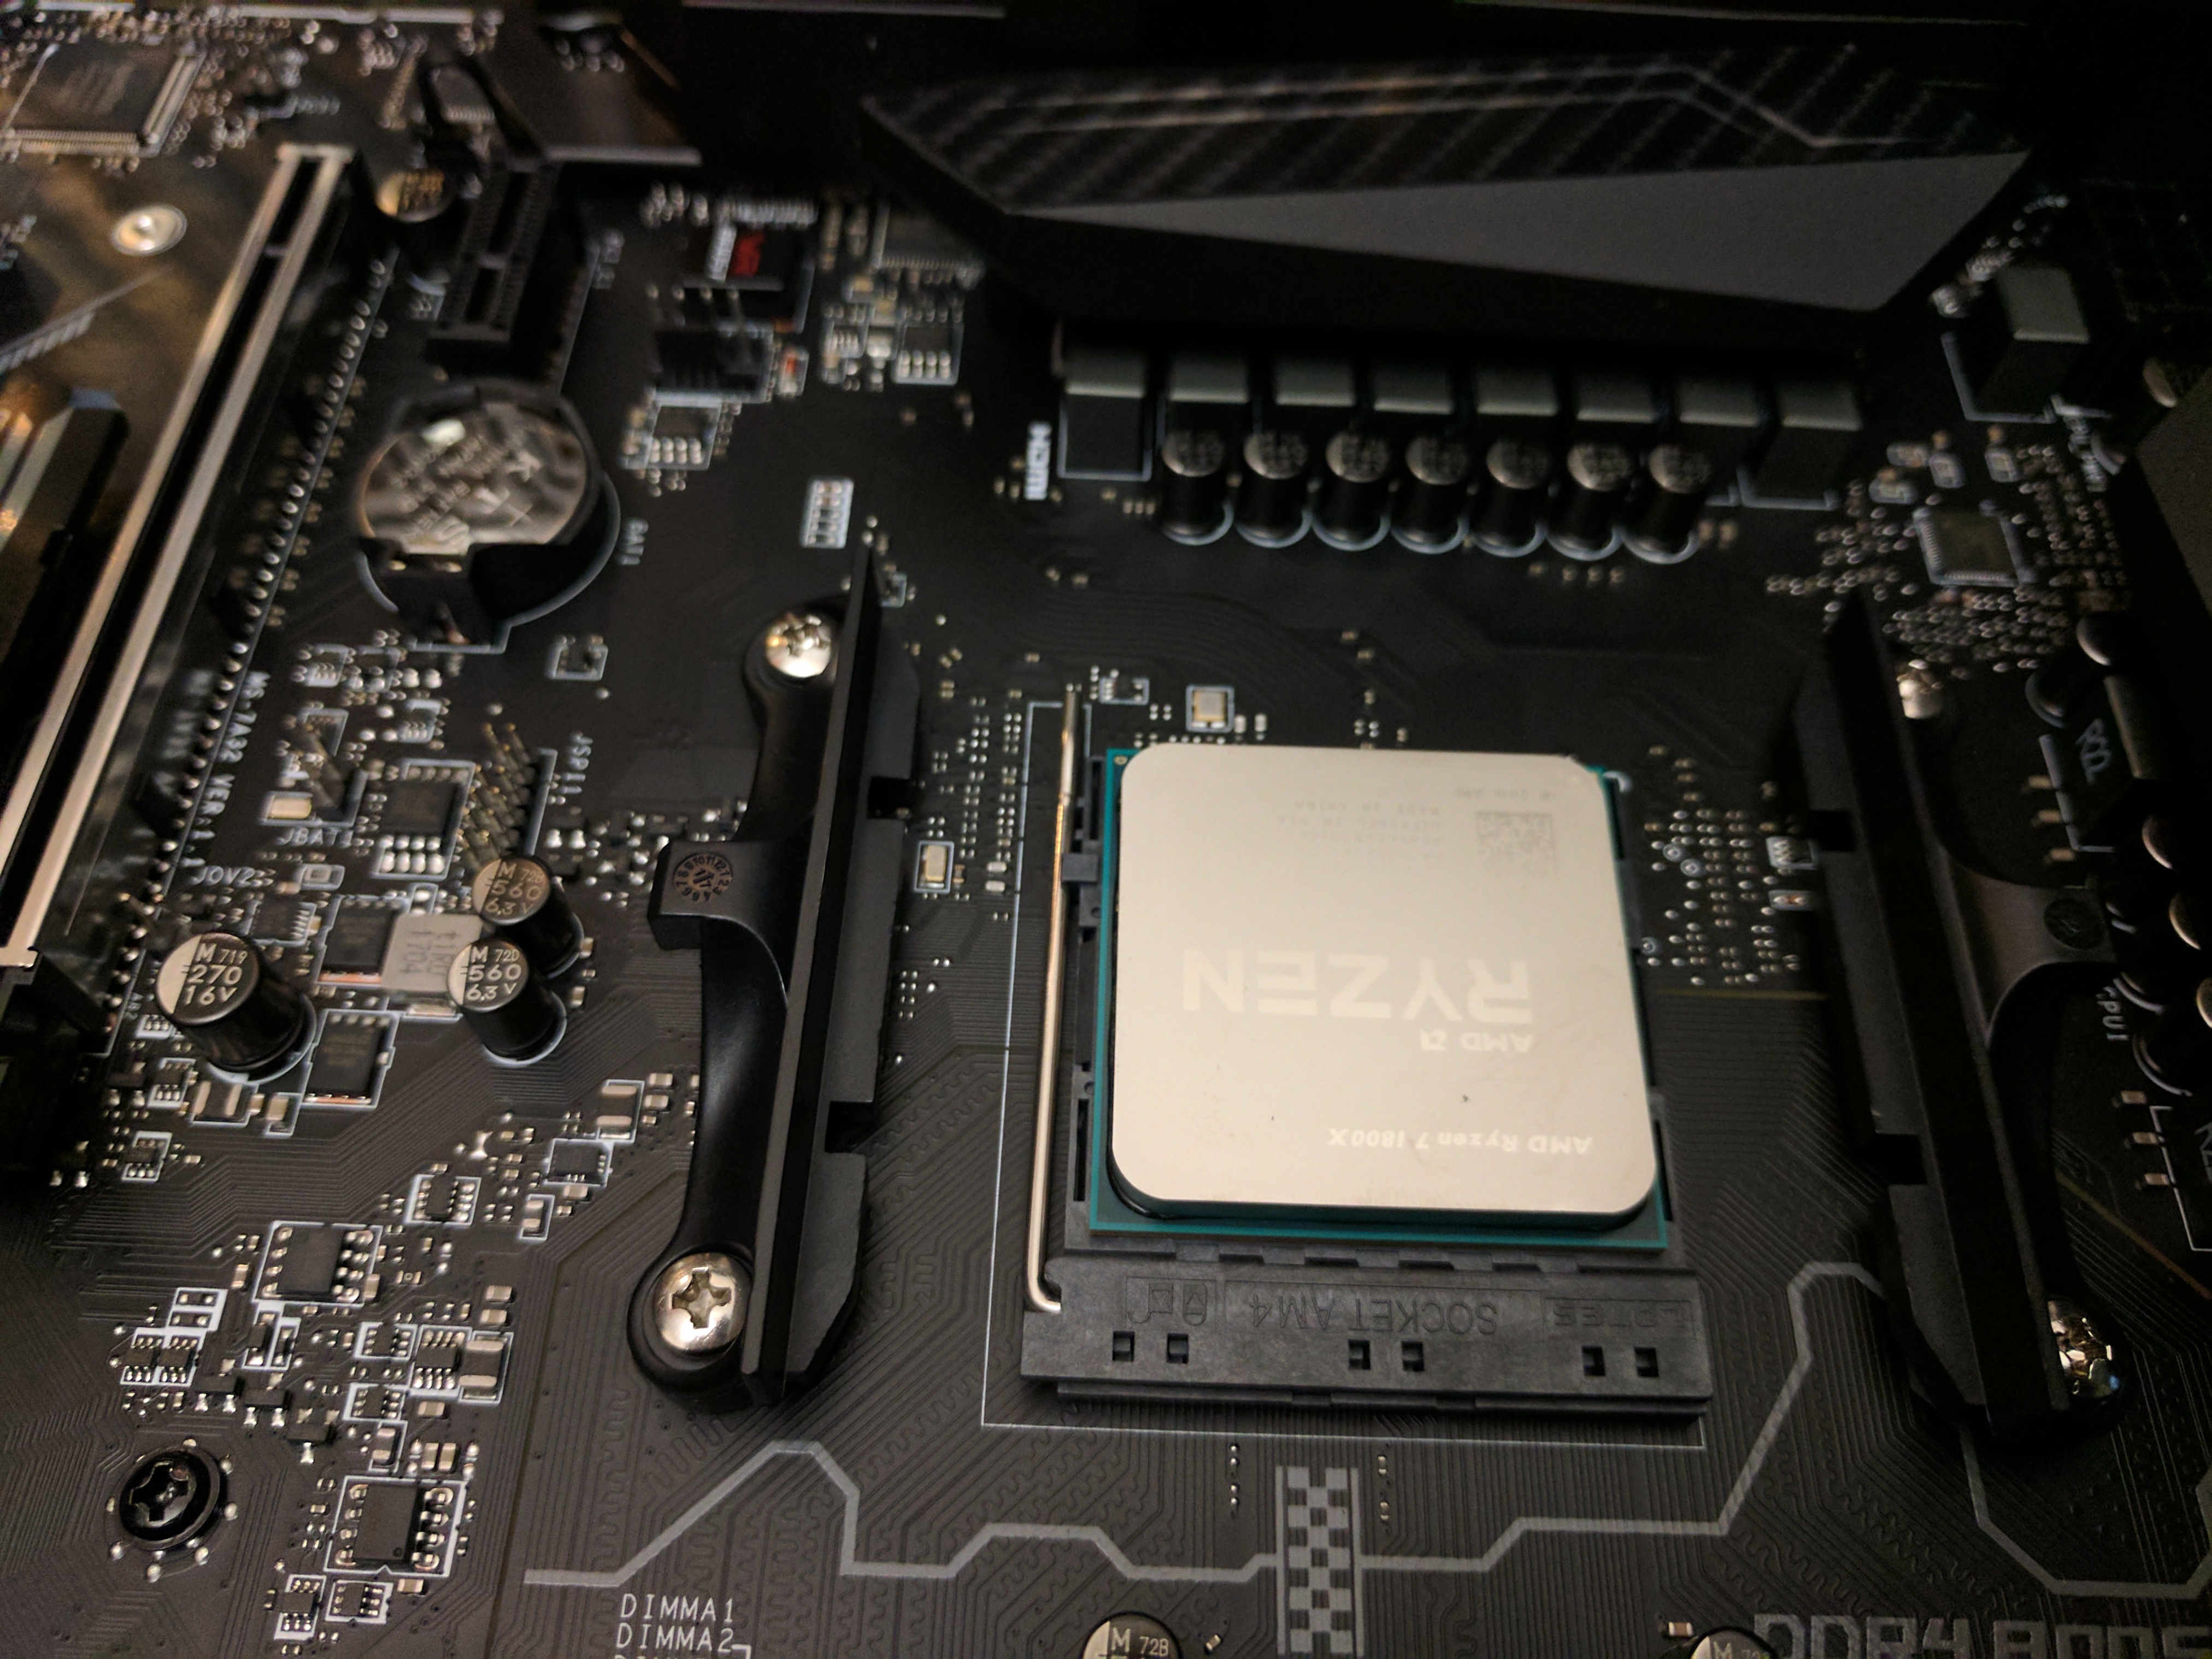
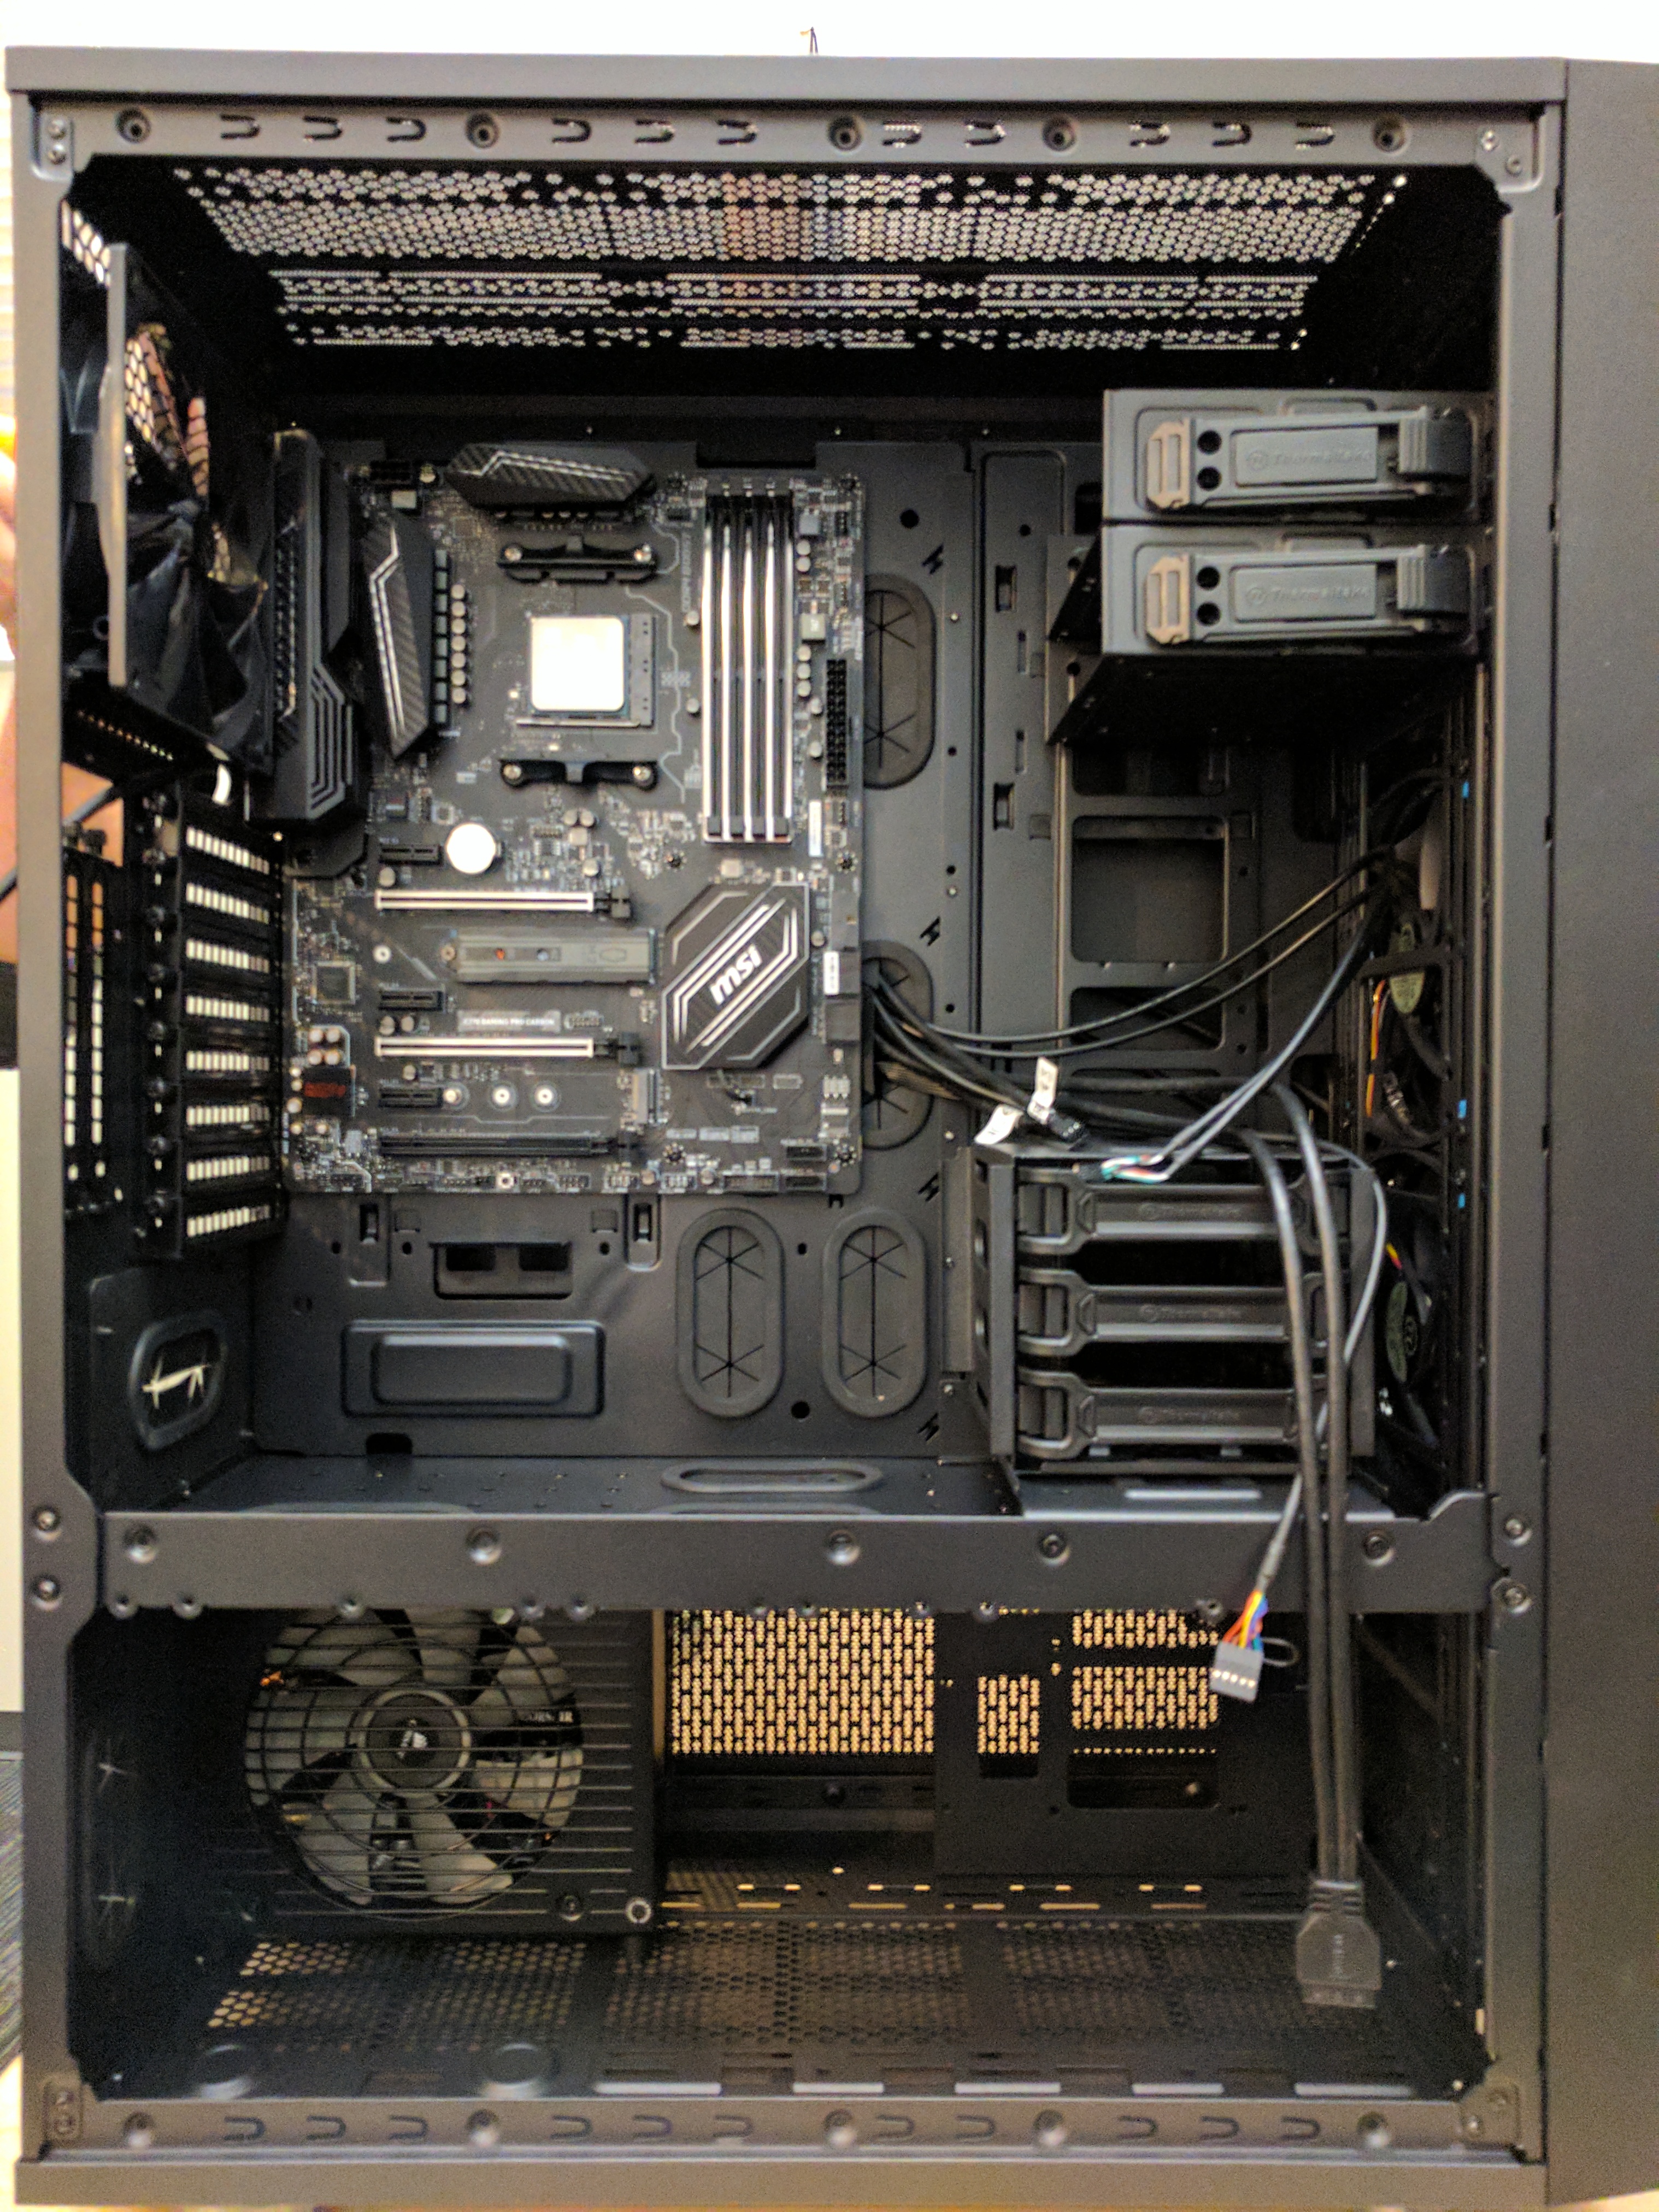
It’s starting to look a little like a PC!
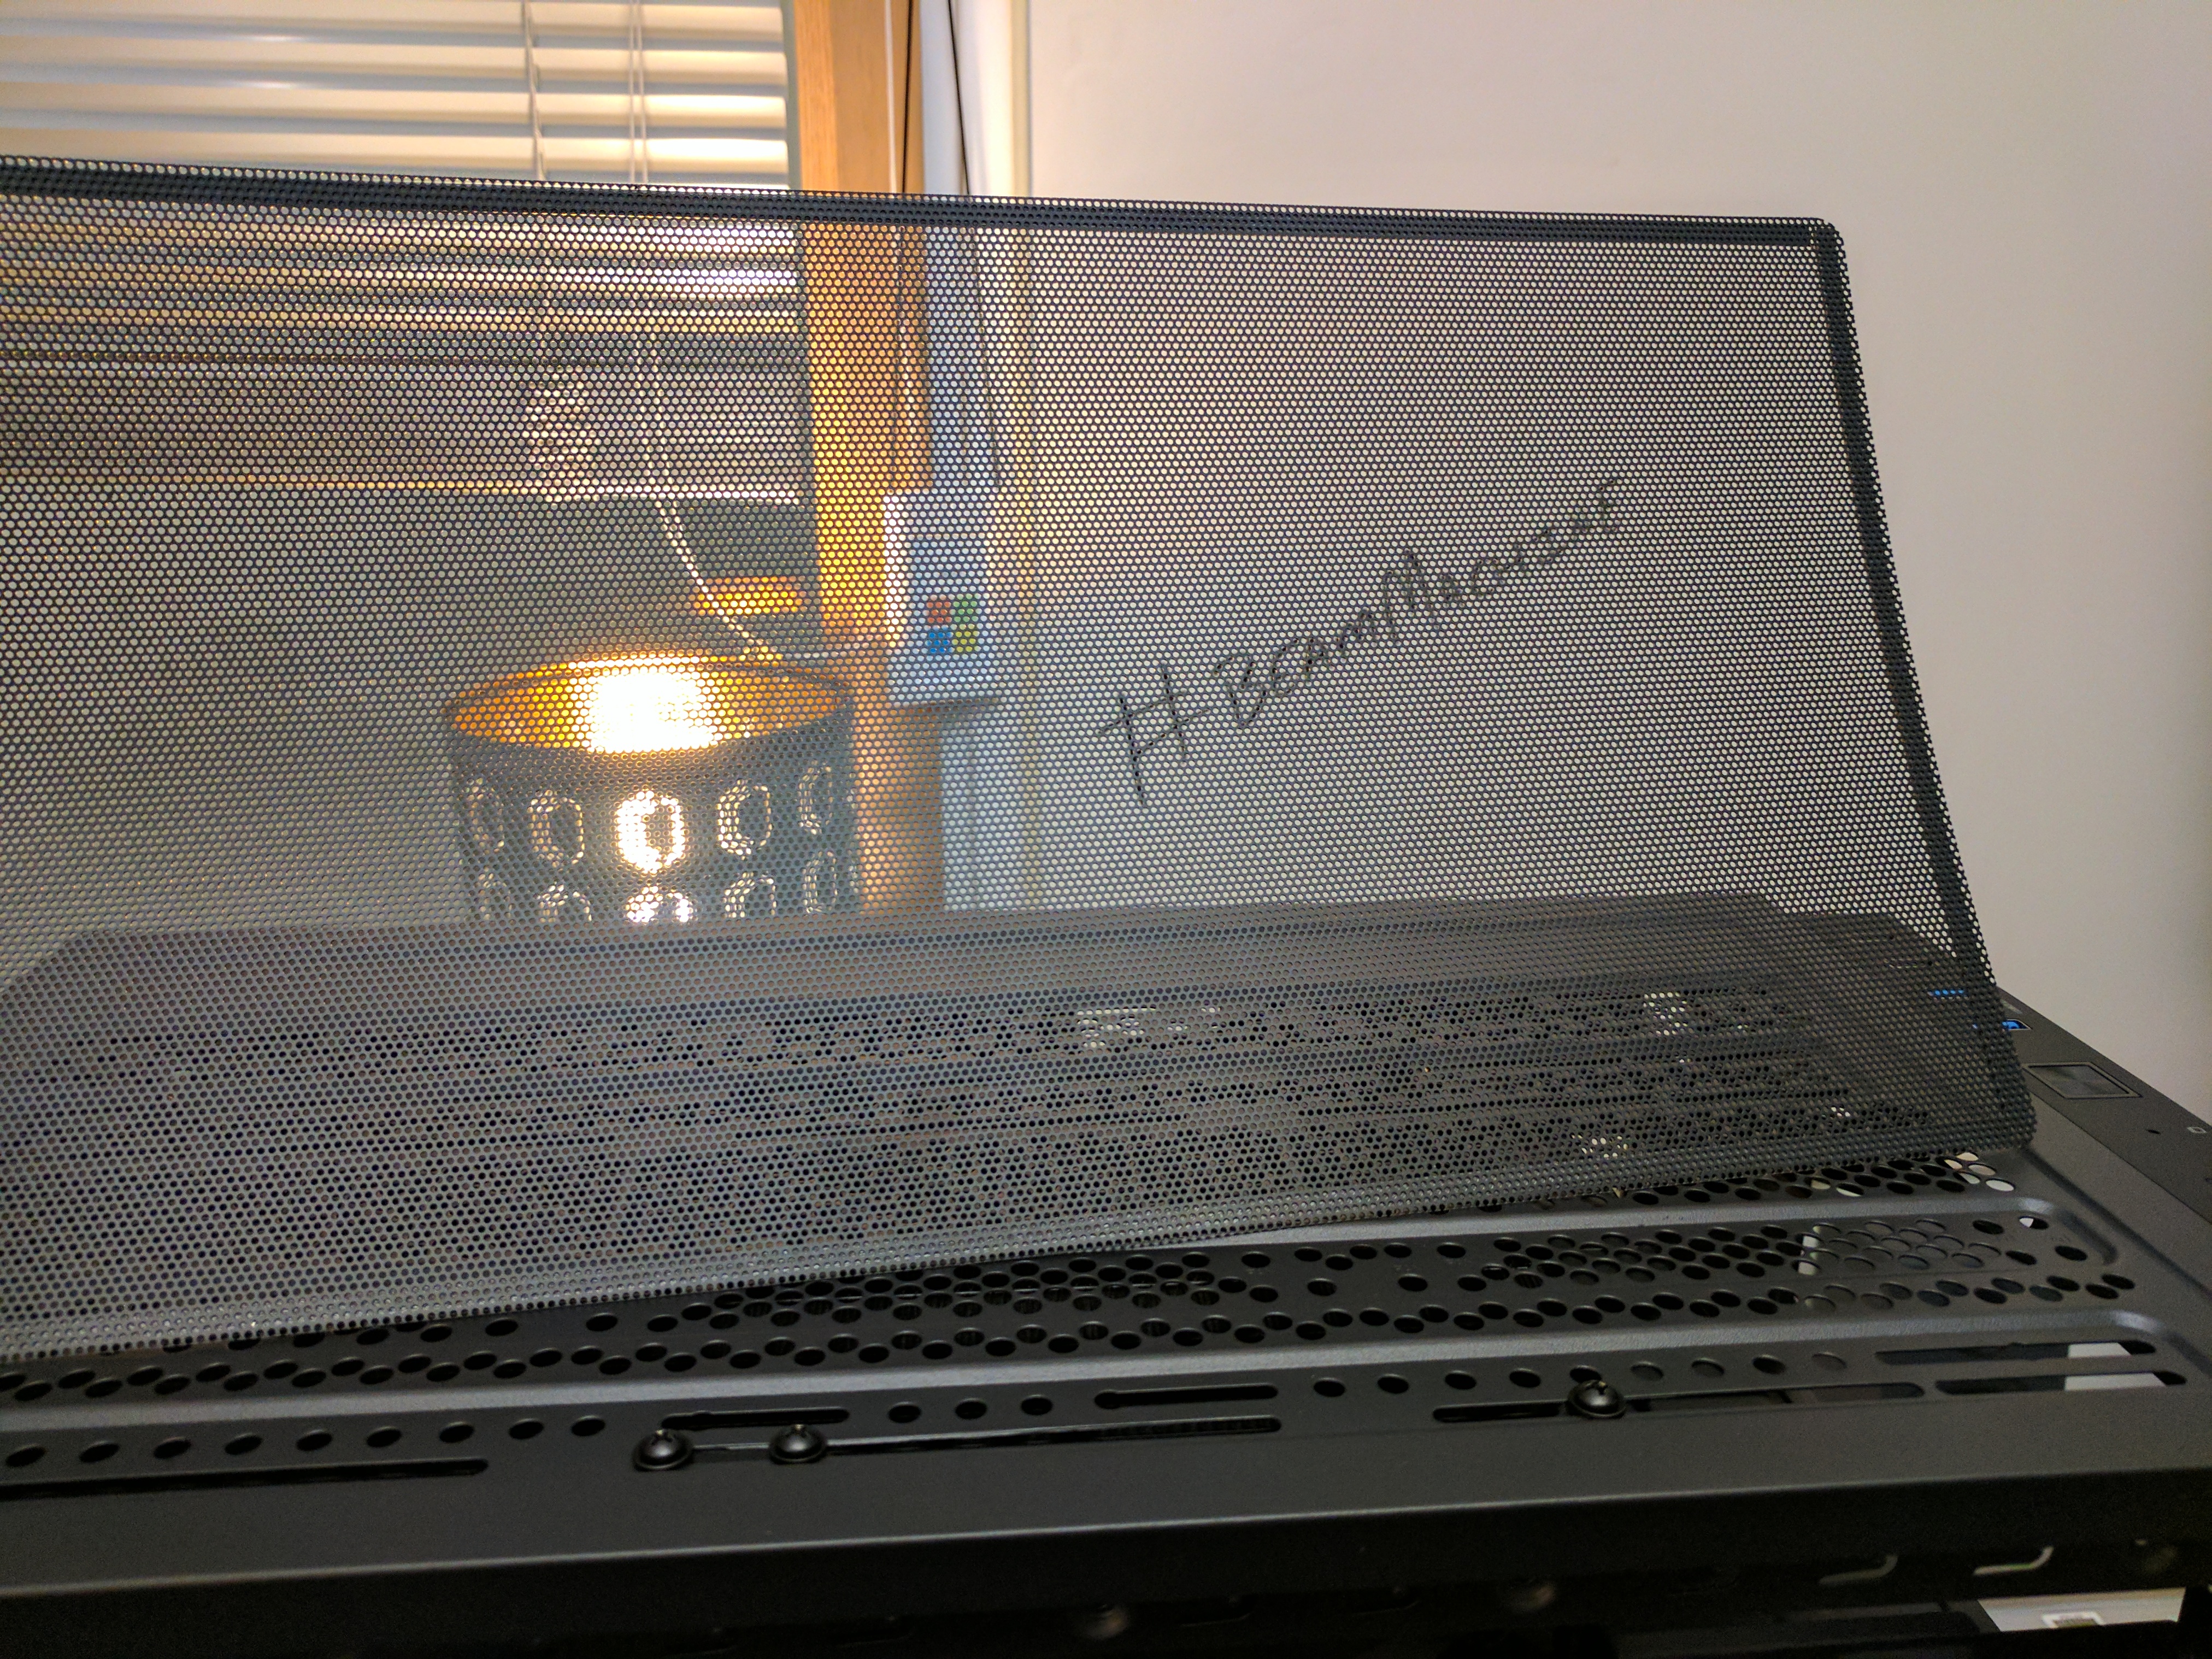
-
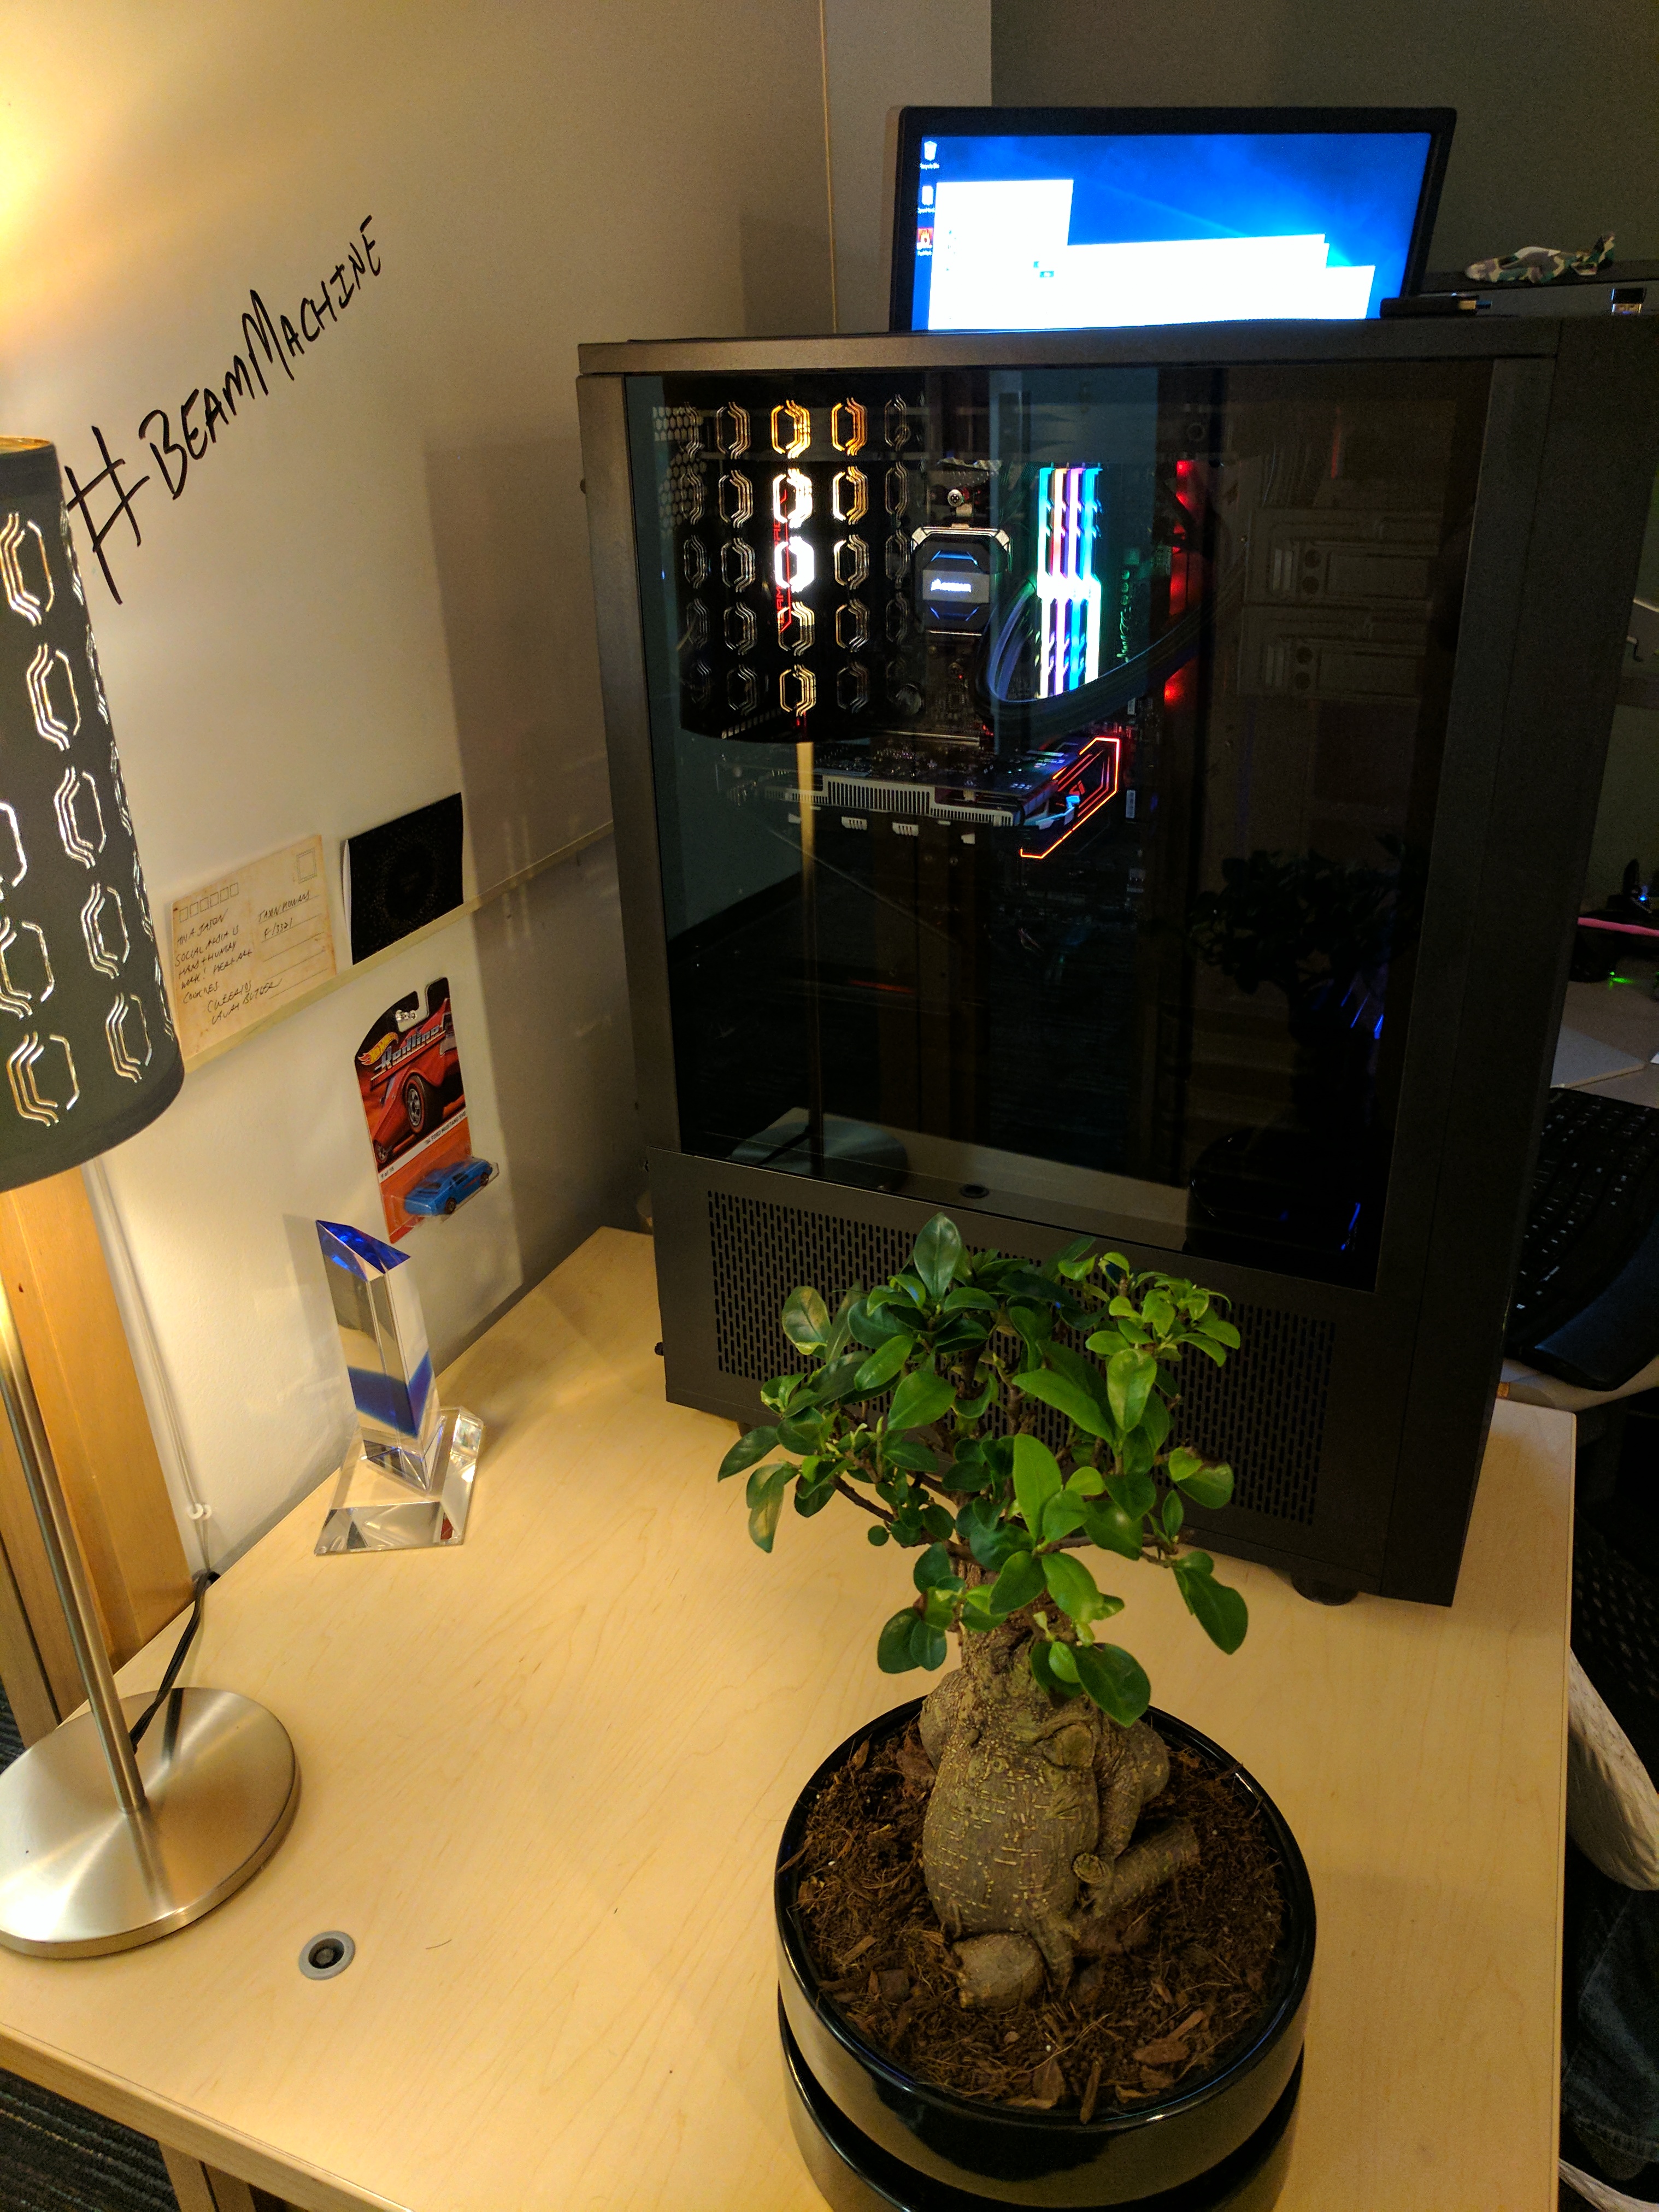
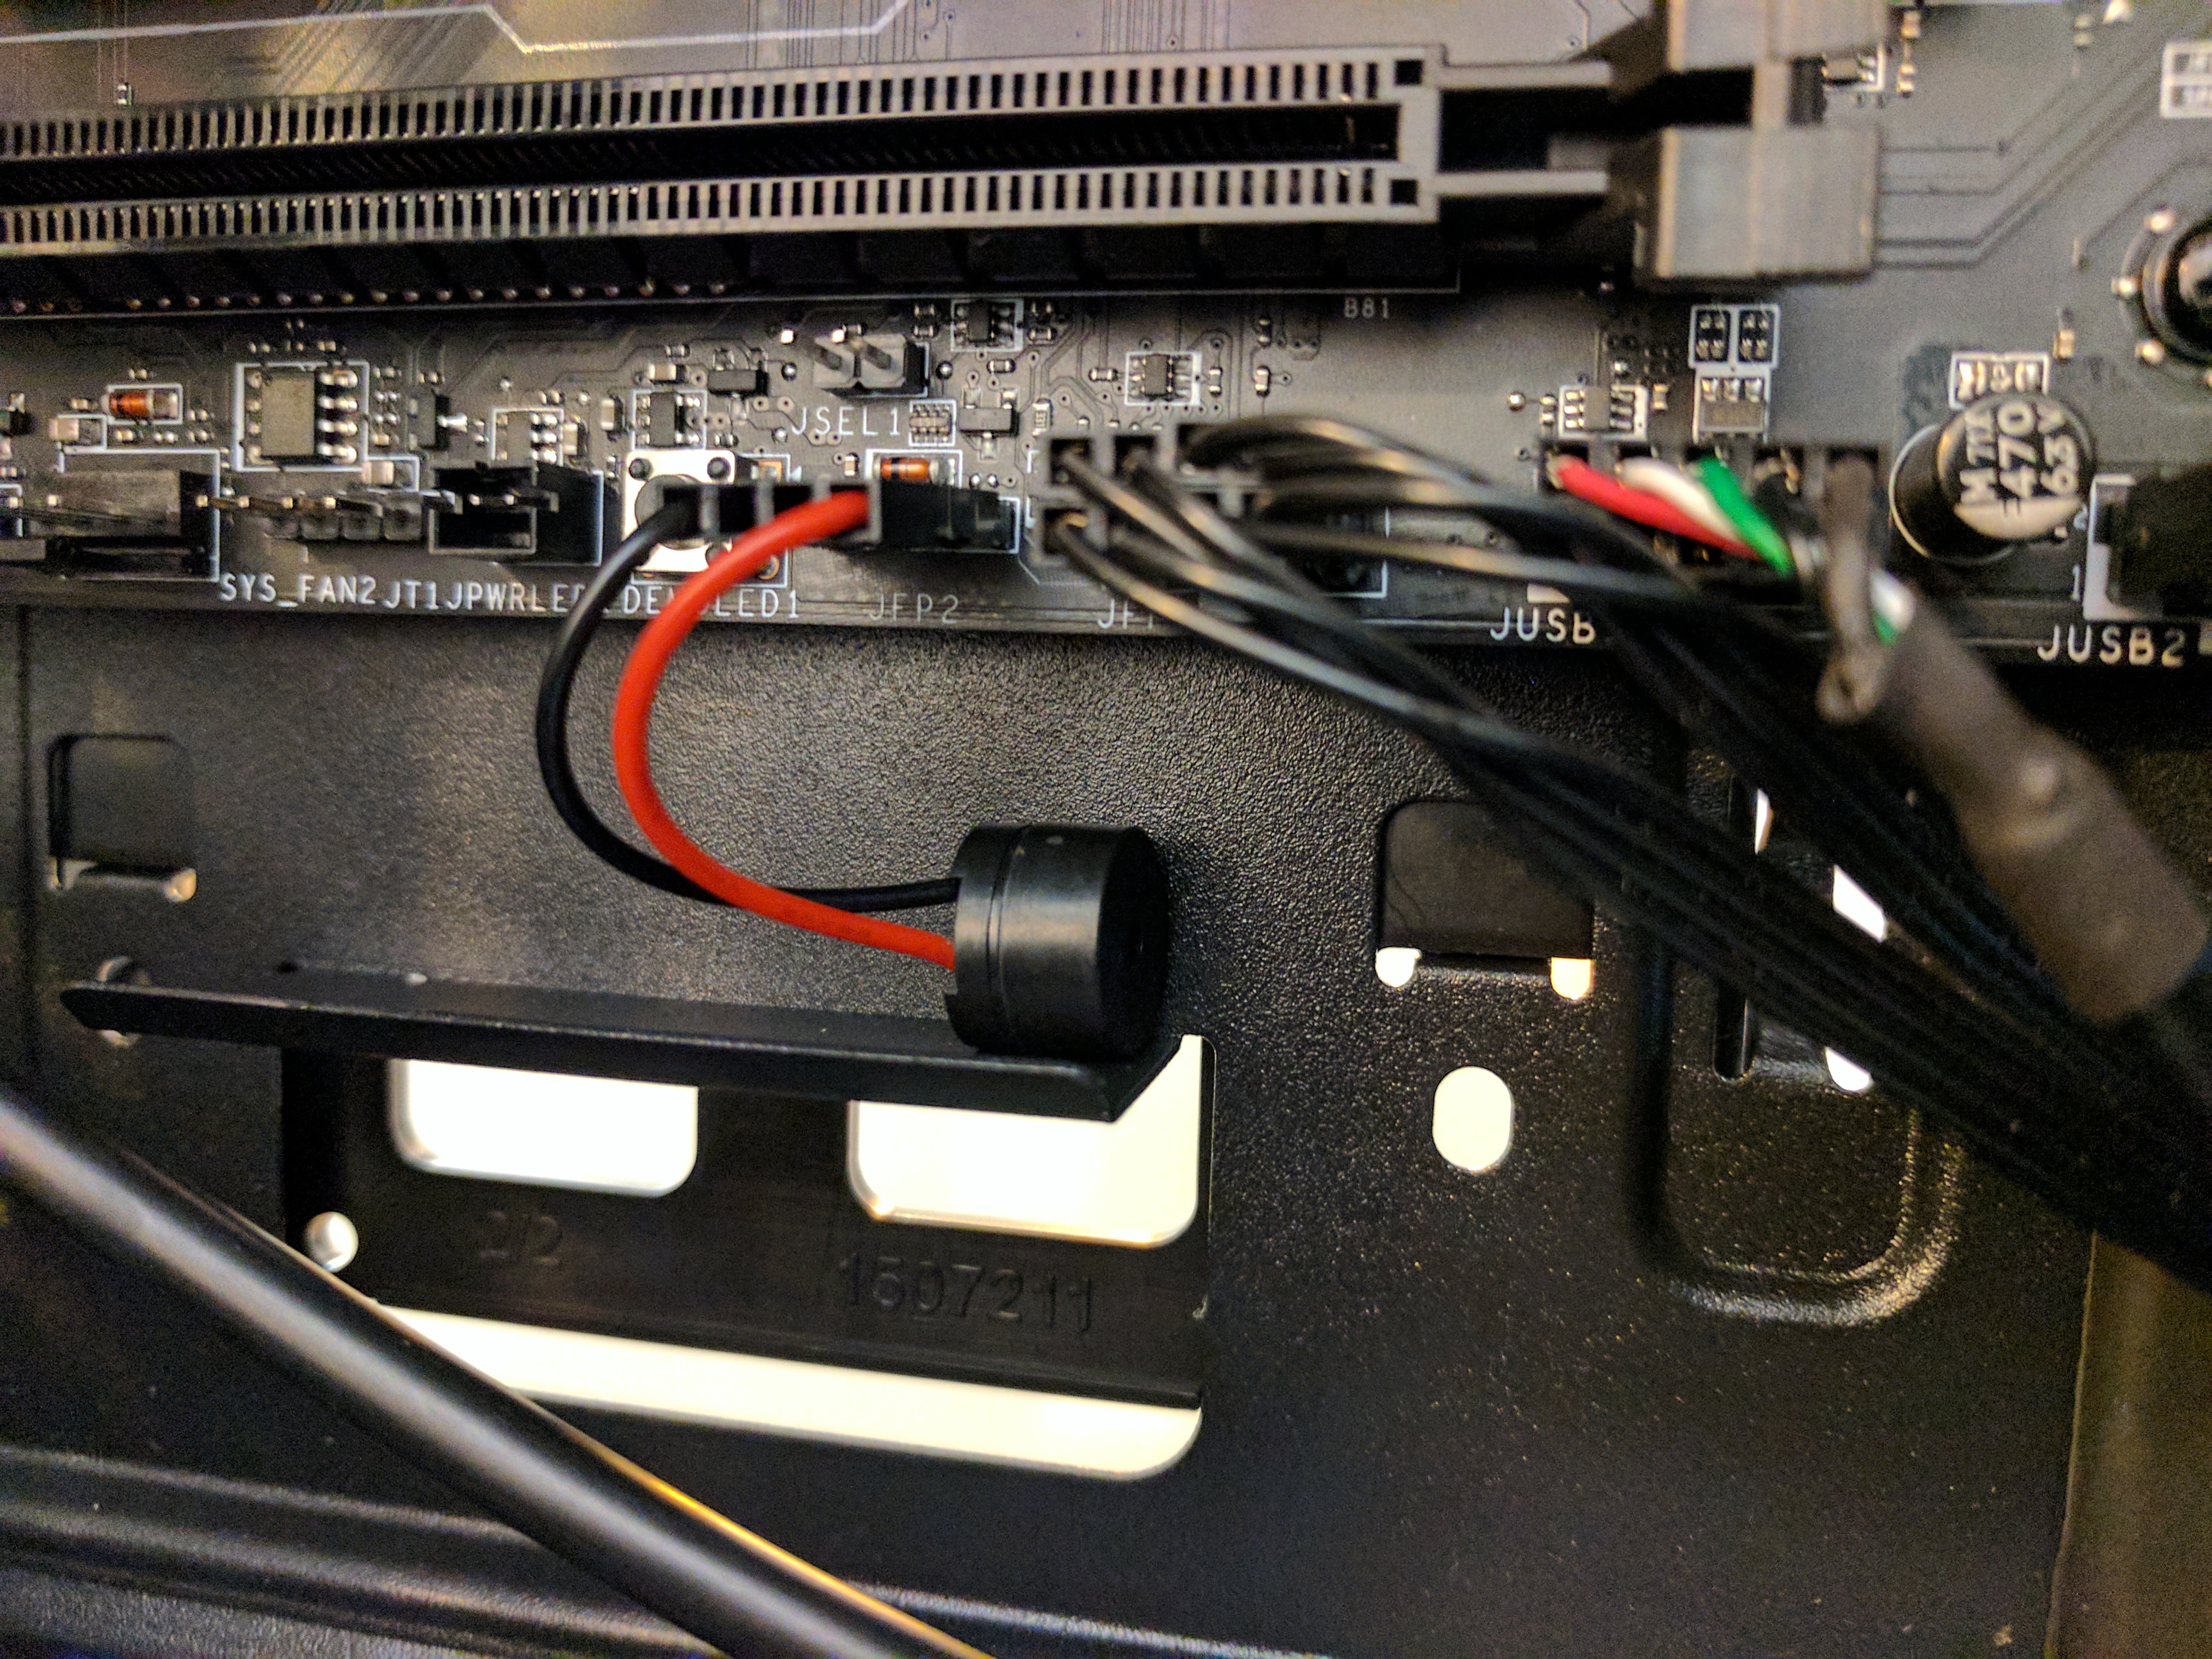
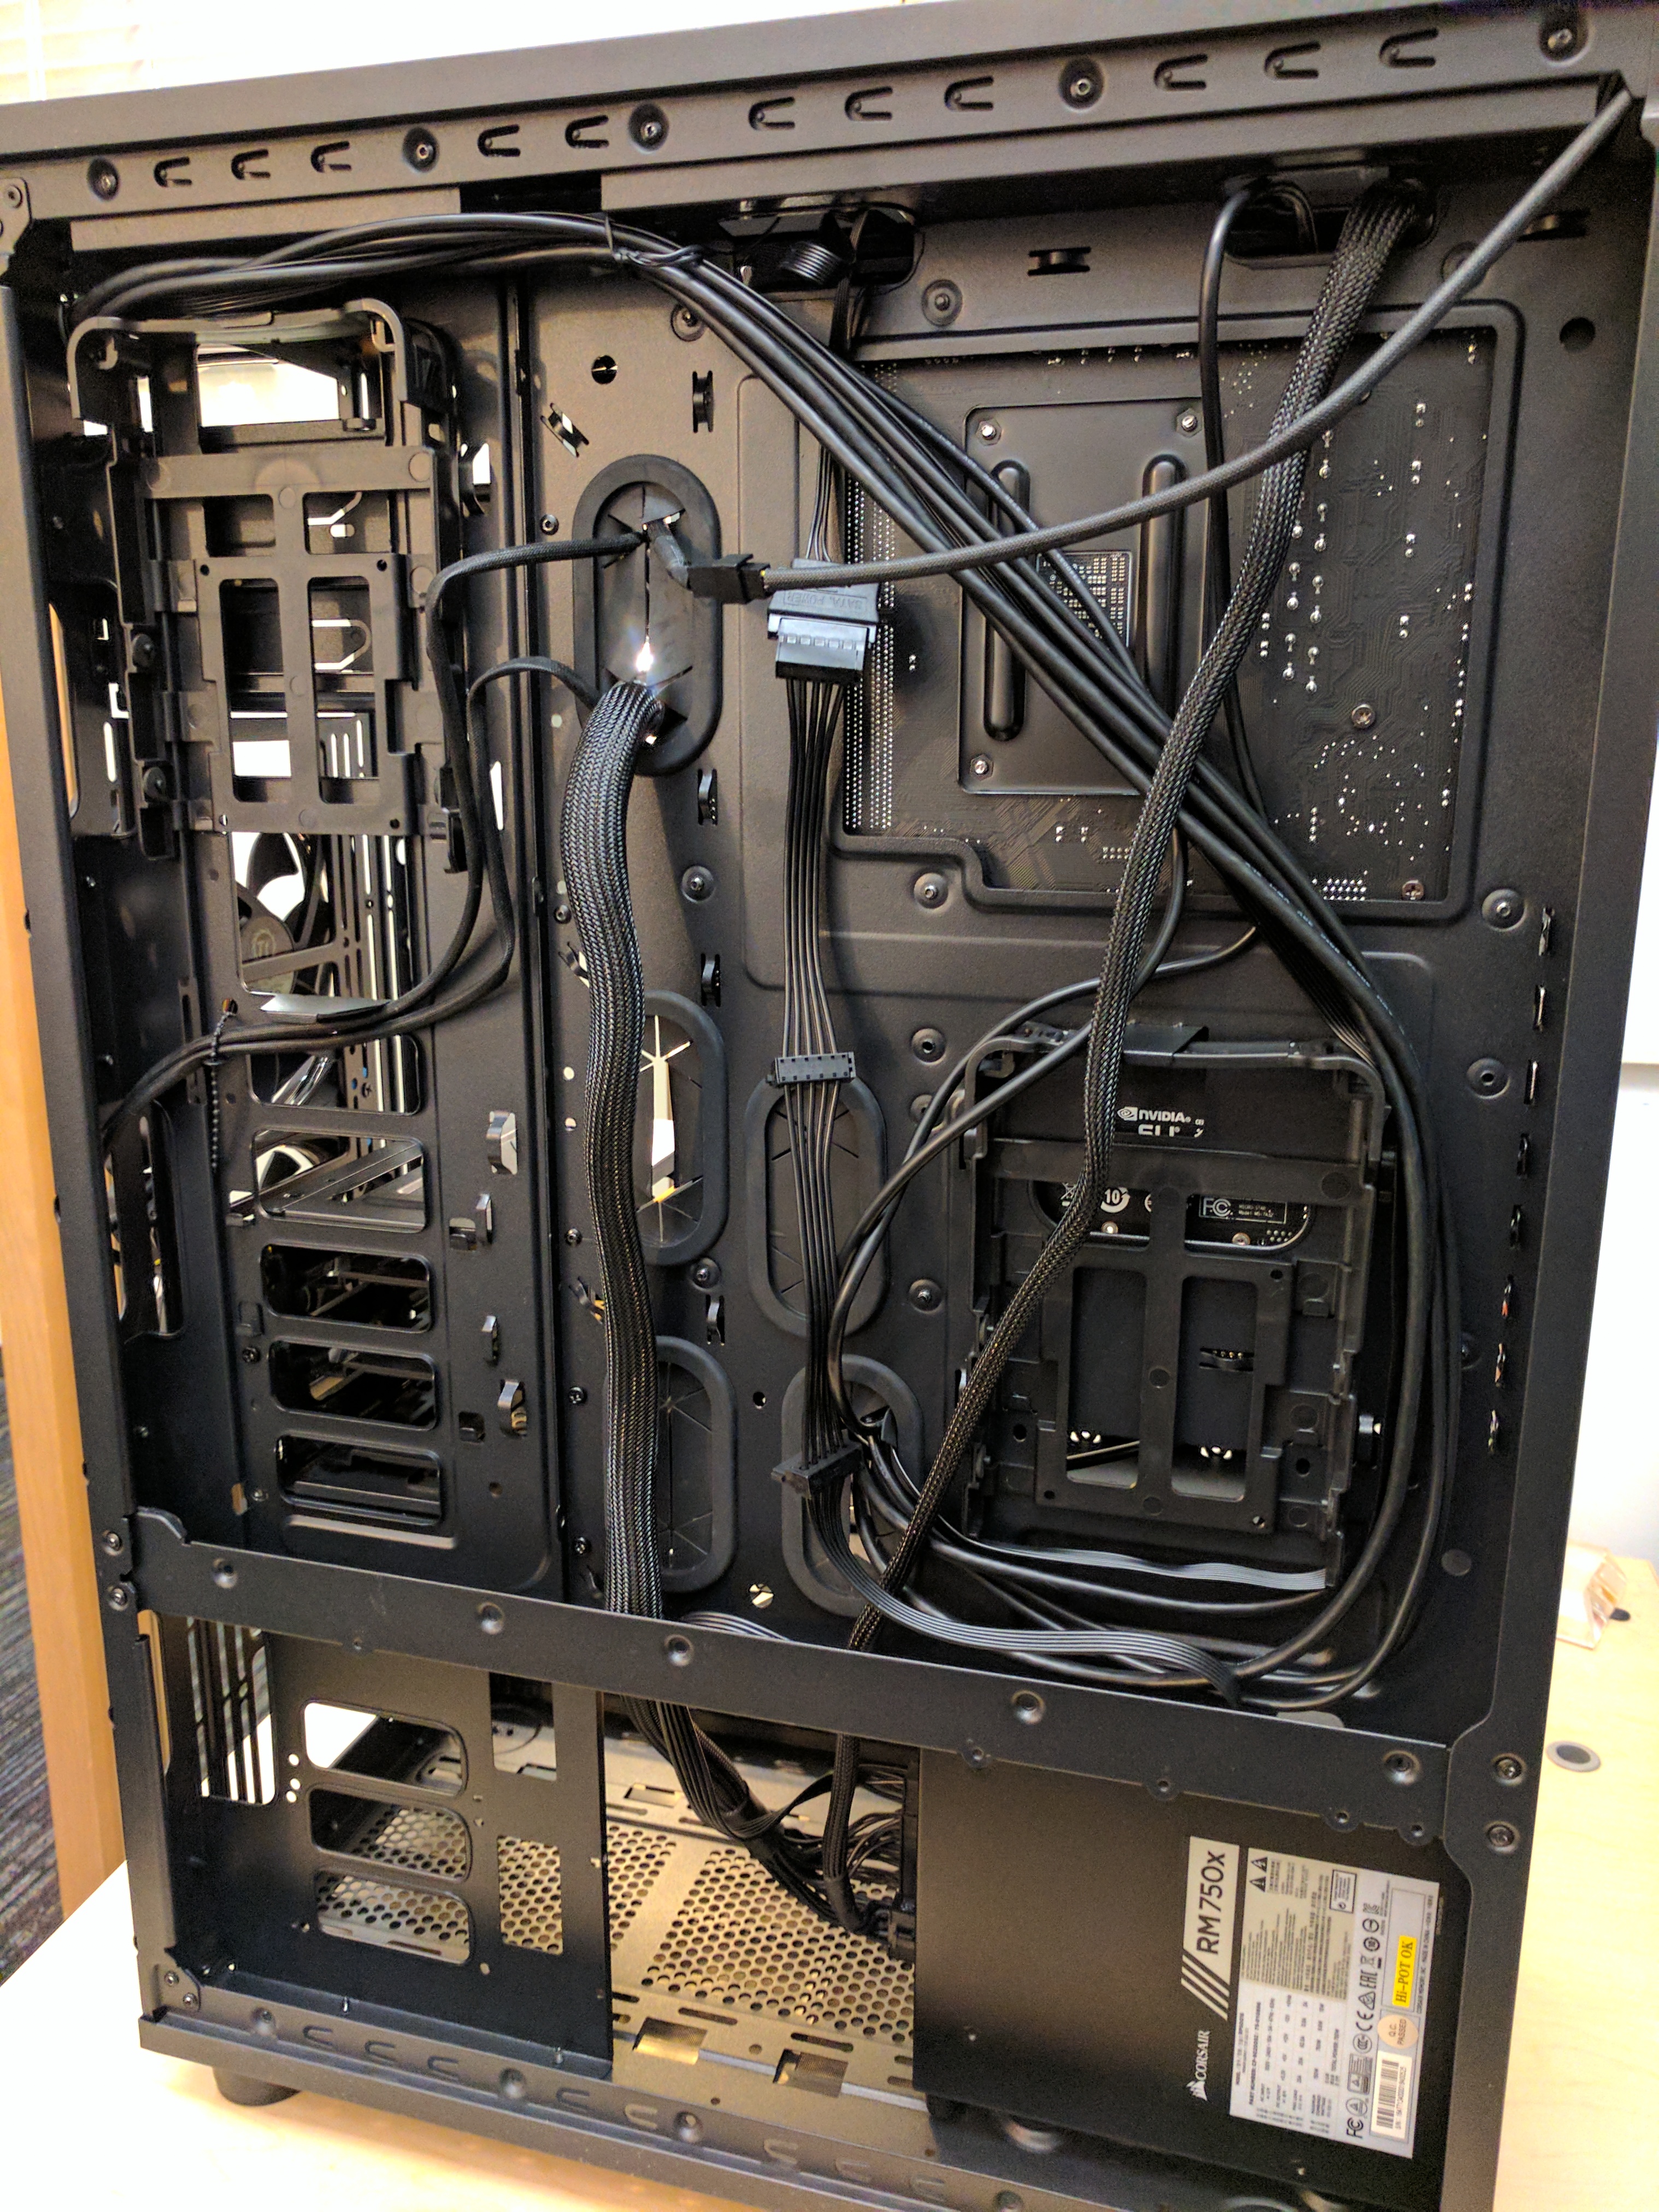
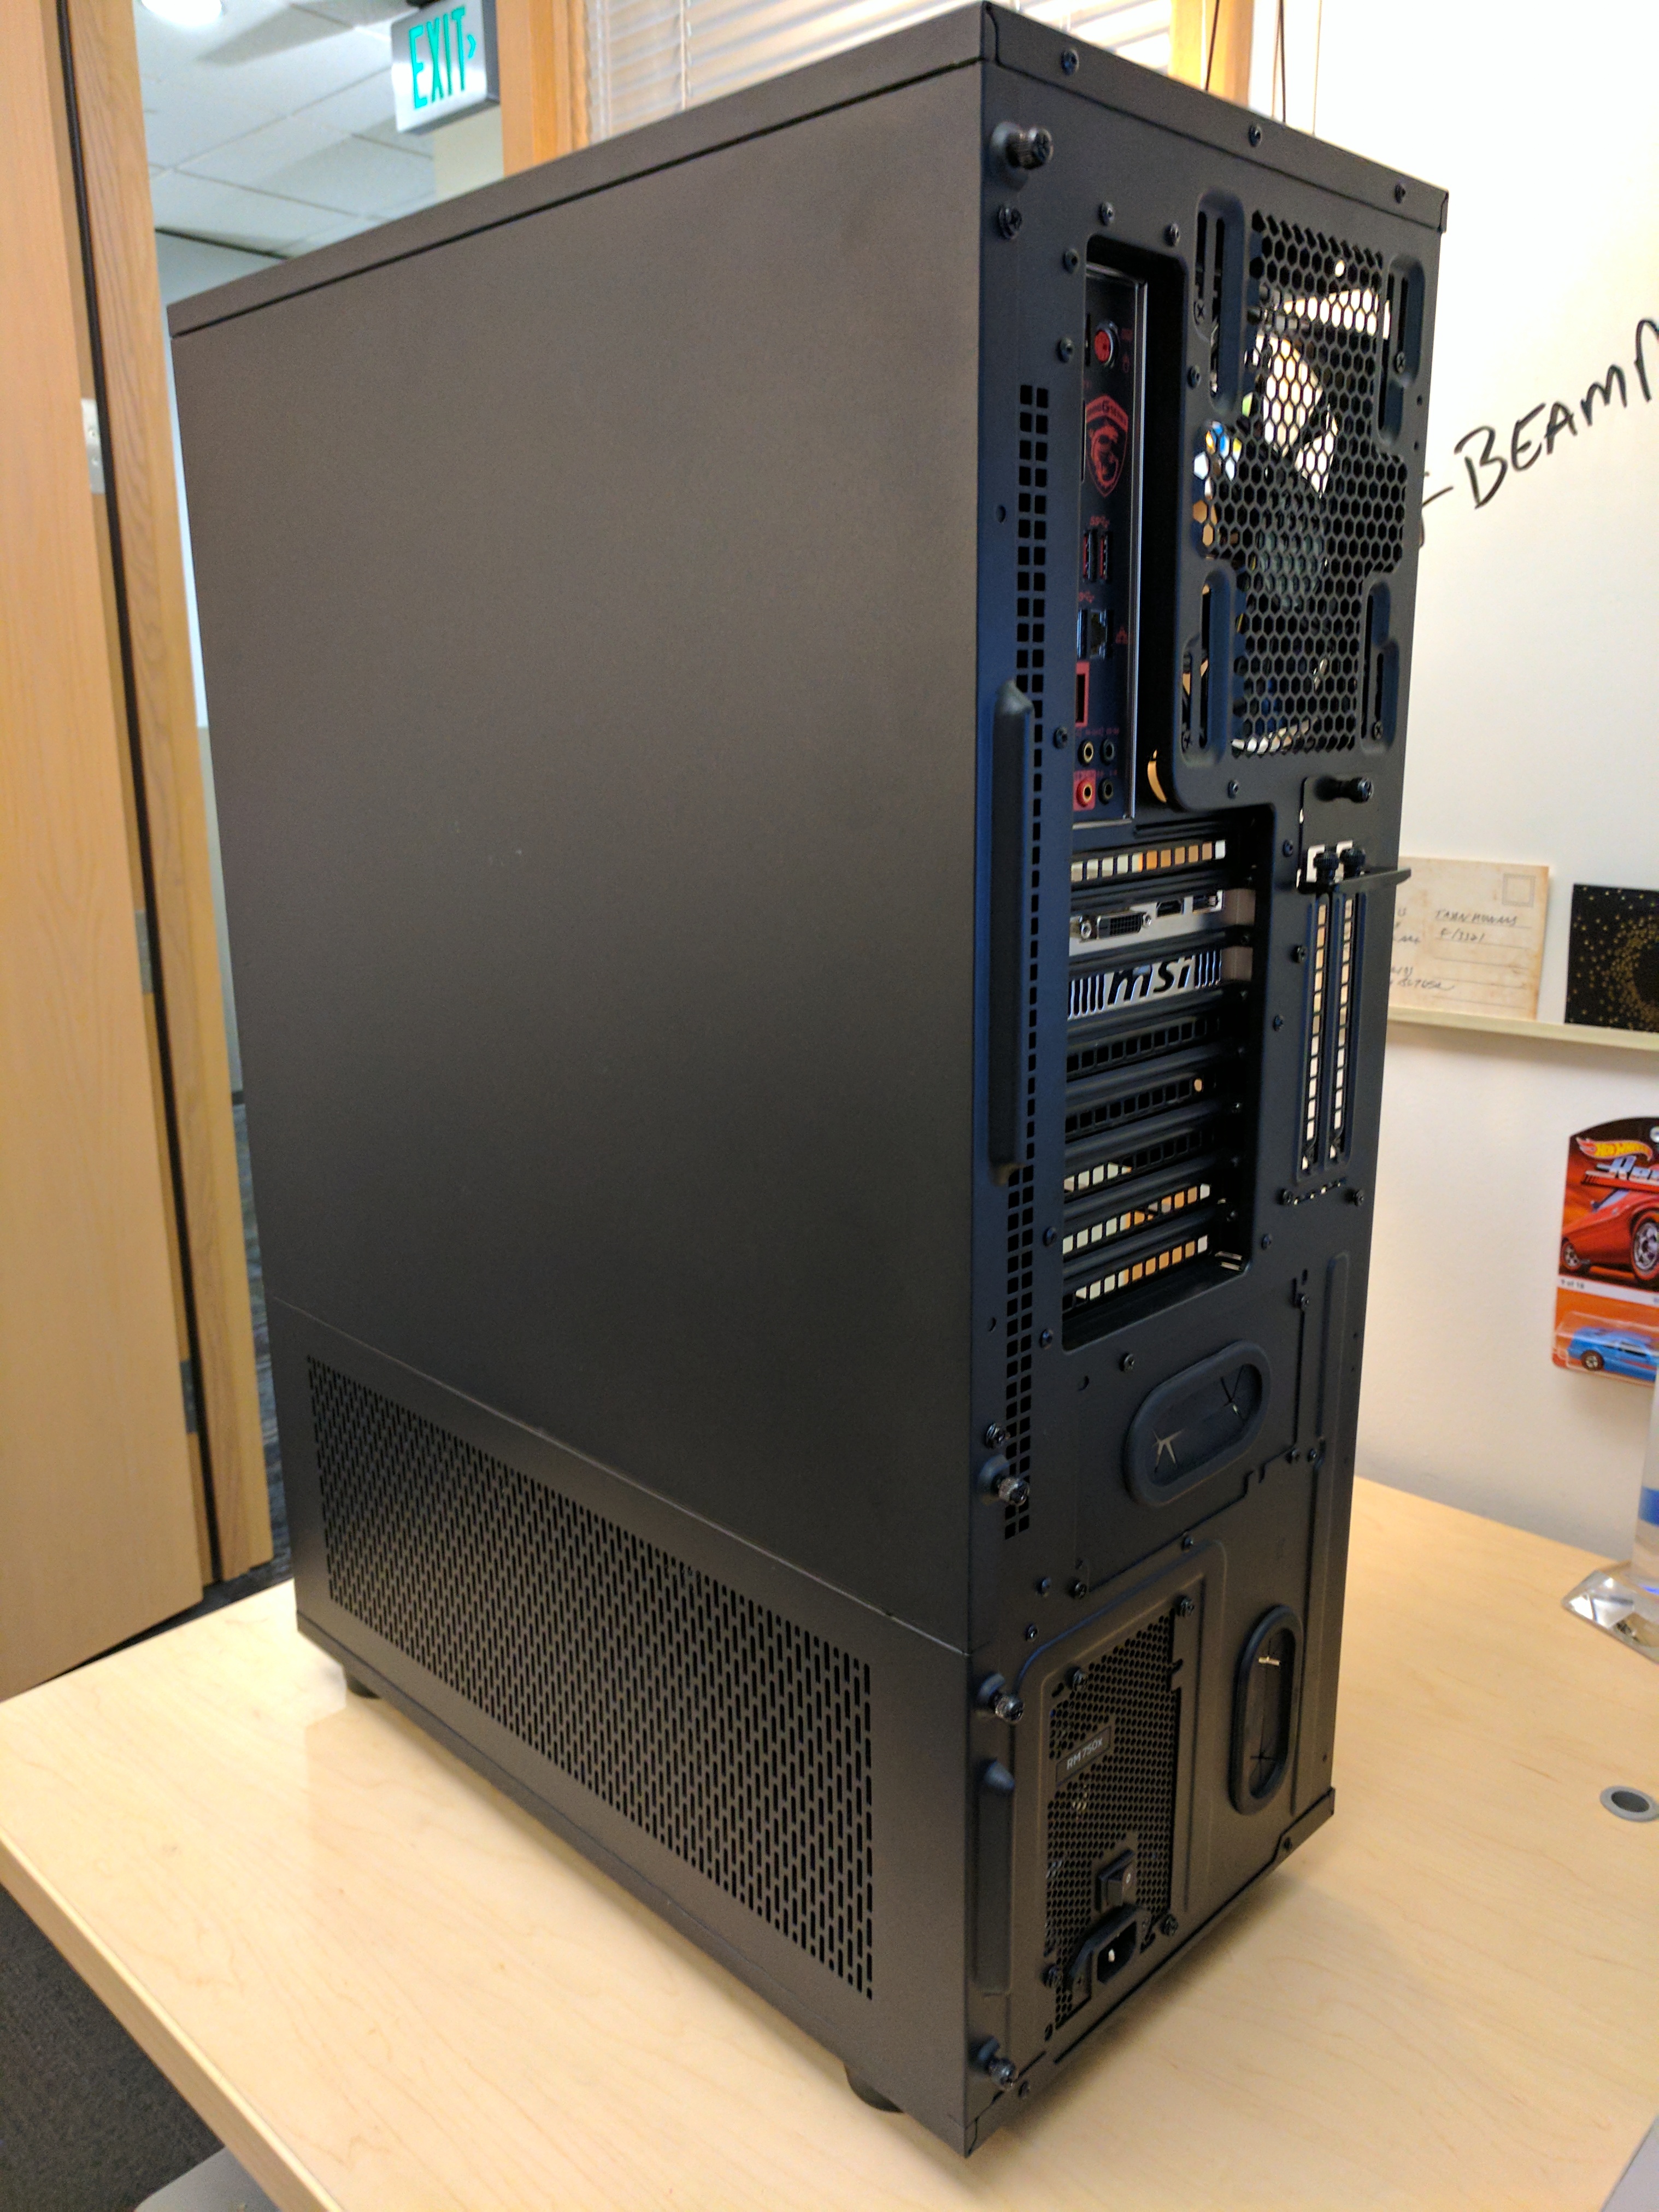
The #BeamMachine is alive and well. And in the words of the late Bob Ross, “we’ll put a happy little tree right here…” In total the build took a little over two hours. I’ll admit that I’m picky about cable management, a topic that many home PC builders tend to be very particular about (and rightfully so). If you’re going to take the time to build a beautiful new PC, it’s worth putting in the effort to do it properly.
Overall the build went very smoothly; there were no hardware install problems and with the careful consideration put into the parts before purchase, all the hardware chosen was fully compatible and we did not encounter any inter-operability issues. It’s nice when a build comes together! There’s something special about putting in the time and effort to build it yourself, and while not all Windows Insiders out there build their own PCs, there are no doubt many of you who have gone through this same process and felt the wave of joy when it boots and posts after you press the power button for the first time.
Any time you set out to create something, be it a piece of software, a new PC build, or something as altruistic as sharing feedback on a bug or new feature idea you have, you’re taking the time to invest yourself. You’re investing in your abilities, your ideas, and your desire to have an impact. Windows Insiders invest every day via participation in this program. Our efforts to build a new PC to better connect with you all via our monthly webcasts is another way of showing our appreciation for all you do day-in and day-out to make the Insider program the success it has become and will continue to be. I look forward to connecting with you and am excited about our new series of webcasts.
Continue creating, and as Dona always says, “keep hustlin’”!
– Jason