

Once you use the tool to bring your app to the UWP, your app will have all the power of a UWP app, including the ability to – from a single code base – run on a PC, phone, Xbox, HoloLens, or even a Raspberry Pi.
Running the bridge
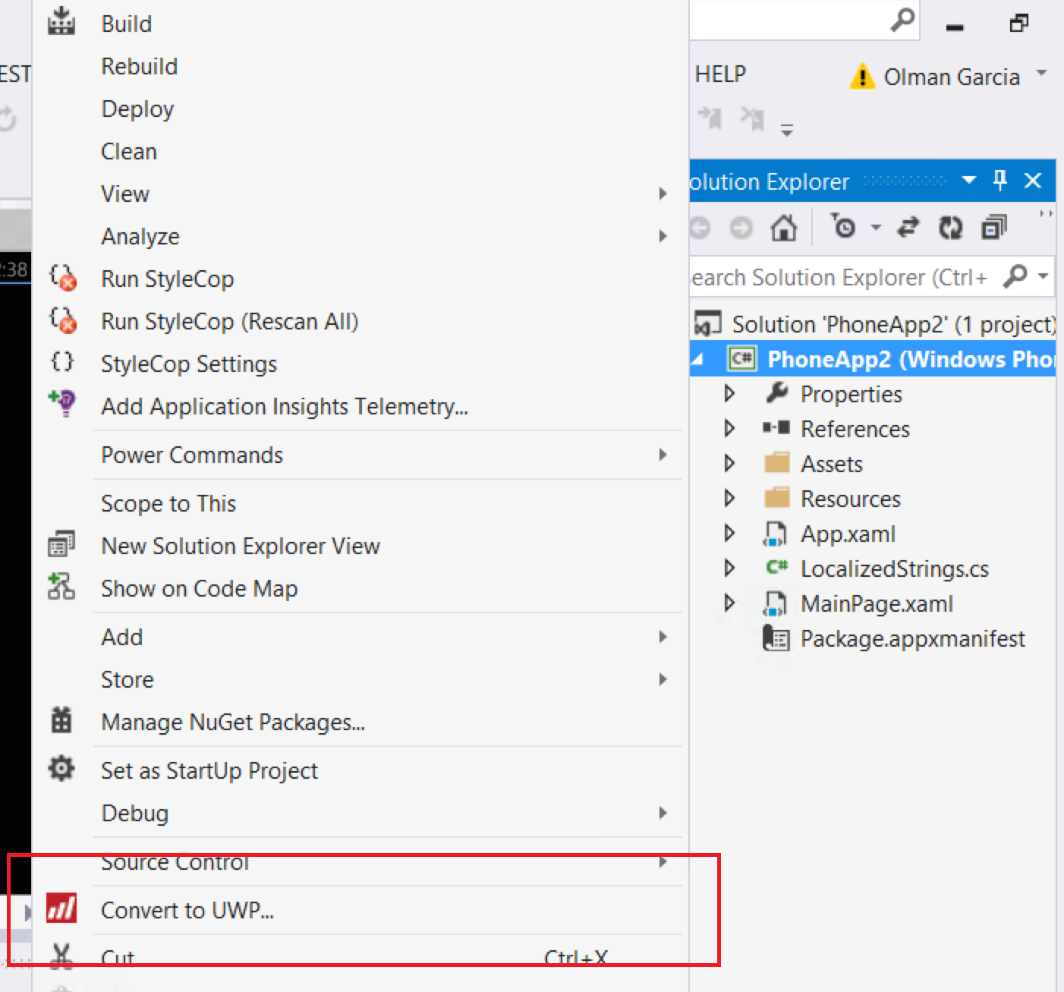
Once installed, open up Visual Studio, load your WP Silverlight app, then right-click your project from the Solution Explorer and select the “Convert to UWP” option. Additionally, any project that is in the solution will be migrated.
Helping extend and improve the mappings
The Silverlight bridge does the migration with a feature named the Mapping Mechanism. All mappings bundled with the tool have been open sourced and published in a public GitHub repository (https://github.com/MobilizeNet/UWPConversionMappings). This way developers around the world can use them as a reference implementation to write their own.
Start Migrating
The Silverlight bridge may not do a full transition as this is an initial preview now but the tool should get you most of the way. Since Silverlight is similar to UWP but not the same so most errors should be pretty straightforward to resolve. Once you fix compiler errors, you should be ready to start testing and adjusting your app.
The Building apps for Windows 10×10 article series has some helpful guidance on building apps. Topics range from building responsive UIs, speech, live tiles, to how to help get your app promoted in the Store.