

One of the core experiences on Windows are the tiles and icons that users see on the Start Menu and Taskbar. Providing the various tile sizes will ensure that user gets the crispest looking tiles and icons which, when pinned, look right at home next to the built-in applications.
As a developer, creating the required tiles with the correct sizes whilst adhering to the guidelines can be time consuming. To save time, you can now use a Visual Studio Extension in the Gallery which takes care of all this hard work for you. With a simple right click on the image, you are able to generate all the various tile sizes and have the package.appxmanifest update, too.
Step-by-step:
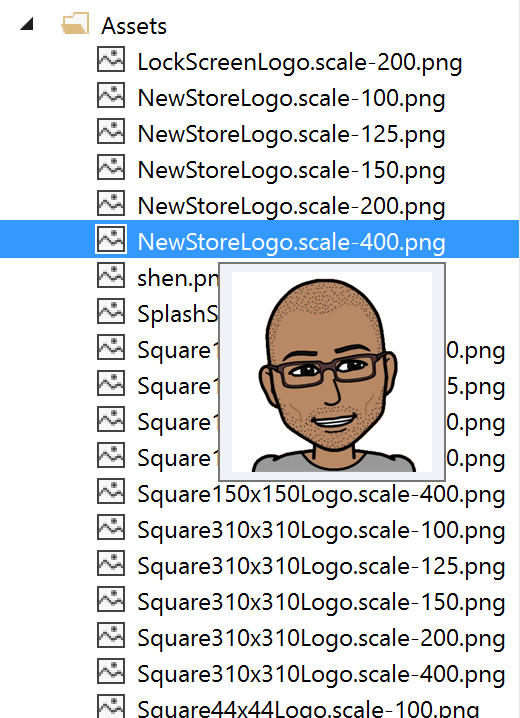
- Add image to project.
- Right click on a SVG or PNG and select “Generate UWP Tiles.”

- That’s it.
To get the best results:
There are a few things you can do to ensure you get the best possible results:
- Start with a great source so the results are every bit as good.
- Use SVG files, which are preferred as they scale well, but know that the tool also supports PNG files, too. If you are using a PNG, it’s wise to make sure that it is high resolution or you may get pixelated images.
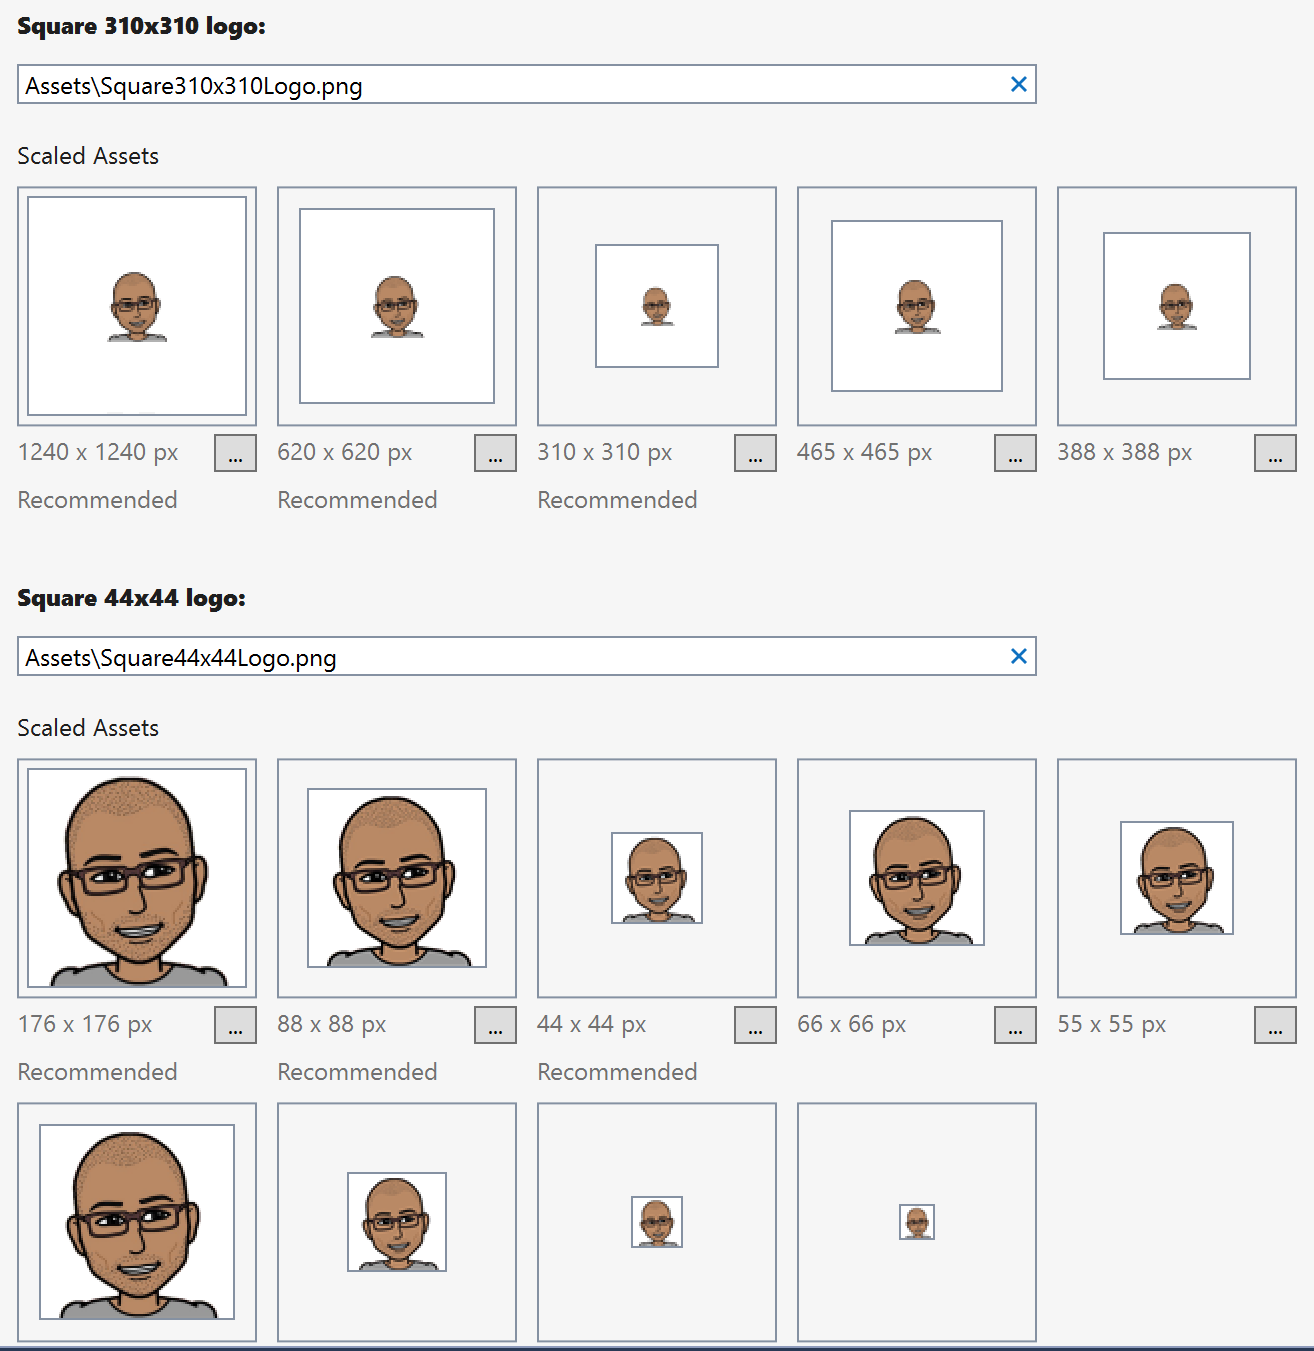
- Ensure that your logo sits in a square canvas with very little padding. This will make sure the tool can provide tiles that adhere to the Tile guidelines.
- For a transparent background to your tile, ensure that it has a 1-pixel transparent border, as the tool determines the background of the tile based on the pixel at (0,0).
That’s all there is to it. With the UWP Tile Generator, you can make quick work of your tiles and icons and move on to bigger, more exciting things.
Written by Shen Chauhan (@shenchauhan), Senior Program Manager for TED Services & Devices