Jamielyn is the founder and managing editor of iheartnaptime.net. She is married to he r best friend and together they have two beautiful children just under two years apart. Her days are filled with lots of snuggles, crafts, e-mails, avoiding the ever-growing pile of laundry, play dough, sneaking bites of chocolate and wondering, “Is it nap time yet?!” I Heart Nap Time is a creative site sharing DIY home projects on a budget, crafts, sewing tutorials, easy recipes, tips and techniques. Connect with Jamielyn on Facebook or Twitter.
Last month, I showed you how to dress up your laptop case. Today I’m going to show you a fun computer bag to use for your newly dressed up laptop.
My family always jokes that I’m the computer nerd in my family so I thought it would be fun to put that saying on my bag. It is simple to do and you can do it too! Here’s what you’ll need to get started…
Supplies:
· Messenger bag or tote bag (find at any big box retailer including Walmart or Target)
· Vinyl cutting machine OR
· Stencil, paint and paint brush (find at Walmart, Target or any craft store)
Steps:
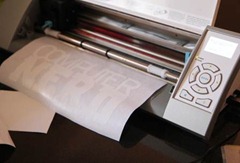
If you have a vinyl machine, cut out your letters and then back it with transfer paper.
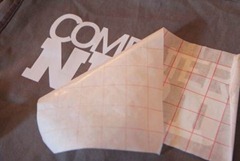
Then lay the design on your bag, push down on the vinyl, and peel away the transfer tape.
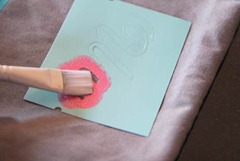
You can also use a stencil by laying the letters each down individually on the bag. Then paint in the blank space with a brush. Allow time to dry in between each letter.
To dress up the bag even more, I added a lace flower in the corner, but you could also add rhinestones around the edges with glue.
That’s it…pretty simple! Now you’ve got a fun bag to carry around with your stylish laptop!


