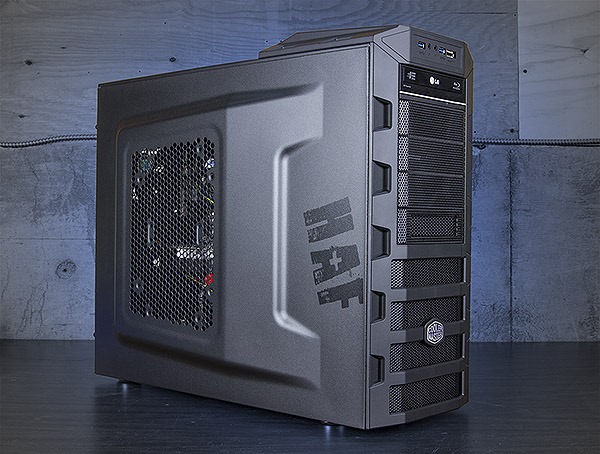
I’m the kind of person that demands a lot from my tools and equipment. This is certainly true of my Windows PCs, and a great example is my hard-working personal video editing PC. I built this video editing PC (known on my home network as “VIDEO2”) a couple of years ago, and it has served me well. But like any piece of hard-working machinery, this PC was due for a service. With my drives full and my case looking a bit shabby I felt this was the perfect time to give VIDEO2 a tune-up, including a storage overhaul, a new case, and an upgrade to Windows 8.
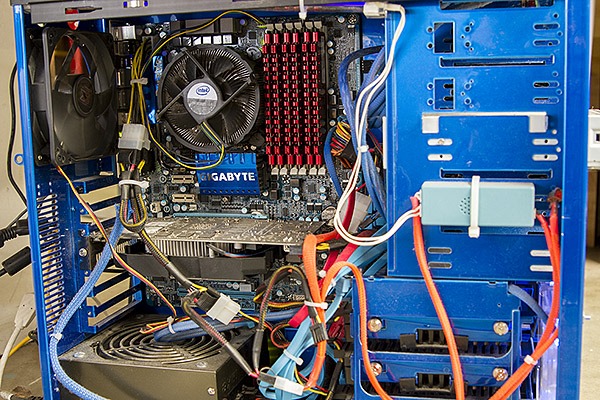
VIDEO2 – a performance PC I built for Windows 7 seen before the overhaul – not a looker, but a hard worker
The PC known to me as VIDEO2 started its life because of a predicament I was experiencing two years ago. I had just purchased a Canon EOS 7D for video productions, and found out right away that the heavyweight H.264 7D footage was impossible to edit on the PC I had at the time. It was time to look at different hardware and software options.
With help from my friends in the filmmaking community I decided that Adobe Premiere Pro CS5 (the latest Adobe Creative Suite at the time) would be the best software solution for my needs in large part because of the new-at-the-time “Mercury Playback Engine”. Furthermore, I had read several accounts of people using the affordable NVIDIA GeForce GTS-450 graphics card with Premiere Pro CS5 and Mercury Playback to edit 7D video footage with great results.
With software decided on, it was just a matter of putting together a new PC that would optimize performance and cost. I had a spare PSU (Power Supply Unit), a mostly-complete case donated by a friend, and a bunch of spare parts. I decided to use these existing resources to build a complete PC from scratch.
Here’s what I ended up with: (2011 street prices)
|
Quantity |
Unit |
Item |
Subtotal |
|
1 |
$279.99 |
CPU: Intel Core i7 950 3.06 GHz |
$279.99 |
|
1 |
$194.99 |
Motherboard: GIGABYTE GA-X58A-UD3R |
$194.99 |
|
6 |
$48.17 |
RAM: GSKIL F3-10666CL9T2-24GBRL (6 4GB sticks) |
$288.99 |
|
1 |
$124.99 |
Graphics: PNY NVIDIA GTS450 |
$124.99 |
|
2 |
$149.99 |
HDD: Western Digital 10,000 RPM |
$299.98 |
|
Total: |
$1,188.94 |
Wow! I could build a hyper-threaded quad-core 3GHz Intel Core i7 system with NVIDIA graphics, 24GB RAM, USB 3.0, and dual 10,000rpm drive RAID array for under $1200., that’s a lot of power for the [2011] dollar! I ordered the components and built up the PC. The case was missing parts (including the front panel) and I didn’t spend a lot of time on cable routing. I was focused on getting the PC up and going so that I could make progress on my video productions. The result was a PC that was ugly but functional. It’s run really well for the last two years, and has cranked out over 100 video productions and many DVD/Blu-Ray projects. VIDEO2 has also served as a gaming PC, a Windows Media Center PC, and a HomeGroup file repository.
After running constantly for two years in a dusty and dirty environment (next to my home metal shop) VIDEO2 was starting to need some attention. My RAID array was down to 1GB remaining out of 557GB, and the CPU heat sink was clogged with dust which resulted in occasional system stability issues.
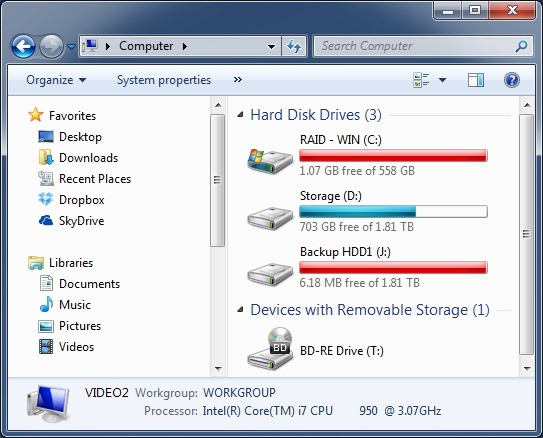
A sad state of affairs for storage – red is not good in this situation
I decided it would be fun to rebuild this PC in a new case that would have room for my new storage solution. Having just written about the new Windows 8 Storage Spaces and File History features I knew upgrading to Windows 8 would also be an important part of this project: I needed these new storage features! In my experience, a PC that runs Windows 7 well will run Windows 8 even better, and that made me look forward to the new incarnation of VIDEO2.
I ordered up a Cooler Master HAF 922 case, a Corsair Force 240GB SSD drive, 3 Seagate Barracuda 2TB 7200 RPM drives, and some other small parts to complete this refresh. When the packages were delivered, I felt a rush of excitement. I would soon have a refreshed Windows 8 PC, and would also have a new storage solution. I couldn’t wait to get started. While my main motivation for this project was a storage solution overhaul, I loved the idea of a better looking PC running Windows 8 wrapped up in a case that would make servicing a whole lot easier.
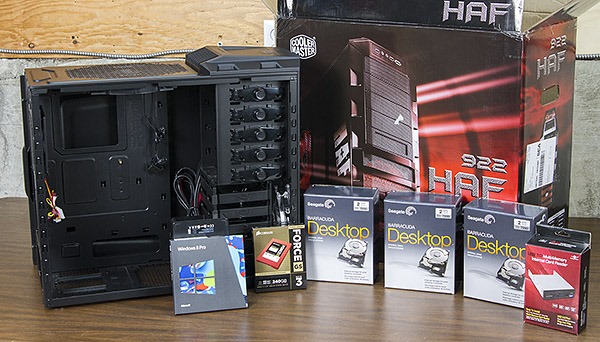
Components used for the VIDEO2 PC overhaul
After completing my backups, I powered the old VIDEO2 PC down, and performed the teardown. After 20 minutes of wrenching, the teardown was complete. After some cleanup, things were looking a LOT better! It was time to start building up the new-and-improved VIDEO2.
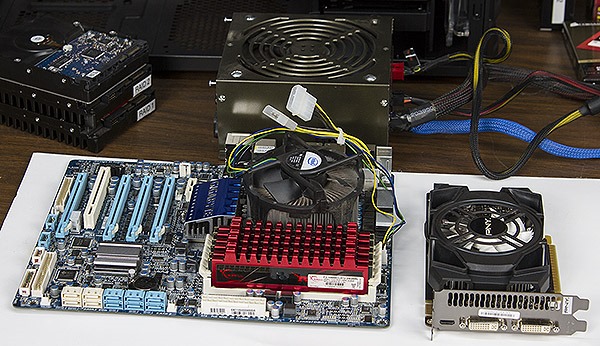
The core components would be reused for the overhaul of VIDEO2
I installed the motherboard standoffs, the motherboard, and then the PSU into the new case. For this project, I decided to take my time and enjoy the process.
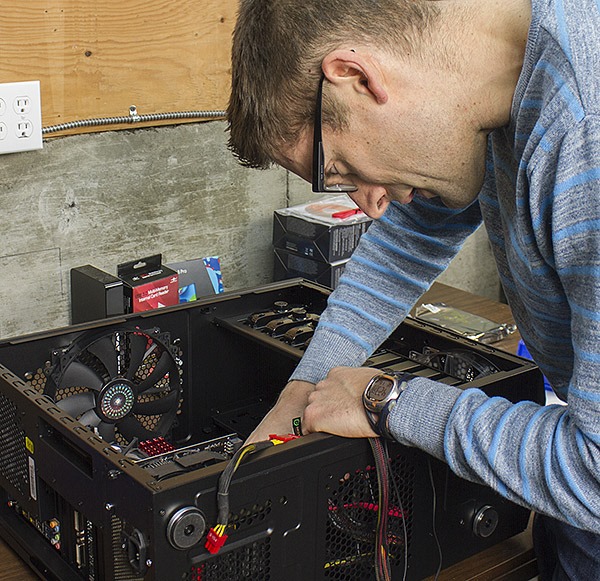
During the overhaul of VIDEO2 I had a lot of fun routing cables and attending to fine details. Check out the HUGE top fan!
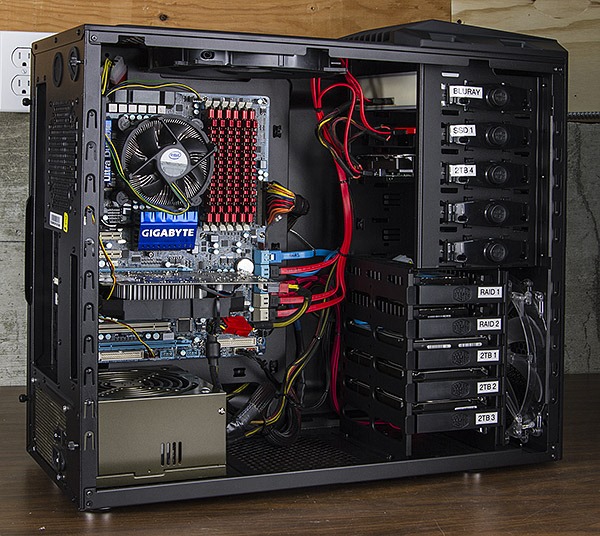
VIDEO2 has never looked so good! I chose to label both ends of each SATA cable and each drive slot to make maintenance and upgrades more straightforward in the future
With a total of 8 SATA devices (1 Blu-Ray, 1 SSD, 6 HDD) it took a while to route all of the drive data and power cables. Due to the number of drives I chose to install, I had to fabricate a new CPU power cable in order to accommodate all of the powered devices in this PC.
Anyone who has built a system from scratch will tell you there’s a certain relief you feel when you get past POST (Power On Self Test) on system startup. That’s exactly what I felt after connecting all of the devices, deleting my old RAID configuration, and resetting the BIOS configuration. The drives were all showing up, there were no motherboard error codes: it was time to install Windows 8!
Building a PC isn’t for everyone, but I enjoy the challenge and the processes involved in getting everything configured and optimized.
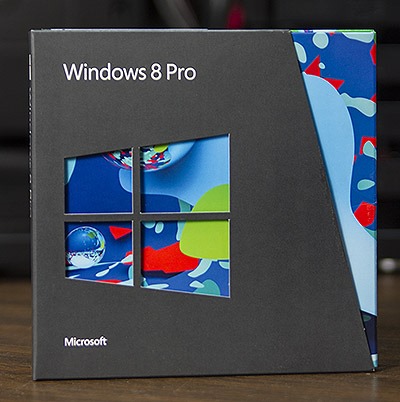
I chose to install Windows 8 Pro from a bootable DVD
Once the Windows 8 install was done, I logged onto VIDEO2 with my Microsoft account to setup my user profile on the PC. Everything was looking good. The SSD helped with app load times, and overall performance was great. In just a few minutes I had a couple storage spaces setup, and Adobe Premiere Pro CS6 ran better than ever on this machine. I’ll elaborate further on my storage setup in a follow-up post.
Building up this PC was a lot of fun, so much so that it made me want to start planning another build. I’m sure I could come up with a better name for my next PC!
Stay up to date, follow me on Twitter!

