Ever since I saw the MakerBot Digitizer Desktop 3D Scanner at MakerBot world headquarters, I’ve been dying to give it a try! I’ve been having a lot of fun with tools like SolidWorks 2014 for design projects, but sometimes there’s no substitute for a 3D scanner. The recently released MakerBot Digitizer Desktop 3D Scanner (henceforth referred to as “the Digitizer”) brings affordable 3D scanning to your desktop. This new 3D scanner also makes it easy to upload scanned 3D models to Thingiverse and to print them with your 3D printer.
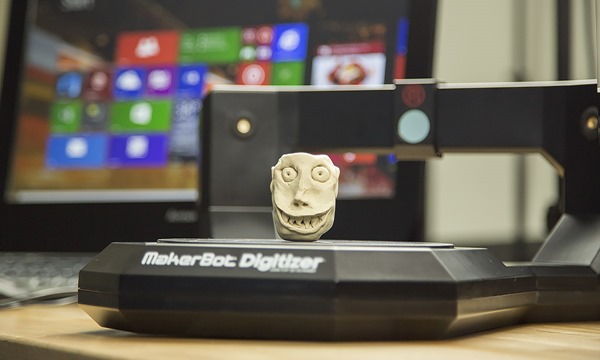
The Digitizer is easy to use and can scan objects up to 8” in diameter and 8” tall
I recently got my hands on a Digitizer, and have scanned a lot of objects with it. Since I also have a MakerBot Replicator 2 Desktop 3D Printer, I’m able to treat this setup almost like a 3D copier machine. Put an object on the Digitizer, scan it, then print it. Now this is fun!
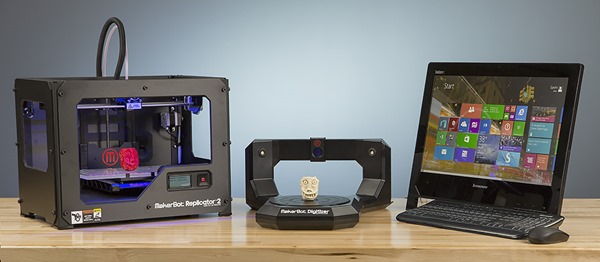
From left: MakerBot Replicator 2 Desktop 3D Printer, MakerBot Digitizer Desktop 3D scanner, Windows 8.1 PC
Because 3D printing support is built into Windows 8.1, 3D printing is now a seamless process on Windows. It’s easy to print from 3D printing aware Desktop apps and Windows Store apps, and you can also monitor and cancel print jobs just like you do with your inkjet printer, cool!
To get started with the Digitizer, all you need to do is:
- Plug in power
- Connect to PC via USB
- Install MakerWare from the MakerBot website
- Follow the calibration instructions
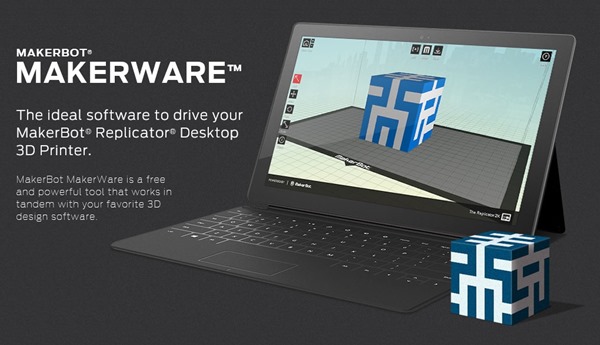
MakerWare for Digitizer is free software from MakerBot that is used to create 3D scans
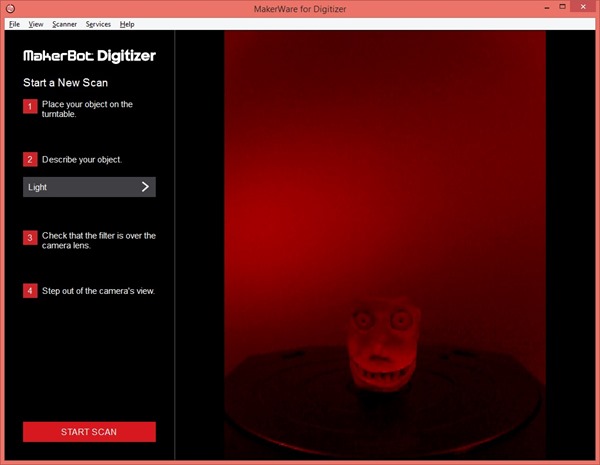
Now you’re ready to start scanning! It’s a straightforward process once the Digitizer is setup. You just place your object on the turntable, specify the darkness (light, medium, dark), and then click the start button. In about 9 minutes you’ll have a complete 3D model that’s ready for uploading to Thingiverse, and you can also save copies in formats like STL for easy importing into other programs like the 3D Builder app from Microsoft.
MakerWare ready to scan my monster head clay model
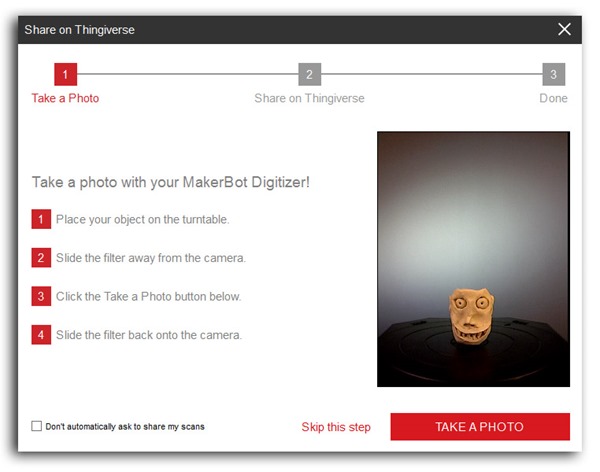
When you’re done scanning, you can even take a picture of your object that can be uploaded to Thingiverse automatically, now that’s a nice touch!
The built-in camera can be used to take a picture of the object just scanned
In the following video I’ll show you an end-to-end demo of scanning an object with the Digitizer using what MakerBot calls “Multiscan”. I also show sending the resultant model to a MakerBot Replicator 2 3D printer via the 3D Builder app.
Scanning with the Digitizer has been a lot of fun. Combined with 3D printers and CAD design tools, there’s no shortage of awesome projects to work on in my lab. If you are looking for a great companion for your 3D printer, check out the Digitizer!
Find me on twitter! @GavinGear

