

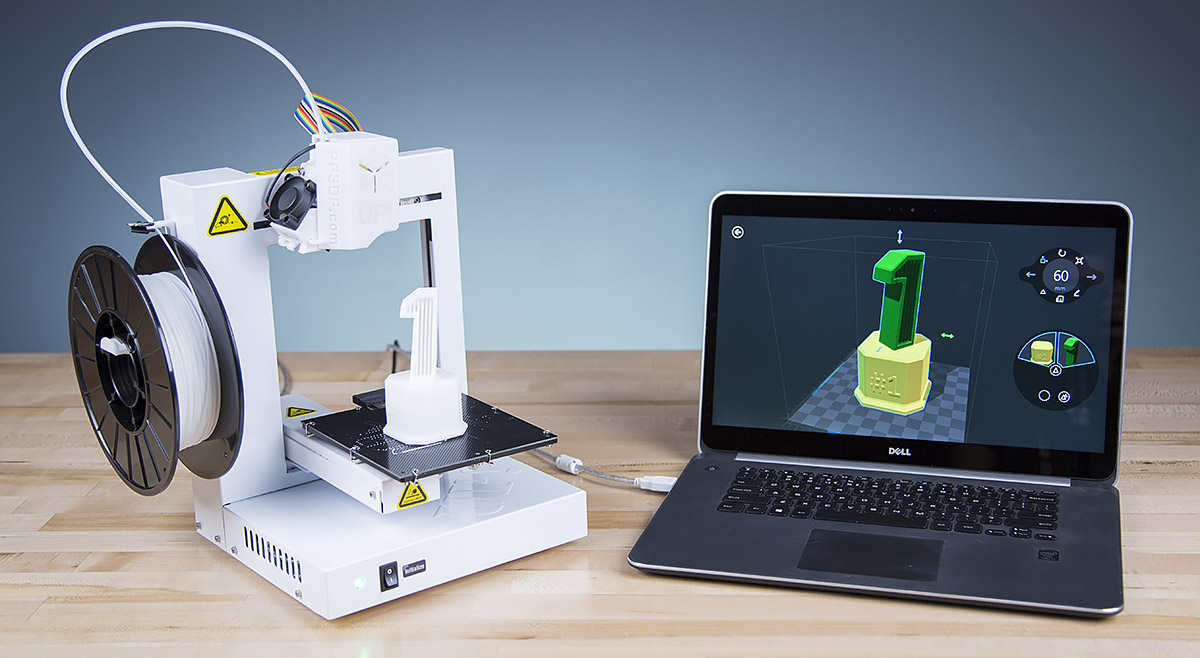
UP Plus 2 3D Printer and Dell M3800 Touch Workstation Laptop demonstrating 3D Builder R5
In the R5 version of 3D Builder, the following new features and enhancements are introduced:
- Cloud Print (buy a print online from 3D Systems)
- Overhauled main control, new selection control
- New trophy parts 3D models
- Windows RT support
- Save as STL
This list of updates is too exhaustive to cover in detail, but I’ll talk to some highlights below and also give you a walkthrough in the video at the end of this post.
Cloud Print
Now you can print 3D models from the 3D Builder app without having to own a 3D printer! By clicking on the “Buy Print” button on the advanced options bar, you can seamlessly order a 3D print and have it mailed to you. This new service is offered in partnership with 3D Systems, through its consumer cloud printing service Cubify.
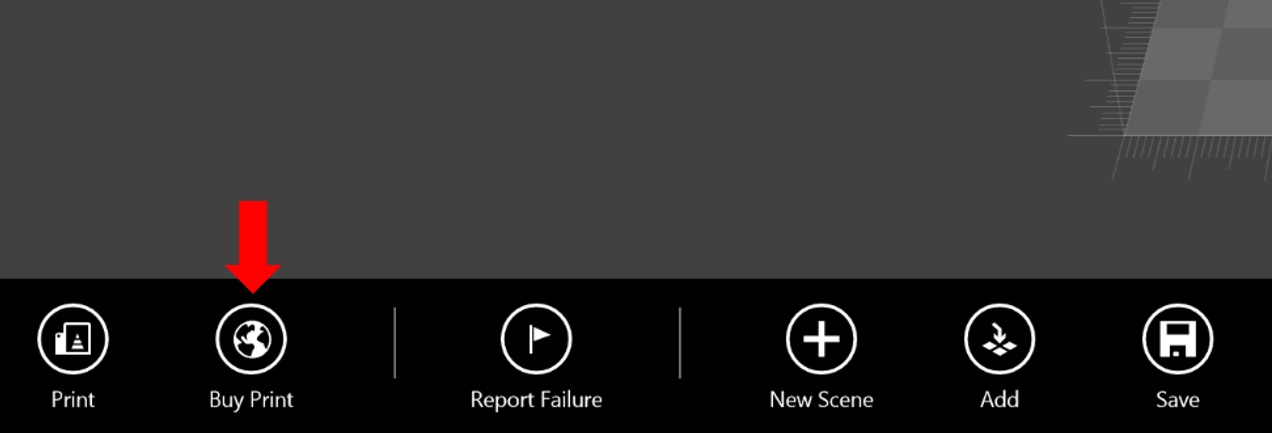
The new Buy Print button in 3D Builder R5 is integrated with 3D Systems’ Cubify service
When you buy a print from 3D Systems’ cloud services, you gain access to expanded material options beyond what is offered by typical consumer 3D printers. With this service, you can select materials including opaque and frosted plastics, metallic and mixed plastics, full-color “Colorstone” and even ceramics. After ordering, 3D Systems will print your 3D model and ship it within 2 weeks. For more information about the 3D Systems cloud printing feature please visit Cubify.
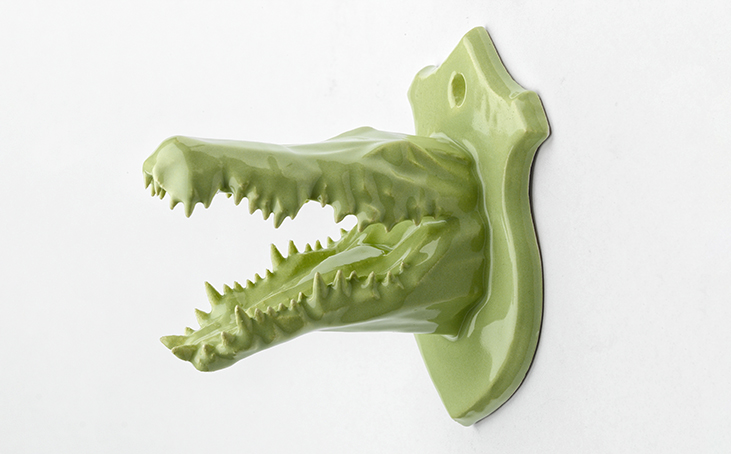
Ceramic 3D print from Cubify – Image courtesy 3D Systems
Enhanced Controls
The Main Control is the primary interaction UI that exposes the most frequently used features in 3D Builder. For the R5 release, the main control has been totally overhauled with new optimizations for touch and usability:
Main Control collapsed view
From the selected Move control above (blue) we have the following moving in a clockwise direction: Move, Rotate, Scale, Redo, Edit Mode (expanded), Advanced/Print, Object Mode (expanded), Undo.
The expanded version of the default (Object) mode exposes an outer ring on the main control as seen here:
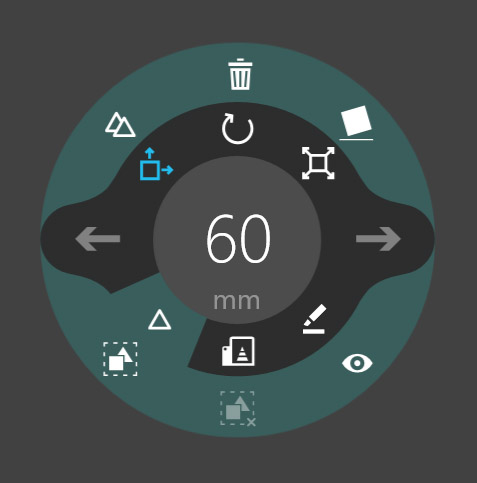
Main Control expanded Object Mode
From the double triangle (Clone) button we have the following moving in a clockwise direction: Clone, Delete, Lay Flat, Center View, Ungroup, and Group.
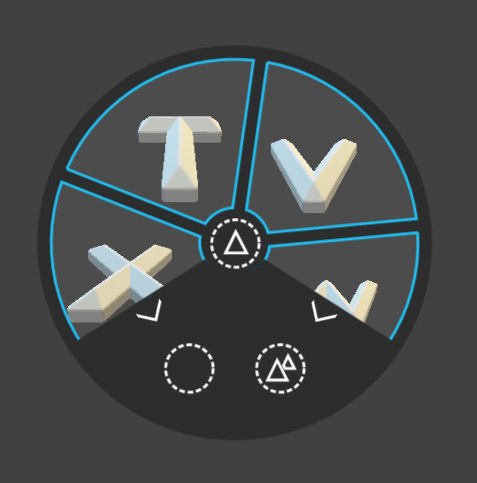
There’s also a new expanded Edit Mode built into the main control:

Main Control expanded Edit Mode
From the star button (Emboss) button we have the following moving in a clockwise direction: Emboss, Plane Cut, Color (new for R5), Boolean Subtract, Boolean Intersection, Boolean Union.
The new Main Control in 3D Builder R5 makes it easy to drill-down on particular tasks and to keep the interface as clean and useable as possible. This clean design is especially useful since more and more features have been added to the app during the last several releases.
There’s also a feature called the Selection Control. With this new control you can easily manage the selection state of multiple parts on the virtual build platform.
New Selection Control in 3D Builder R5
The Selection Control rotates through parts that are on the virtual build platform either automatically (as you tap/click on parts) or manually (by clicking/tapping and dragging in a circular motion). In the center of this control is an expand/collapse button, and at the bottom are select all and de-select all buttons. After using R5 for a while I realized how useful this new control is!
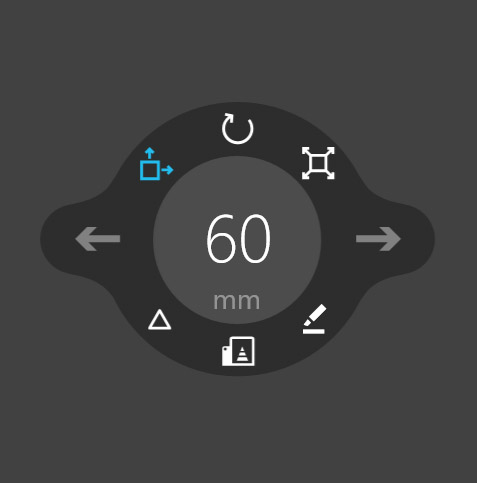
One of my favorite new features in 3D Builder R5 is the enhanced model manipulation functions, including move, scale, and rotate. In R5 you can drag arrows that are rendered right on or next to the model to use these functions. In prior versions of 3D Builder, you would need to use the Main Control (Ex: manipulation of rotation angle) to control these parameters. This new experience offers much more precision and is much more intuitive as well.
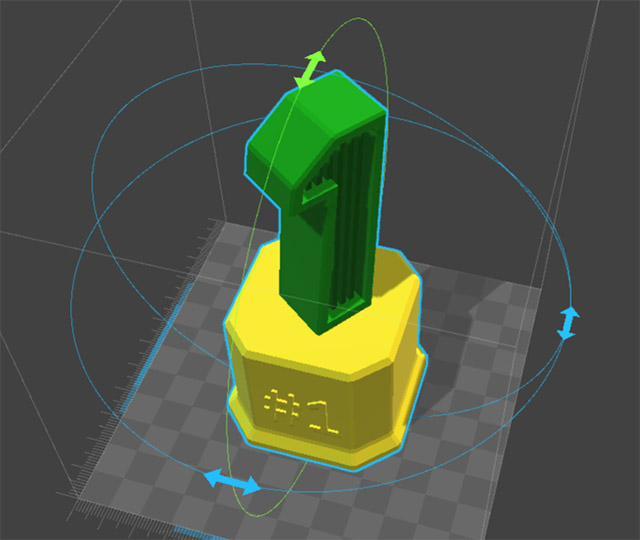
3D Builder R5 enhanced rotation mode
New Trophy Parts
3D Builder includes a library of built-in parts that are sorted by category. A new category of parts for 3D Builder R5 is a collection of trophy 3D models that you can use to create your very own customized trophy. I demonstrate the creation of a trophy from multiple trophy parts in the video at the end of this post. Want to make a cake topper? You can easily scale the trophy down. Want to make an 18” tall trophy with your MakerBot Z18? Just scale it up with one easy dragging motion.
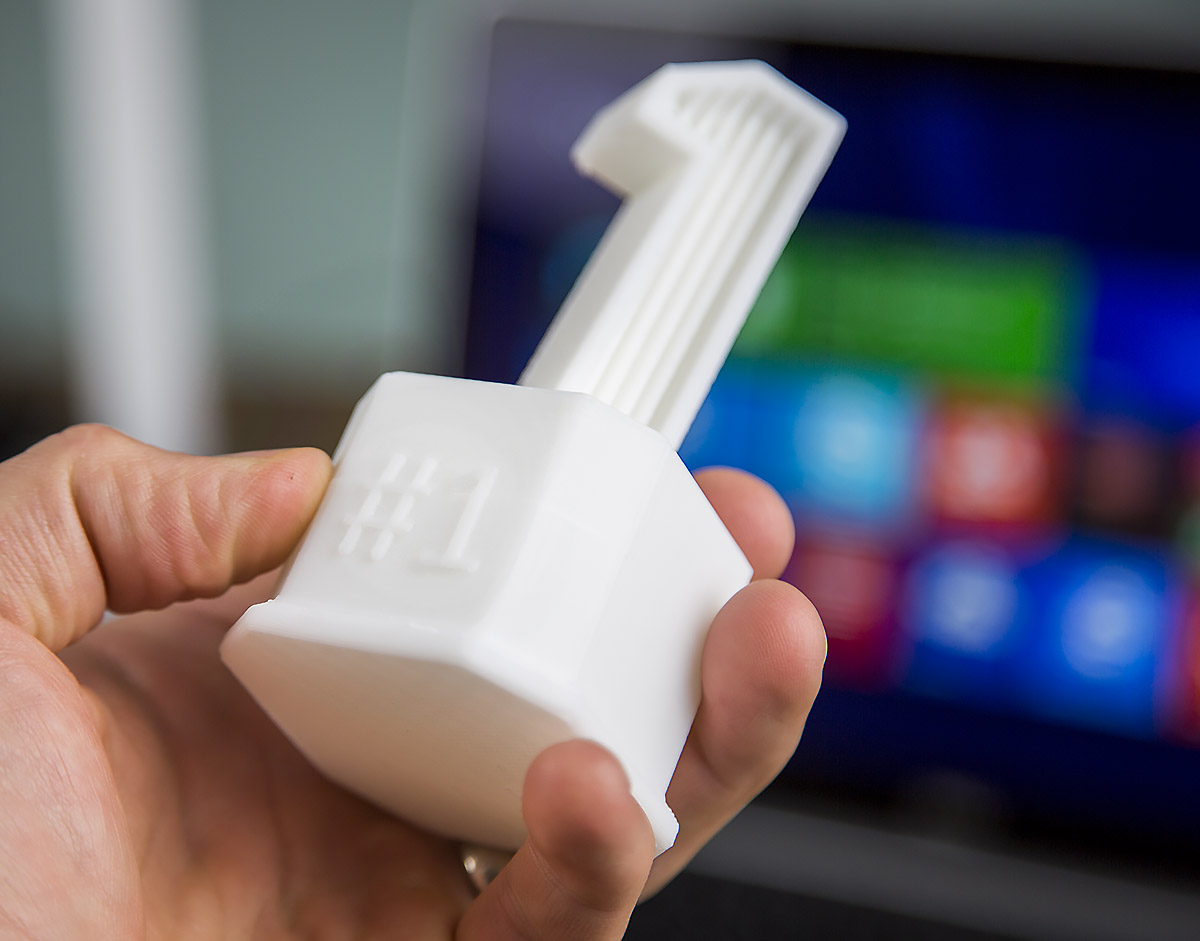
Trophy 3D printed on the UP Plus 2 3D Printer with custom embossed text
Video Walkthrough
If you are curious about 3D models and 3D printing, you should definitely try out 3D Builder R5. You can get more information and install by visiting the official 3D Builder app store page.
I’m off to build and print more 3D models!
You can follow me on Twitter HERE.