How to take a screenshot on your Windows 10 Surface device

Here’s our quick-and-easy guide to recording screenshots on your Surface or Surface Book.
Whether it’s sharing a screen from a game, recording an image of your desktop, or snapping a photo of a Skype session, there are many reasons to take screenshots on your Surface. Surprisingly, there are just as many ways to take a screenshot, depending on which Windows 10 Surface device you have.
Surface 3 and Surface Pro 3
Method 1: The fastest way to take a screenshot on your Surface 3 device is to hold down the Windows logo on the front of the device and then push the volume-down button. The screen will dim briefly as the screen is recorded and saved to the Screenshots folder of your Pictures library under “This PC.”
Method 2: If your typecover has a PrtScn key, you can also take a screenshot by holding down the Windows key on your keyboard and pressing PrtScn. The screen will be saved to the Screenshots folder described in Method 1.
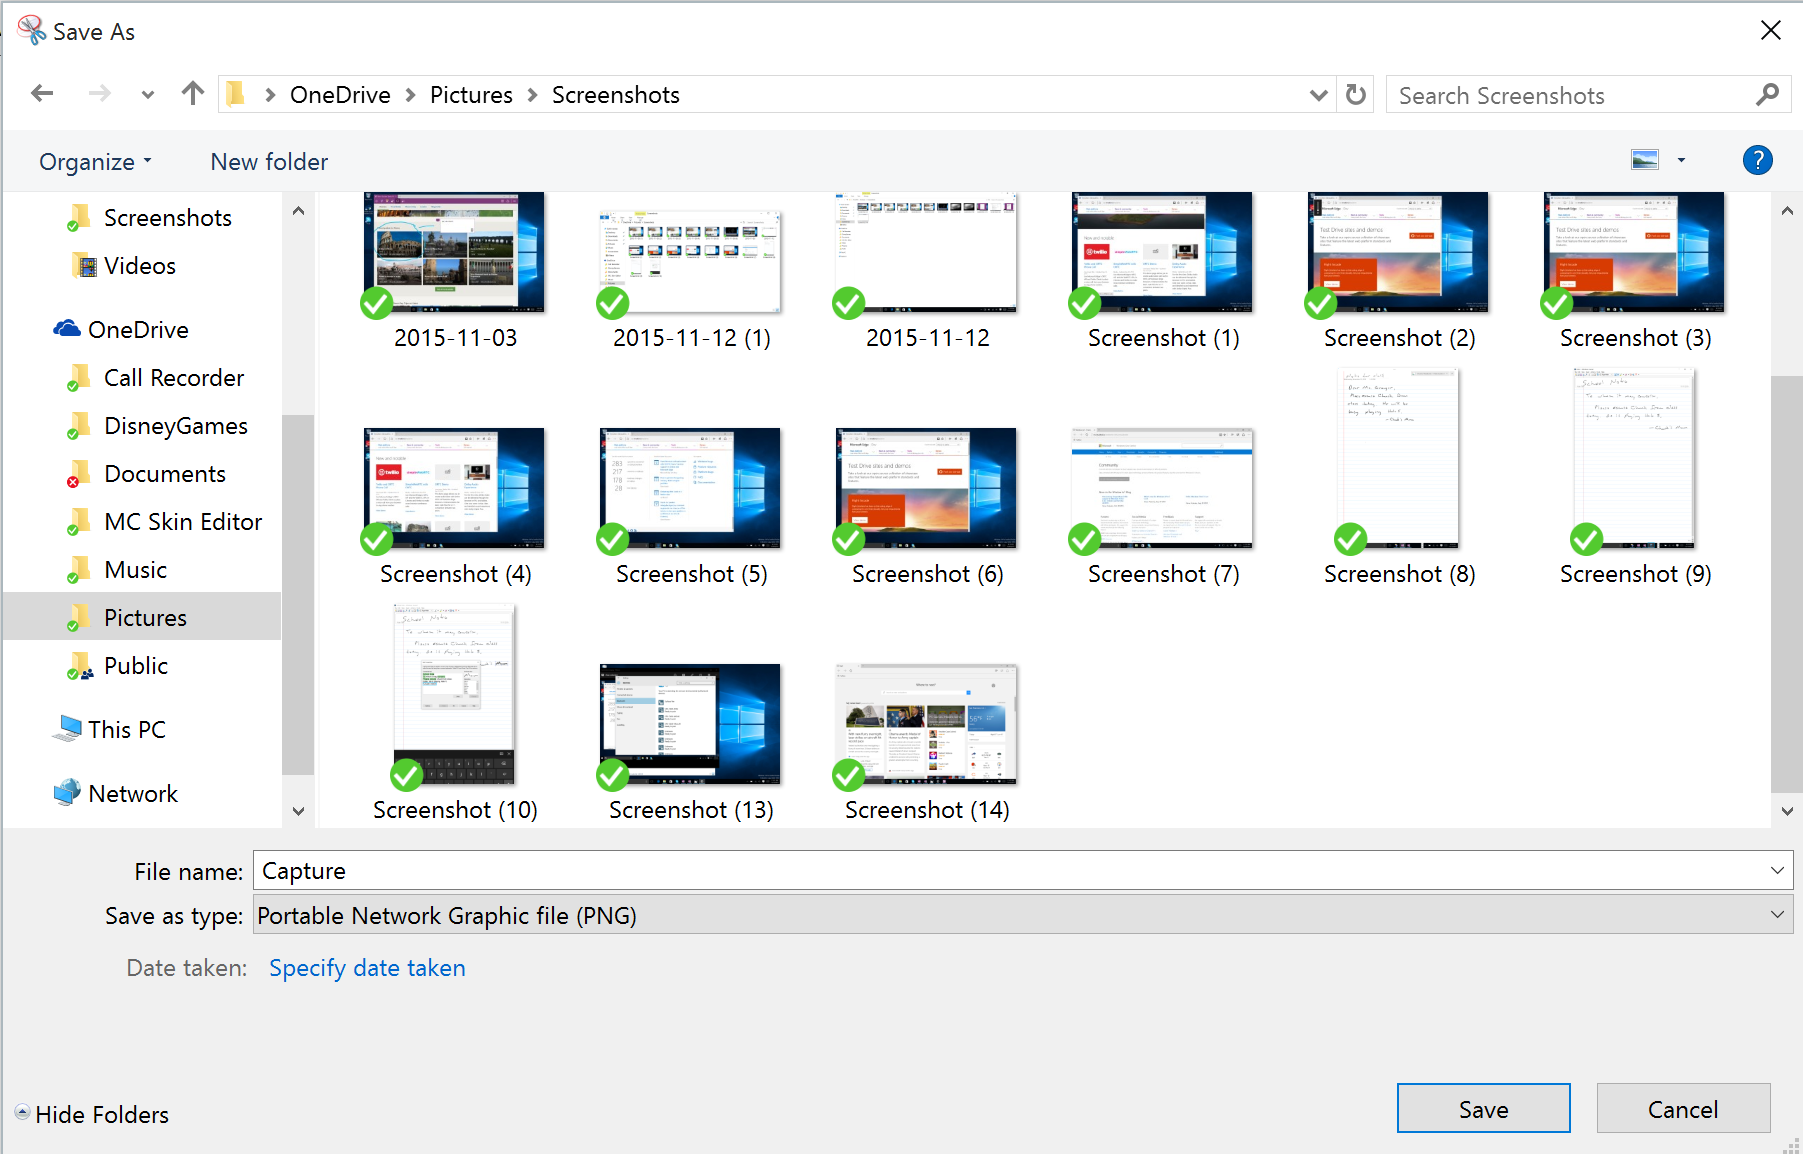
Method 3: You can also just press the PrtScn by itself. But instead of saving your screenshot to the Screenshots folder of your Pictures library on “This PC,” it will be saved in the Screenshots folder of your Pictures library on OneDrive.
Method 4: To take a screenshot of just the active window on your screen, hold down the Alt key and press PrtScn. The screen will be saved to OneDrive as described in Method 3.
Method 5: Double-click the top button of your Surface Pen to take a screenshot of your desktop. The full screenshot will be saved in your Screenshots folder on OneDrive, but this method also gives you the option to crop your image immediately.
A greyed-out version of the image will show up on your screen; use your Surface Pen to drag the tip of the pen from one corner of the portion you want to capture to the opposite corner. When you lift the pen tip, your selection appears in a new page in OneNote.
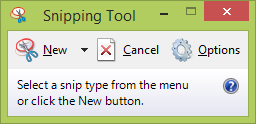
Method 6: There’s a built-in screenshot program in Windows called Snipping Tool that offers more functionality than the above methods. To open, type “Snipping Tool” into Cortana or search the Windows Accessories folder under All Apps.
From within, you can take screenshots of the full desktop, an active window, or just the part you select. You can then save your screen to a place of your choosing as a PNG, GIF, JPEG, or HTML file.
Surface Pro 4 and Surface Book
All of the above methods work for the Surface Pro 4 or Surface Book—but there’s a slight change to Method 1. Since the Windows logo doesn’t appear on the display of these devices, hold the power button down and then press the volume-down button to take a screenshot. The screenshot will be saved in the Screenshots folder under “This PC.”
By the way, this method can be used on your Surface Book whether the keyboard is attached or detached.
Was this guide useful? Let us know what other topics you’d like us to cover by connecting with us on Twitter via @Surface.
-
November 12, 2015
How to stream Xbox One games to your Windows 10 Surface or Surface Book
-
November 10, 2015
Painting with pixels: The camera technology of the Surface Pro 4 and Surface Book
-
November 9, 2015
How to plan a trip on your Surface
-
November 4, 2015
Surface Book – the ultimate canvas for artists
-
November 3, 2015
How to control your Xbox One using your Lumia or Surface