In our previous post, we went through Park’s process to bring his Pori Fashion Show app to Windows using the iOS bridge. After resolving the issues of unsupported frameworks and Auto Layout constraints, the app was running beautifully on Windows desktop and tablet devices.
Today, we will follow Park’s journey of optimizing his app for phone support and submitting to the Windows Store.
Making it truly universal: phone support
When we left off, Park was able to run his Pori Fashion Show successfully on Windows desktop and tablets. Touch, mouse, and keyboard interactions were working well. Next, he wanted to see how it would look on Windows Phone devices now that the Windows Bridge for iOS team has released ARM compiler support.
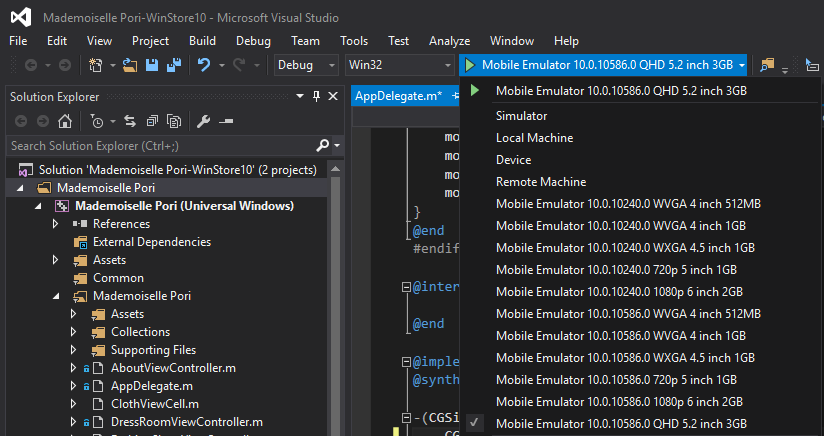
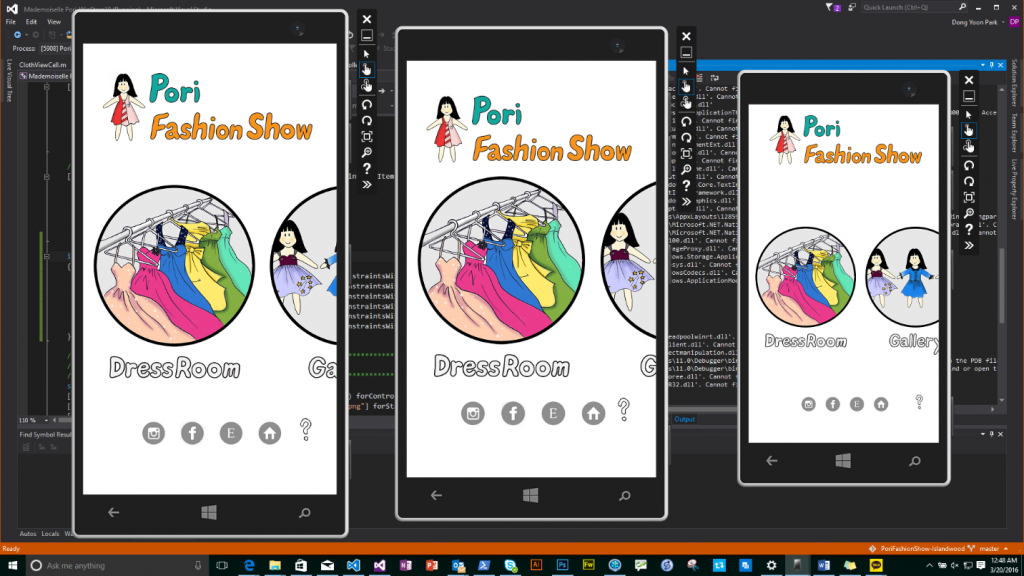
He chose to run the app first on the phone emulator by selecting phone device from the drop down in Visual Studio.
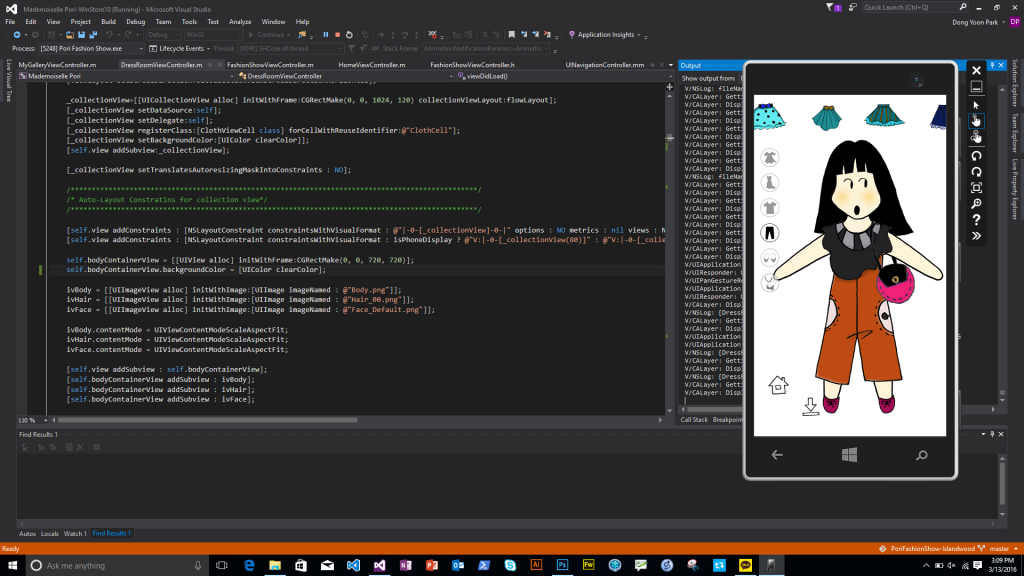
On first run, he was excited to see the app on the phone without modifying any code. The app was working well, just as it had on tablet and desktop, but some of the UI elements were cropped, so Park decided to optimize the layout for phone.
iOS supports layout optimization for different sizes of screens through ‘Size Classes.’ Since Pori Fashion Show used constraint-based auto layout, he decided to add phone-specific layout by using the dimension information of the canvas size.
The Windows design guideline provides the break points for adaptive and responsive design. You can use this as guideline for setting up the threshold for your own app’s content layout.
Pori Fashion Show used the code to determine current dimension of the screen in iOS:
[code language=”csharp”]
CGSize screenSize = [UIScreen mainScreen].bounds.size;
[/code]
Note that this code works well on Windows, too, and can be used to optimize the layout and UI for the mobile phone screen. The iOS bridge also provides various properties such as hostWindowSize and hostScreenScale for getting your app’s current window size and scaling factor.
Running on phone devices
Now Park was ready to try his app on an actual phone.
Note: If you are using pre-compiled SDK, you can directly run your app on phone by changing the platform to ‘ARM’ and the target to ‘Device’. If you are using full git repository and compiling the SDK yourself, you need to compile the SDK (WinObjCbuildbuild.sln) for ARM, too. You can follow these instructions—the only difference is that you have to choose ‘ARM’ instead of ‘Win32’.
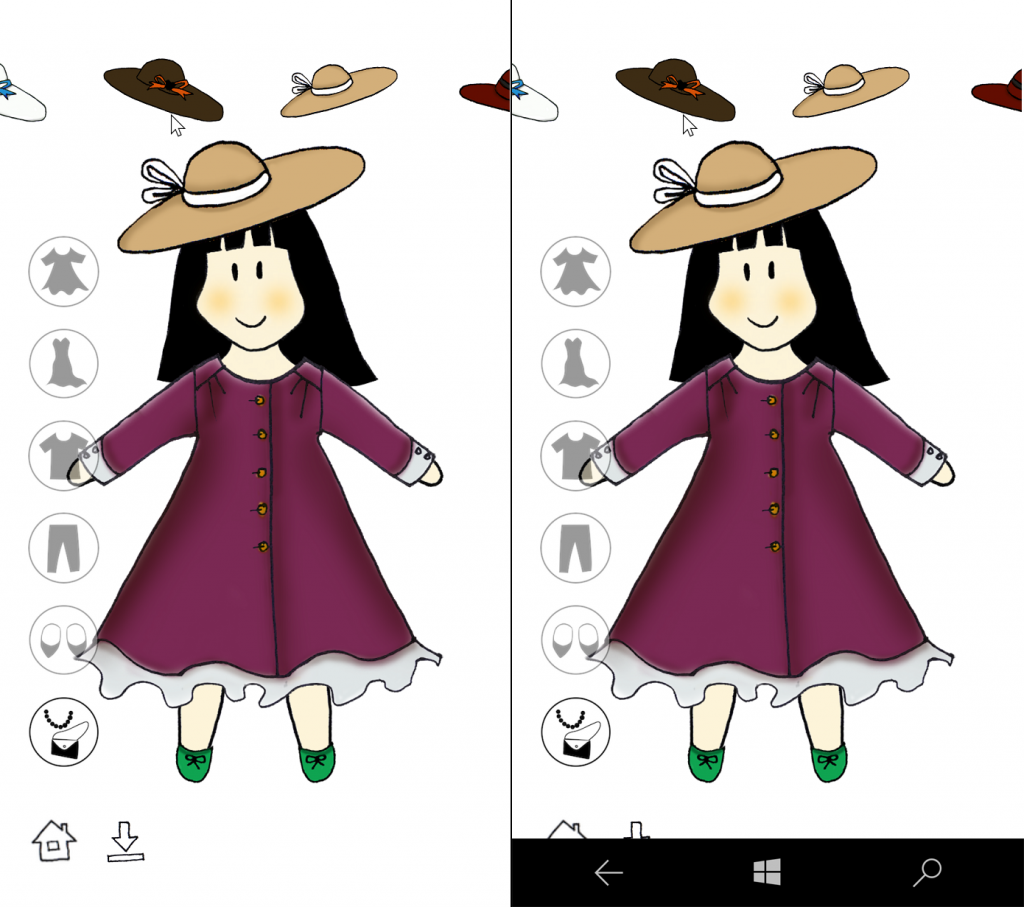
One thing Park noticed when running the app on an actual phone was an on-screen Windows task bar at the bottom of the screen that covered the app canvas. Park opened an issue for this on Github. As a workaround, he moved up the UIButton elements on the bottom of the page on the phone canvas.
Just as it does on iOS, your app should check for and handle various different screen sizes. Visual Studio provides various types of phone emulators with different screen resolutions to help you do so, including QHD, 1080p, 720p, WVGA, and WXGA. These Visual Studio emulators are what Park used to ensure Pori Fashion Show looked great across a variety of phone screen resolutions.
Preparing assets for Windows Store submission
Image asset preparation for Windows Store is very similar to iOS. However, because of the broad spectrum of device canvas sizes and types of icon tiles, there are more types and sizes of icon logo assets to be created.
Fortunately for Park and for you, Windows Dev Center recently released a tile and icon generator for Adobe Photoshop, which makes asset creation process much easier. This tool will automatically generate different sizes for different DPIs with the proper file-naming scheme. For the detailed icon tile asset guideline, please refer to this Guidelines for tile and icon assets page.

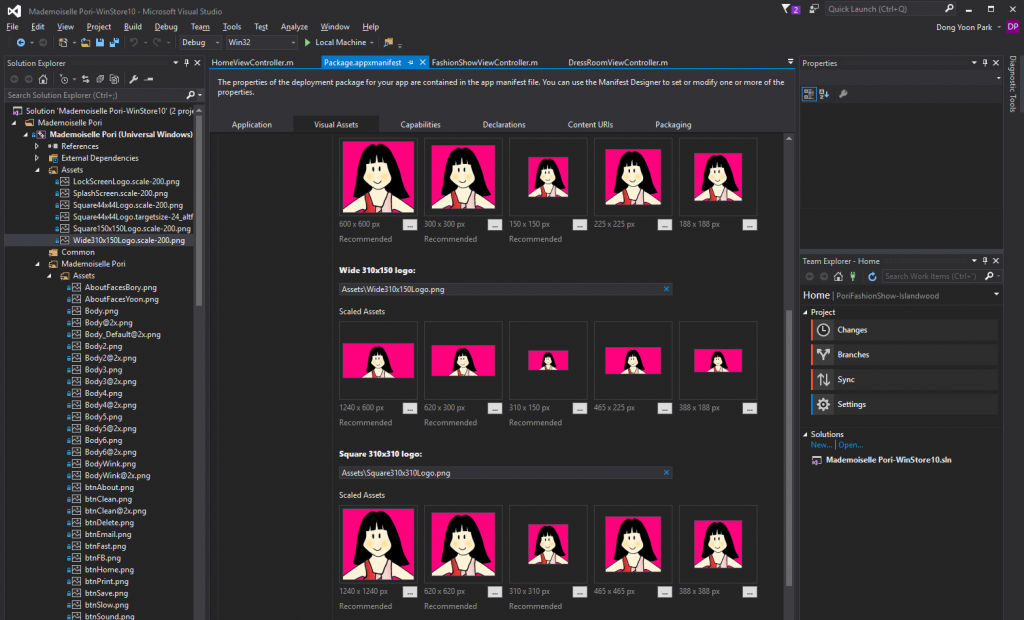
Once the asset generation finished, Park assigned these assets in the ‘Package.appxmanifest’ file in the Solution Explorer.
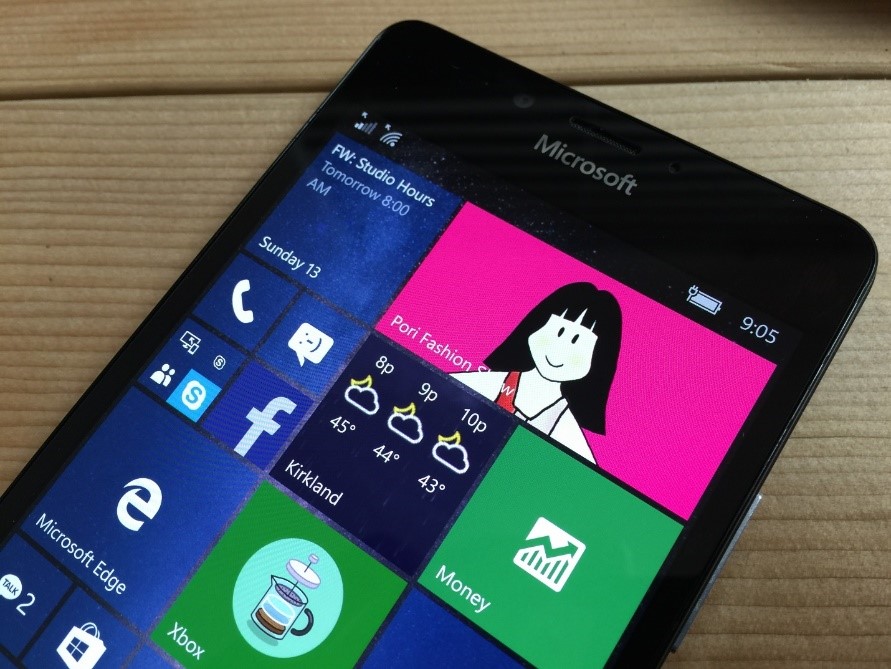
On different types of devices, Park was able to see all sizes of tiles were displayed correctly, including the splash screen.
Starting Windows Store submission process on Windows Dev Center
Now Park was ready to submit Pori Fashion Show to Windows Store. Since bridged iOS apps are truly Universal Windows Platform (UWP) apps, there are no different steps or additional tweaks needed for Store submission.
Note: For the detailed Store submission guideline, please refer to Publish Windows apps page on Dev Center.
To submit his app, Pori first needed to create an app name and submit it along with detailed information, such as pricing, visibility, device family, publish date, and category.
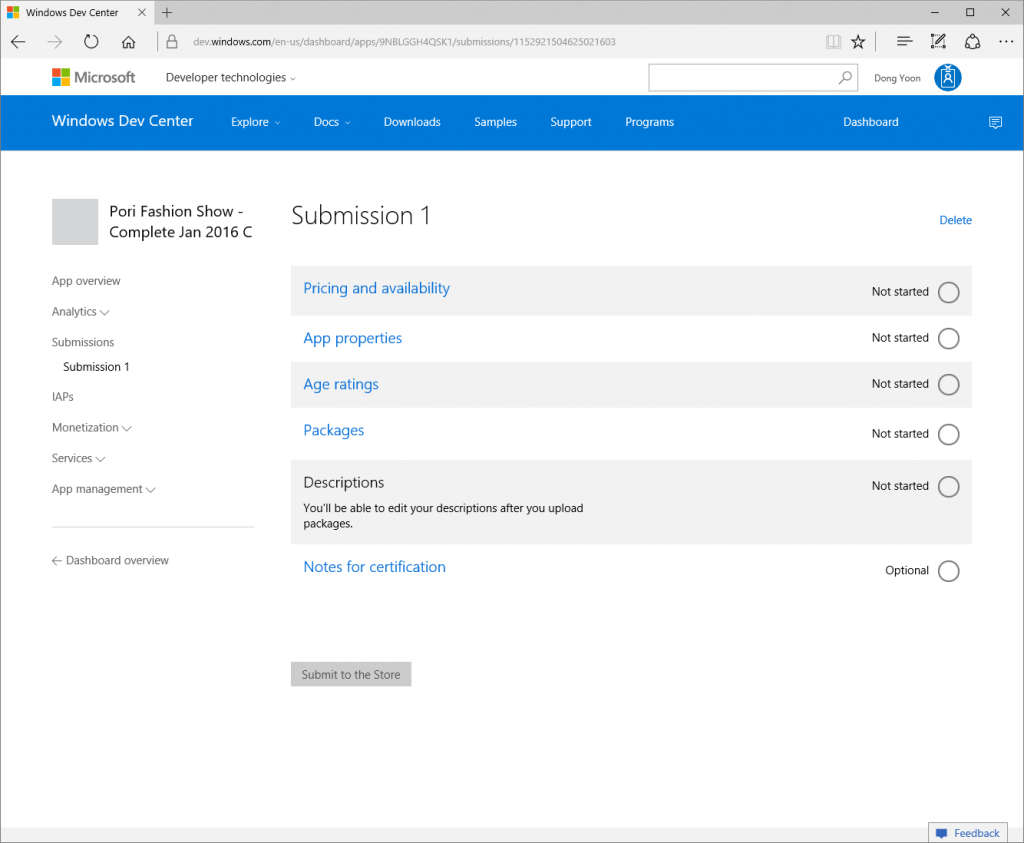
Figure 8. Creating a new app submission
If you have submitted your iOS apps through iTunes Connect before, you may already be familiar with this process of populating the information on app properties, ratings, and descriptions.
Creating App Packages with Windows App Certification Kit
To create his app package for Store submission, Park right-clicked the project name and selected Create App Packages… under the “Store” menu.

On the “Create Your Packages” window, Park selected “Yes,” since he was creating the package for Windows Store.

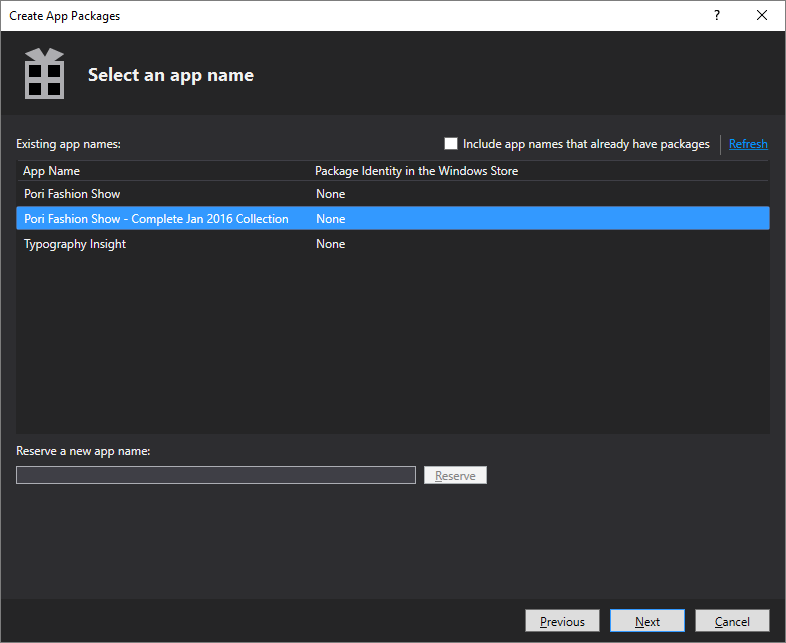
After the Microsoft Account login screen, Park selected the proper app name for this submission.
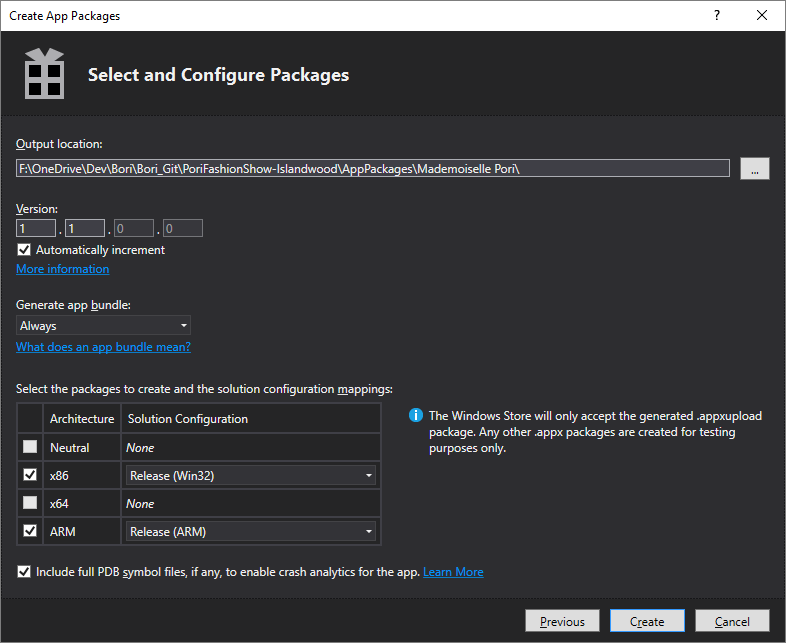
Since Pori Fashion Show runs on both phone and desktop, Park checked both x86 and ARM.
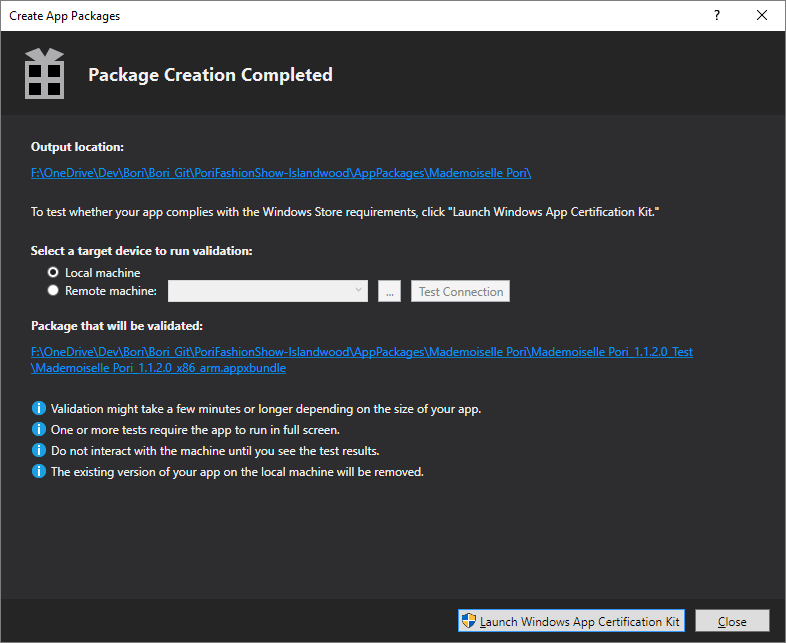
Once the package creation was complete, Park could now begin the validation and local testing required for all apps submitted to the Windows Store through the Windows App Certification Kit.
Note: Please refer to this page for detailed information.
He selected the default “Local machine” option and clicked the “Launch Windows App Certification Kit” button on the bottom right corner.
After the Windows App Certification Kit performed various tests and validation. Once Pori Fashion Show passed, Park was ready to upload the package to the Dev Center.
Finalizing submission on Windows Dev Center
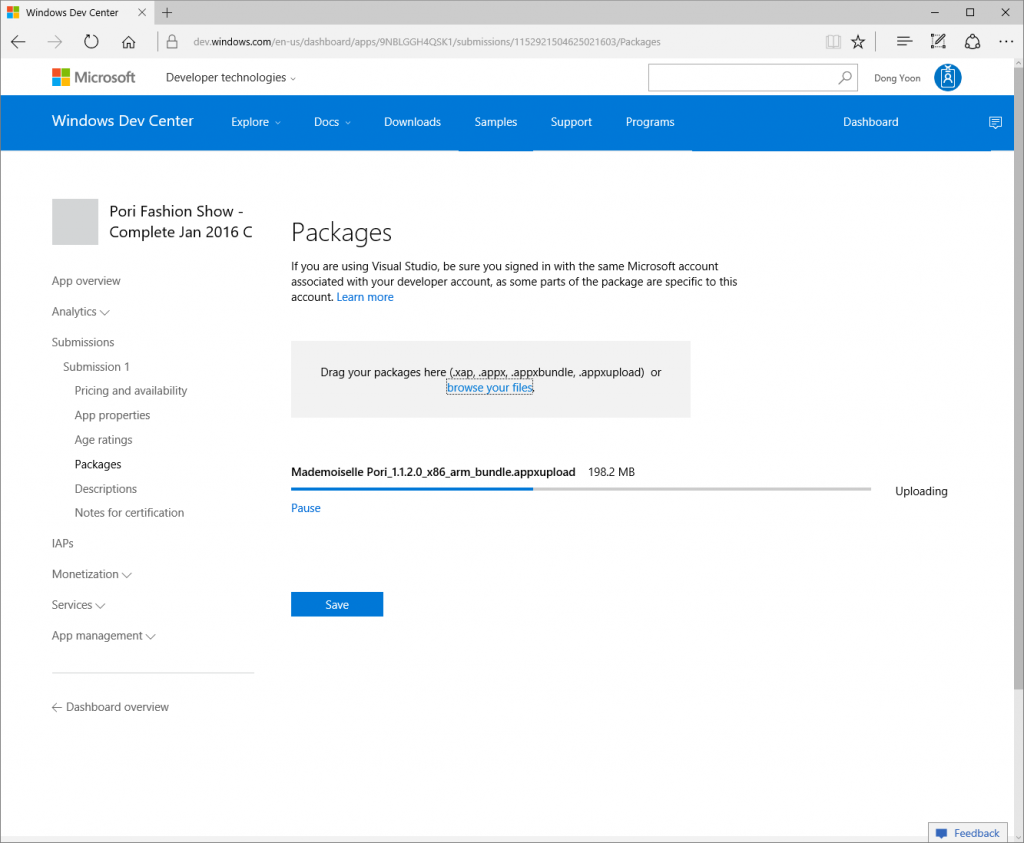
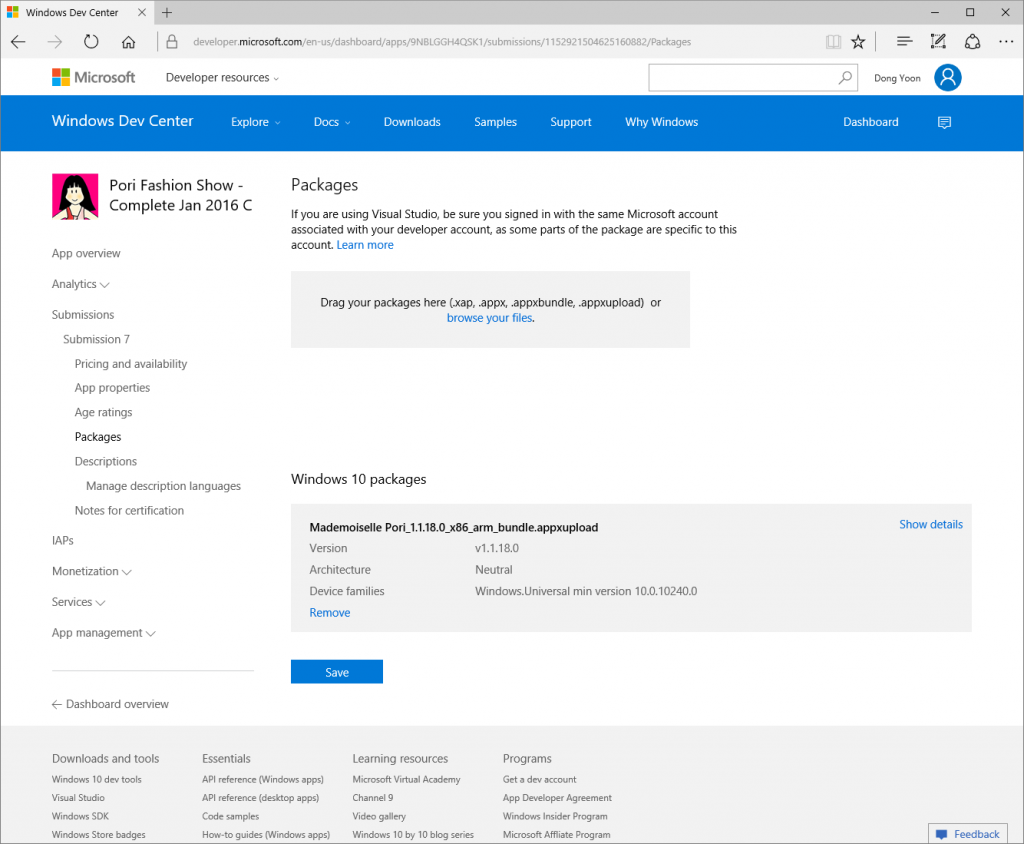
In the Packages section under the Submission page, Park was able to upload his packages using drag-and-drop—browsing to the packages is also an option.
Now Park was at the final step: uploading screen shots and descriptions.
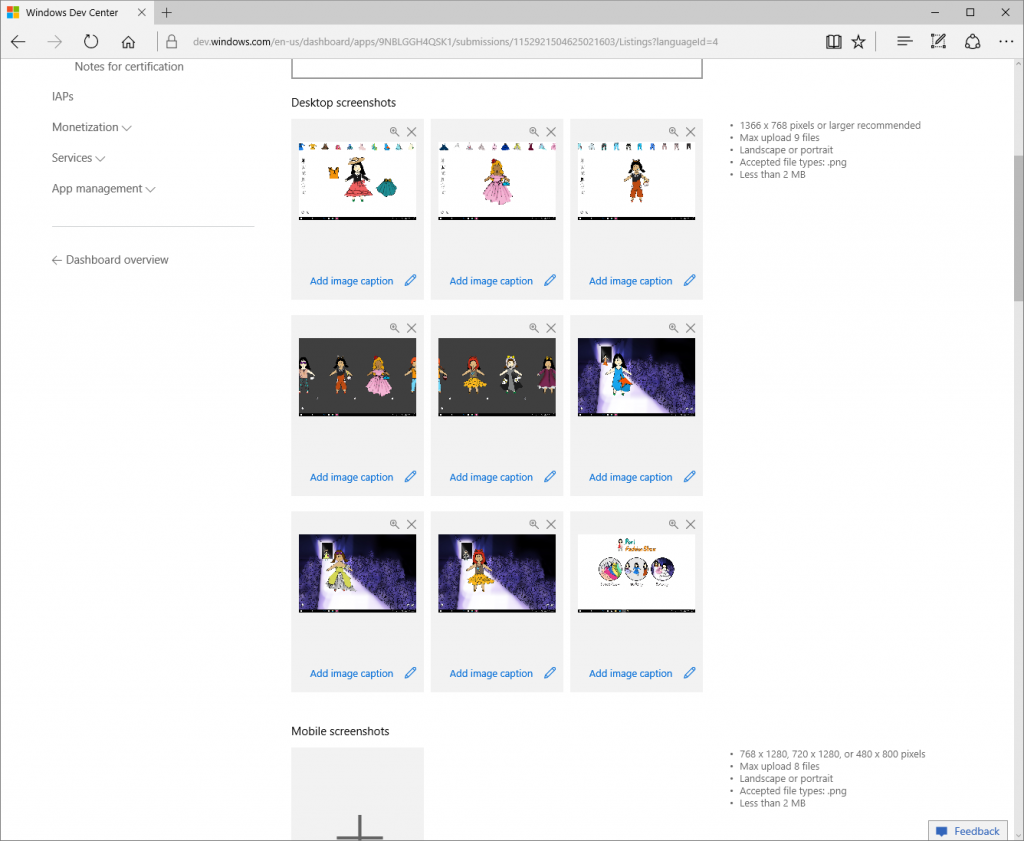
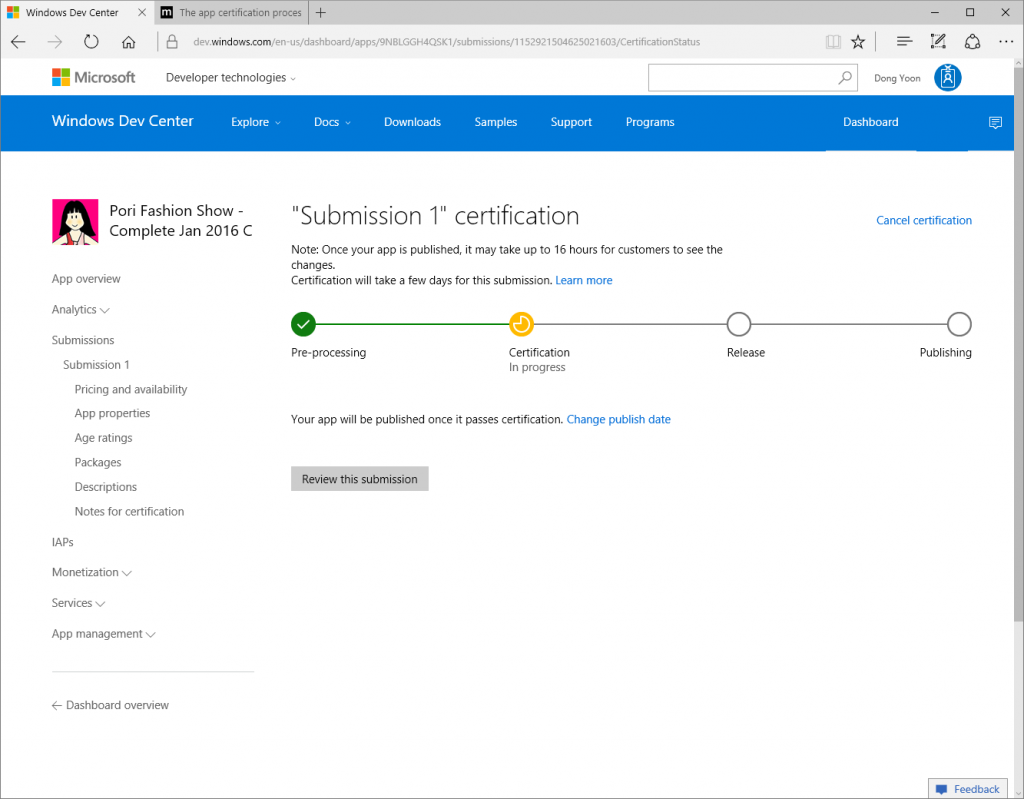
The description and screenshots uploaded, Park has successfully submitted his app and was brought to this certification progress page, which he could use to understand what would happen next.
In less than three days, Park received notification that Pori Fashion Show had passed certification.
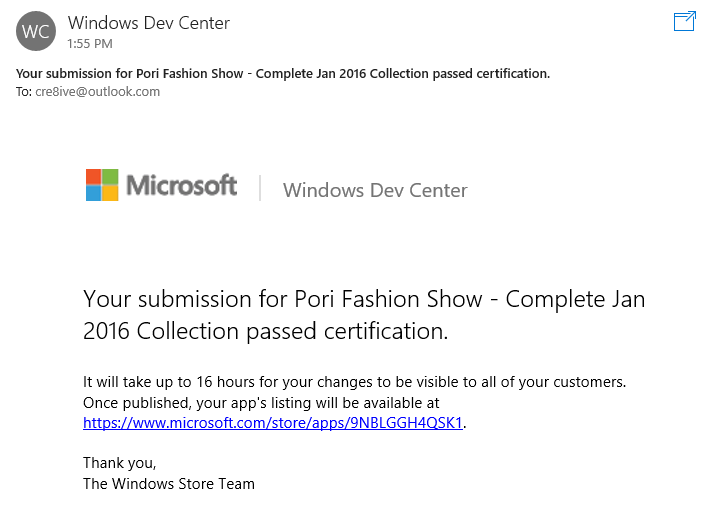
Shortly thereafter, his app appeared on the Windows Store.
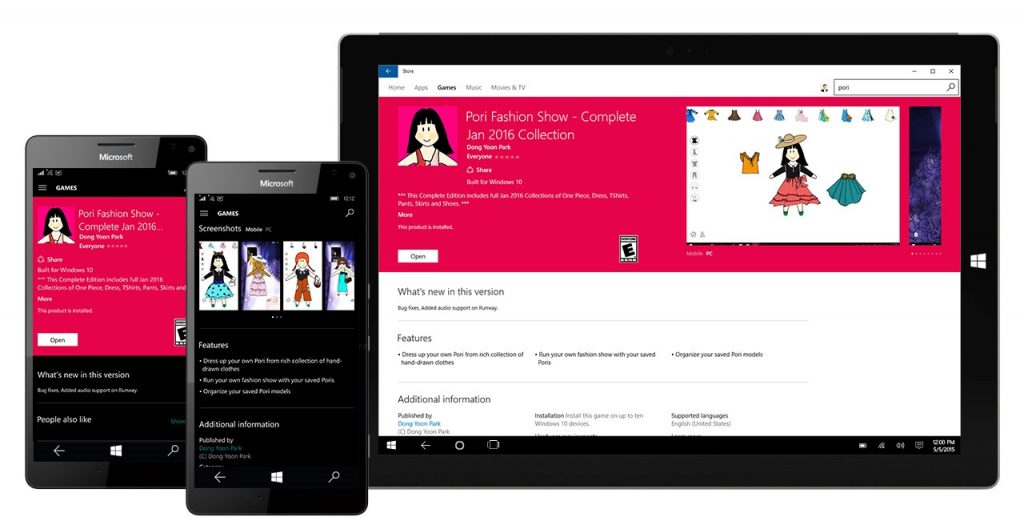
Checking acquisitions on Dev Center and updating the app
In the Windows Dev Center Dashboard, Park was able to see an overview of the app acquisitions, crashes, and customer demographics. He also enjoyed using the Dev Center UWP app on his phone and desktop to get a quick glance of his app’s trending and status.
Since he found and fixed some bugs after the initial submission, he wanted to update the app. To do this, he simply clicked the Update button on the right side of the Submission item. This created a new submission allowing him to update the app properties or upload a new package.
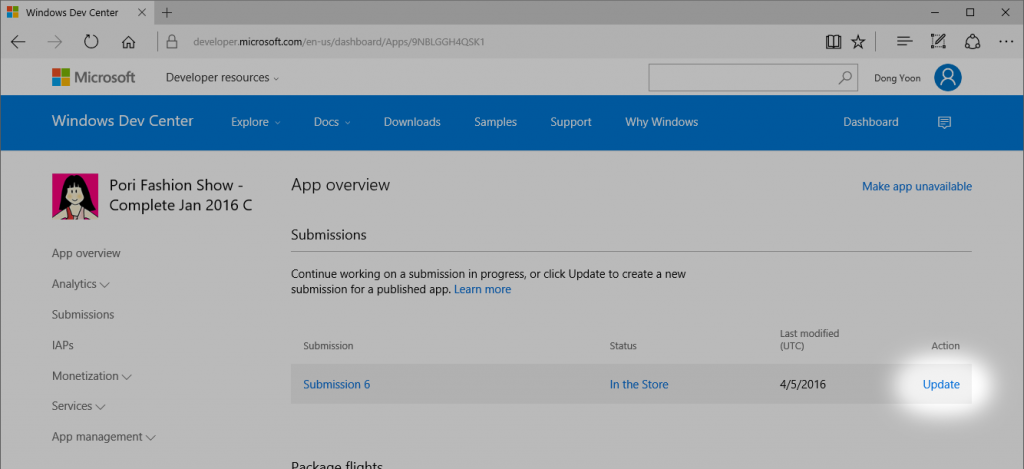
Since Park didn’t have to modify any other information, he clicked Packages and uploaded his newly created package. Unlike iOS, Park didn’t have to worry about version number management, since Visual Studio generates a version number for him.
Note: Dev Center’s submission number just indicates the number of submissions.
Summary
In this post, we walked through how iOS app can run on phone devices with ARM compiler. As you’ve seen, you can optimize the layout for the phone devices with Auto Layout Constraints using screen dimension info. We’ve also looked at the submission process for Windows Store, which is exactly the same as any other Universal Windows Platform (UWP) apps.

