

Let’s begin by explaining what Windows 10 IoT Core actually is.
Windows 10 IoT Core is a version of Windows 10 that is optimized to run on smaller IoT devices, with or without a display, that allows you to build apps using the rich Universal Windows Platform (UWP). In fact, one of the goals for UWP was to enable the same application to run on PC, Xbox, HoloLens, Surface Hub or IoT Core devices. This enables you, as the developer, to create a core application with custom, adaptive user experiences appropriate for these devices.
In UWP there are extension APIs available to do things that are specific to your platform or device. For example, there are extension SDKs that give you access to unique features in Windows Mobile and on Surface Hubs. The extension SDKs for Windows IoT give you access to the APIs that can manage things like lights, sensors, motors, buses and much more.
Windows IoT Core supports a wide range of devices. Here are some examples:
Out of the box, you can use the UWP programming language you’re most comfortable with to build apps for IoT Core; these languages support both apps with or without a User Interface (aka “background applications”) and are shipped with Visual Studio by default.
- C#
- C++
- JavaScript
- Visual Basic
Alternatively, you can use one of the following IoT-focused languages; these languages can only be Background Applications.
- C/C++ with Arduino wiring
- js
- Python
To use one of the “IoT focused” languages, you’ll need to install the Windows IoT Core Project Templates Visual Studio Extension. You can download these right from Visual Studio by going to Tools > Extensions and Updates. Or, you can install it separately by downloading it (go here for VS2015 or here for VS 2017).
For the purposes of today’s post, we will show how to install Windows 10 IoT on a device, how to install the tools you’ll need, and share several sample applications to get you started.
Getting started
The IoT Core team has made it very easy to get started by providing a flow-based Get Started page on the Windows IoT Core web page. Let me take you through the steps:
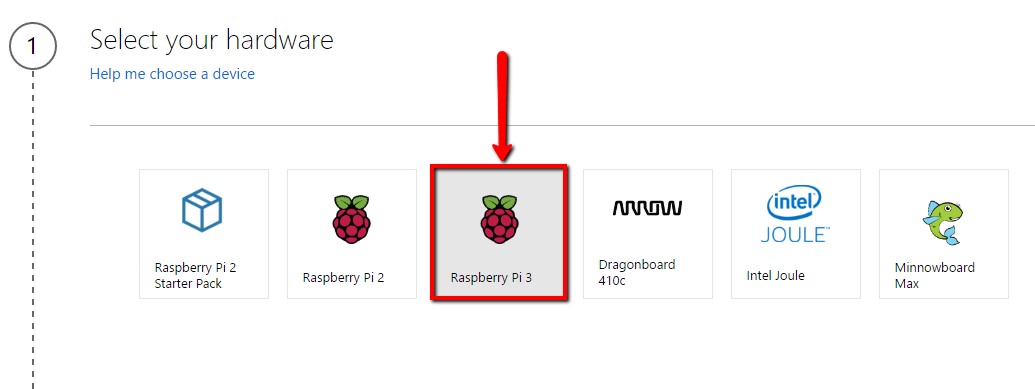
Step 1:
Go to the Get Started page here and you’ll be greeted with Step 1: Select Your Hardware. Choose the device you’re using, for this post, I’ll pick Raspberry Pi 3:
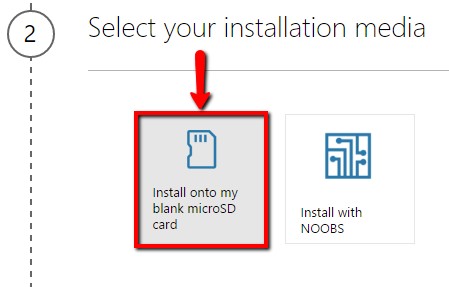
Step 2:
Select the route you want to install Windows 10 IoT Core. The most common option is to install it directly to a blank microSD Card:
Step 3:
Next, you’ll get to pick what version of Windows 10 IoT Core you want to use.
Important Note: Normally, you’d choose the non-insider version. Only choose the Insider Preview if you have the Insider Preview UWP SDK installed in Visual Studio 2017. The SDK version has to match the OS version on the device in order to deploy to it.

Step 4:
You’re done! Now click the Next button to navigate to the next phase of the setup process, getting the tools.
Installing the tools
During this phase of Getting Started, you’ll go through four high level steps. At the last step, you’ll be running an application on your IoT device! Here are the steps:
- Get the Tools
- Set up your device
- Set up Visual Studio
- Write your first app
1 – Get the Tools
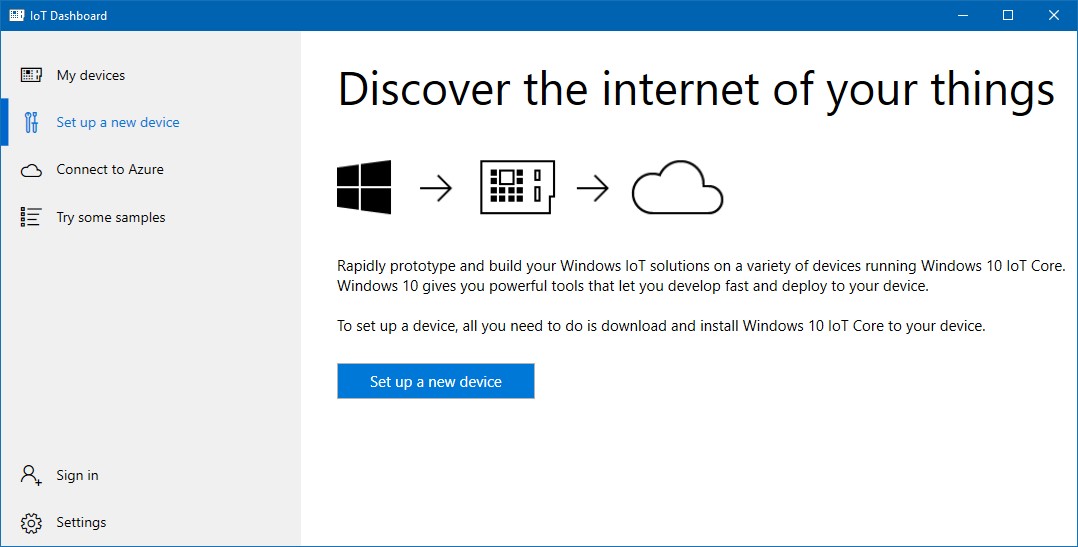
In this step, you’ll download and install an amazing tool, the Windows 10 IoT Core Dashboard (approx. 54MB). This tool has a lot of features that makes using Windows 10 IoT core much easier than it has ever been. Once you’ve installed it, find it in your Start Menu’s apps list or search for “IoT Dashboard.”
You should now see a Start page like the following:
2 – Set up your device
With the Dashboard running, you can now set up your device by clicking the “Set up a new device” button. This makes the installation process very easy, just a few selections and a click of the button.
Here’s a screenshot of the “Set up a new device” page. Take note of the version of Windows IoT Core you’re installing. The current version is 14393, otherwise known as the Anniversary Update.

Once this is done, you’re good to go! Just remove the microSD card from your PC and insert it into the Raspberry Pi and boot it up.
Note: The first time boot-up will take longer than normal because it is performing an initial configuration. Be patient and do not power down during this. If you have any trouble and it doesn’t boot, just repeat the setup again to get a fresh start.
3 – Setup Visual Studio
Now let’s review what you have installed for tools.
If you do not have Visual Studio 2017 installed
You can download and install Visual Studio 2017 Community edition, for free, from here. This is not a “express” version, the Community edition is a feature-rich version of Visual Studio with all the tools you need to develop UWP applications and much more.
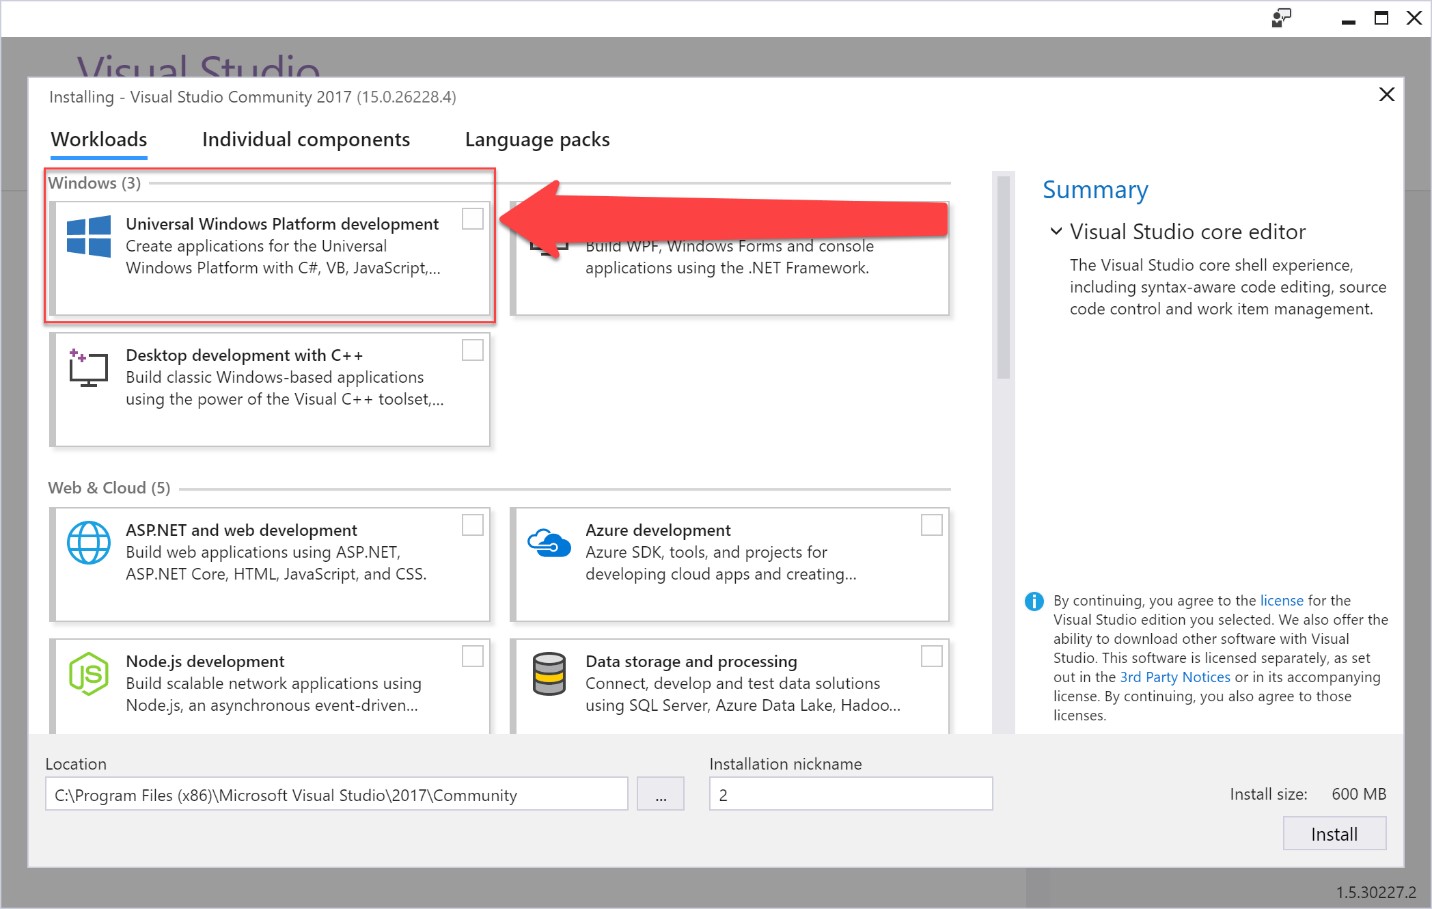
When running the installer, make sure you check off the Windows Platform Apps workload to get the Tools and SDK. Here’s what the installer looks like:
If you already have Visual Studio 2017 installed
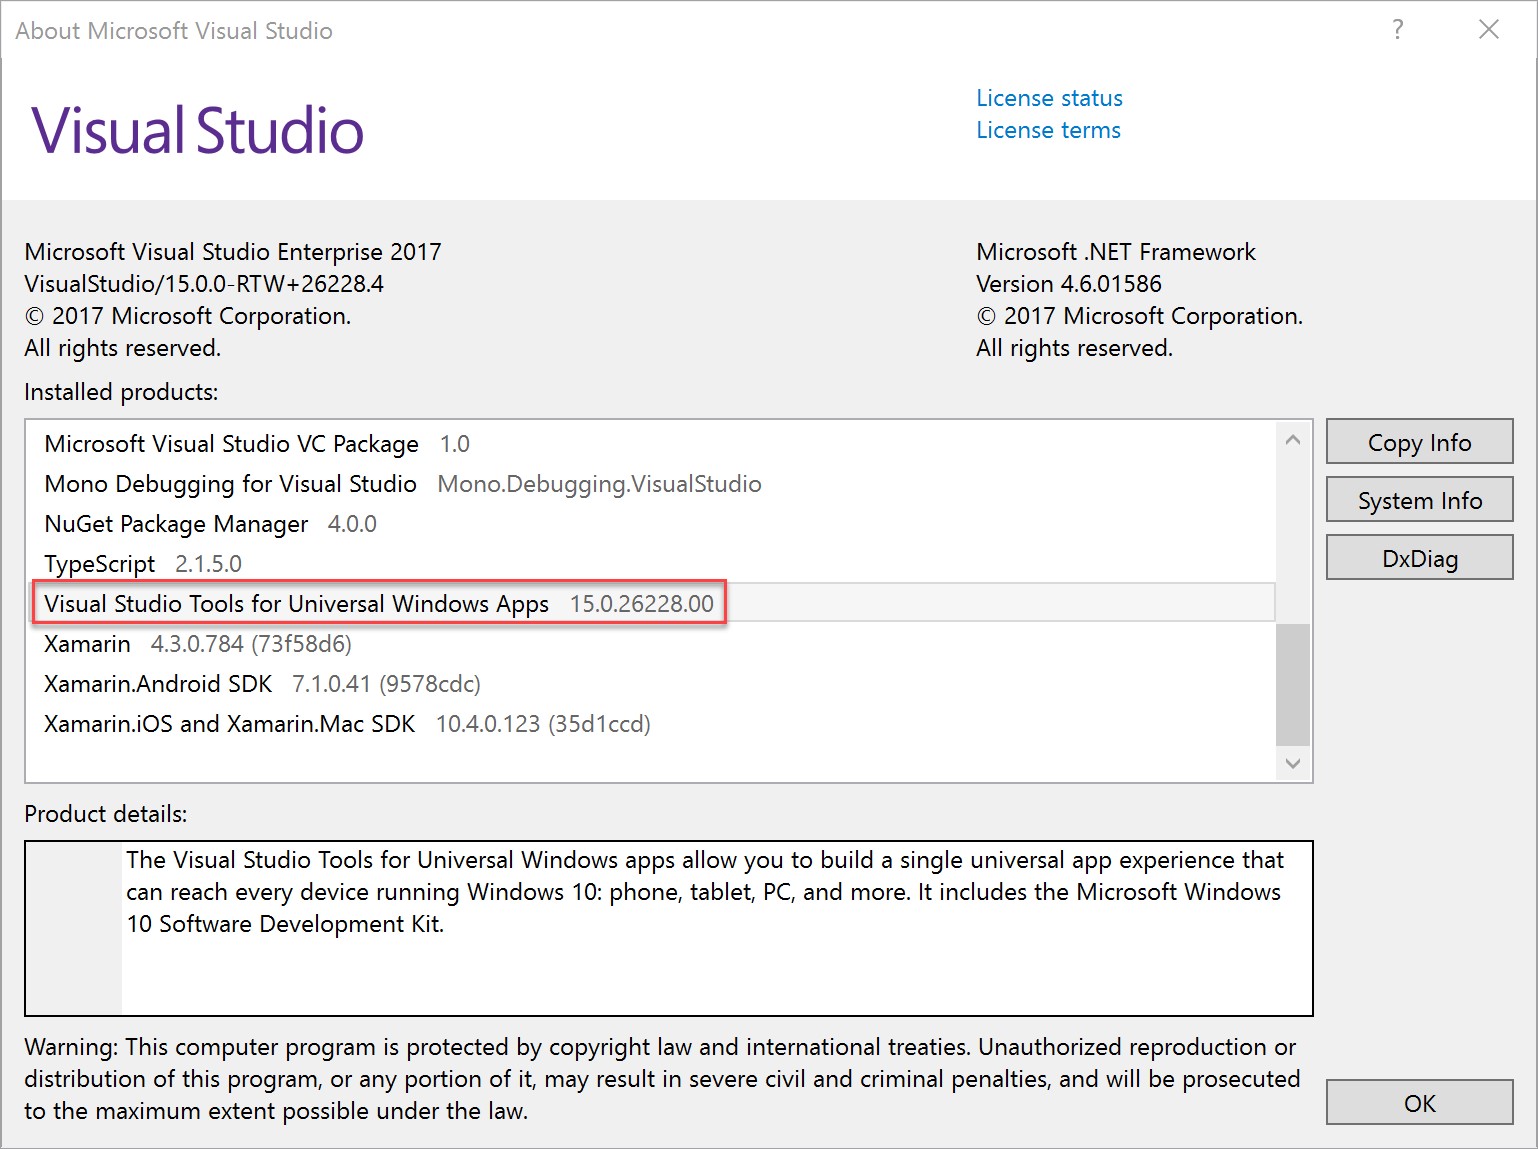
If you already installed Visual Studio, then let’s check if you have the UWP tools installed. In Visual Studio, drop down the Help menu and select “About Visual Studio.” You’ll see a modal window pop out, inside the “Installed Products” are you can scroll down to check for “Visual Studio Tools for Universal Windows Apps”:
If you do not have them installed, you can use the standalone SDK installer to install them (see UWP SDK paragraph below) or rerun the Visual Studio 2017 installer and select the “Universal Windows Platform development” workload to install it.
Note: You can use Visual Studio 2015, just make sure you’re on Update 3 in addition to having the UWP SDK installed.
UWP SDK Version
Now that you have Visual Studio 2017 and the UWP tools installed, you’ll want to have the UWP SDK version that matches the Windows 10 IoT Core version you installed. As I mentioned earlier, the current version is 14393.
If you just installed Visual Studio, this would be the SDK version you have installed already. However, if you do need the 14393 SDK, you can get the standalone installer from here (note: if you’ve take the Windows IoT Core Insider Preview option, you can get the Insider Preview SDK from here).
TIP: Install the IoT Core Project templates
At this point, you can build and deploy to an IoT device simply because you have the UWP SDK installed. However, you can get a productivity boost by installing the IoT Core project templates. The templates contain project types such as: Background Application, Console Application and Arduino Wiring application. Download and install the templates from here.
Write your first app
At this point, your device and your developer environment is set up. Now it’s time to start writing apps! You may be familiar with the “Hello World” app as being the first application you build when trying a new language or platform. In the world of IoT, these are known as “Hello Blinky” apps.
There are several excellent Hello Blinky sample applications (when we say headless we mean with no user interface; you can still have a display connected to the system if you wish) to help you get a jump-start:
There are even more Microsoft authored samples located at our Windows IoT Dev Center.
You can also check out what the community has built on websites such as Hackster.io where developers open source their Windows 10 IoT Core projects, build specs and source code. There are hundreds of projects available; a few examples are:
- Facial recognition to open a door (video)
- Hands on lab IoT Weather Station
- Home Automation with Raspberry Pi 2
- Magic Mirror
There are unlimited possibilities with Window 10 IoT core, from home automation to industrial robotics or even environmental monitoring. Your app doesn’t have to be a complex system, you can build a UWP app to build a smart mirror, turn your hallway lights when motion is sensed, or use a light sensor to open your shades at dawn and close them at sunset! We look forward to seeing what you build with Windows 10 IoT Core; send us a tweet @WindowsDev and share your creations with us!
Resources
- Windows IoT Dev Center
- IoT core Documentation (expand the sections on the left for a lot more)
- Short form videos
- Enterprise / OEM-style deployment