At CES 2013 there were a lot of exciting 4K technology announcements including the Panasonic 20” 4K Windows 8 touch tablet. When you stop and think about how 4K display technology will impact photographers, it’s really exciting. In this post, I’ll give you a sneak peek at photo editing on Windows 8 with a 4K display.
If you look at the progression of camera and display technology over the last 10 years, it’s amazing how far things have come. Just when you think the megapixel wars are over, the next wave of camera technology takes things to the next level. While Pro DSLR cameras are pushing the megapixel boundaries at 36+ megapixels, consumer cameras are not lagging far behind. Phone camera technology has also been advancing rapidly. I recently upgraded to a Nokia Lumia 920 Windows Phone 8 device, and have been blown away by the 8.7 megapixel PureView camera with Carl Zeiss glass and optical image stabilization. If you wanted to see the images from this phone at 100% magnification, you’d need a 4K display!
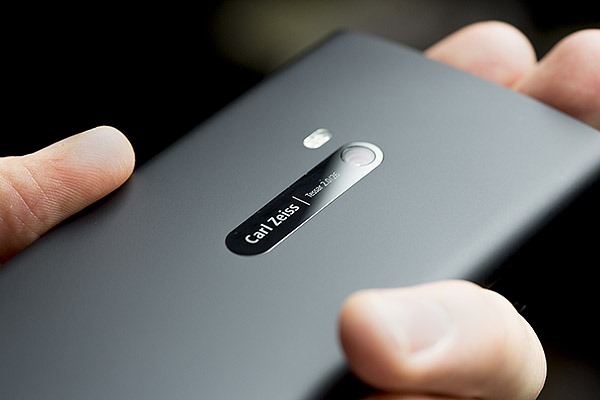
My Nokia 920 – with camera resolution near 4K Ultra-HD!
With camera images getting larger and larger, it’s getting harder to edit photos at the optimal 1:1 pixel ratio (100% magnification). The working area of the photo (%viewable) keeps getting smaller and smaller as megapixels increase. The net effect is either reduced magnification while editing, or to work on smaller portions of the image at 100% magnification. One answer to this megapixel predicament is to add more display pixels and to increase the size of the display surface.
Here on the Extreme Windows Blog, I’ve been covering various aspects of 4K video technology including the RED Epic 4K/5K digital camera, the HP Z820 Video Editing supercomputer, and Extreme multi-mon video editing in 4K. Now it’s time to take a look at another killer aspect of 4K on Windows 8: editing photos with a 4K display panel. Rather than just demonstrate one 4K panel alone, let’s go multi-display!
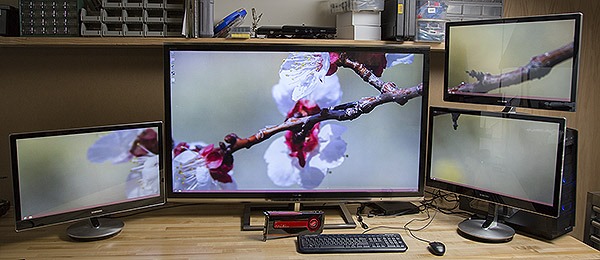
Quad-display Windows 8 setup showing desktop wallpaper spanning – 16 megapixels in all
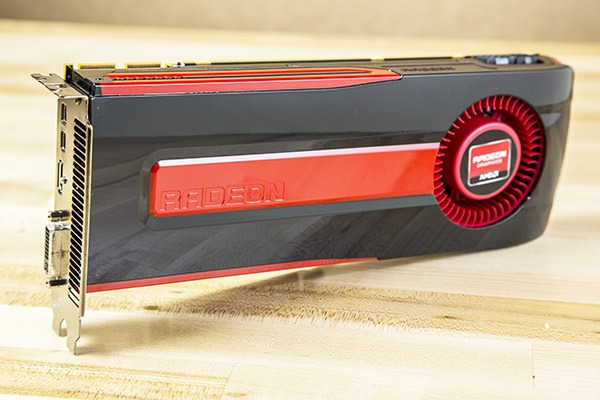
The last time I blogged about this system, I used a similar triple-display setup to demonstrate video editing. This time I wanted to take it to the next level, so I added one more 27” Samsung PLS display to the mix for four total. The entire setup runs great using a single AMD RADEON 7970 video card and Windows 8. The following full-desktop screenshot shows how the wallpaper spanning feature in Windows 8 pieces together the pixels shown on each display. Notice how the resolutions and relative positions of the displays are accounted for:

Windows 8 desktop wallpaper spanning sample screenshot
As a photographer, I like the ways that I can use my photos as wallpaper in Windows 8, especially with multi-display setups.
In order to compare the photo editing experience with different display resolutions, I’ll show you what it looks like to run Photoshop CS6 at full-HD, WQHD, and 4K Ultra-HD resolutions. I’ll use the following picture that came off the 22.3 megapixel Canon EOS 5D Mark III for comparison:
Sample JPEG image for comparison – 5760×3840 resolution
For this experiment, I opened the sample image in Photoshop CS6, and set magnification to 100%. I then maximized Photoshop CS6 on a full-HD display, a WQHD display, and finally the 4K Ultra-HD display. What I found was that full-HD felt very cramped. It would be difficult to apply effects or touchups at 100% on this display. The WQHD display was better, but still required a lot of panning in order to navigate the photo. The 4K Ultra- HD display was AMAZING at 100% magnification. I could see the entire central part of the image! If I were to crop the image much, I’d be looking at the entire image at 100% – WOW. Words don’t do this 4K photo editing setup justice – you have to see it in-person to appreciate it. (I did however include a video demo towards the end of this post which gives you a taste of what it’s like to use this amazing setup).
The following screenshot images will compare the viewable area of the image at 100%, and the relative screen size for the multi-display setup used for this blog post:
1920×1080 (full-HD) screenshot showing sample image in Photoshop CS6
2560×1440 (WQHD) screenshot showing sample image in Photoshop CS6
3840×2160 (4K Ultra-HD) screenshot showing sample image in Photoshop CS6
It’s easy to see when you look at these screenshots side by side how much more of your images you can work with (without panning) at 4K display resolution. Furthermore, with a multi-display setup like this one, you could move your toolbars from Photoshop’s main window onto one of the side displays. To top it off, you could run your email on a third display, and Windows Explorer on the fourth. There’s countless ways to justify this productivity-enhancing setup to your IT department or spouse!**
**Note: you will need to wait until large 4K displays are more readily available, but start thinking now 🙂
The good news is: Windows 8 is ready for 4K today. Furthermore, there’s a wide selection of graphics cards that are Windows 8 certified that can run 4K displays and multi-display setups incorporating 4K as demonstrated in this post. While we’re on the topic of high-performance graphics, there’s another cool feature I used in Photoshop CS6 on this PC: accelerated effects in Photoshop CS6 (Mercury Graphics Engine) using the AMD RADEON 7970’s 2,048 cores.
To see a demo of RADEON-accelerated Photoshop CS6 effects- please check out the video that I’ve put together:
Want to stay up to date on 4K in Windows? Follow me on Twitter!
